
Guides · Fences and boundaries · Published November 18, 2026 · By Faizan Ahmad
How Many Fence Pickets Do I Need?
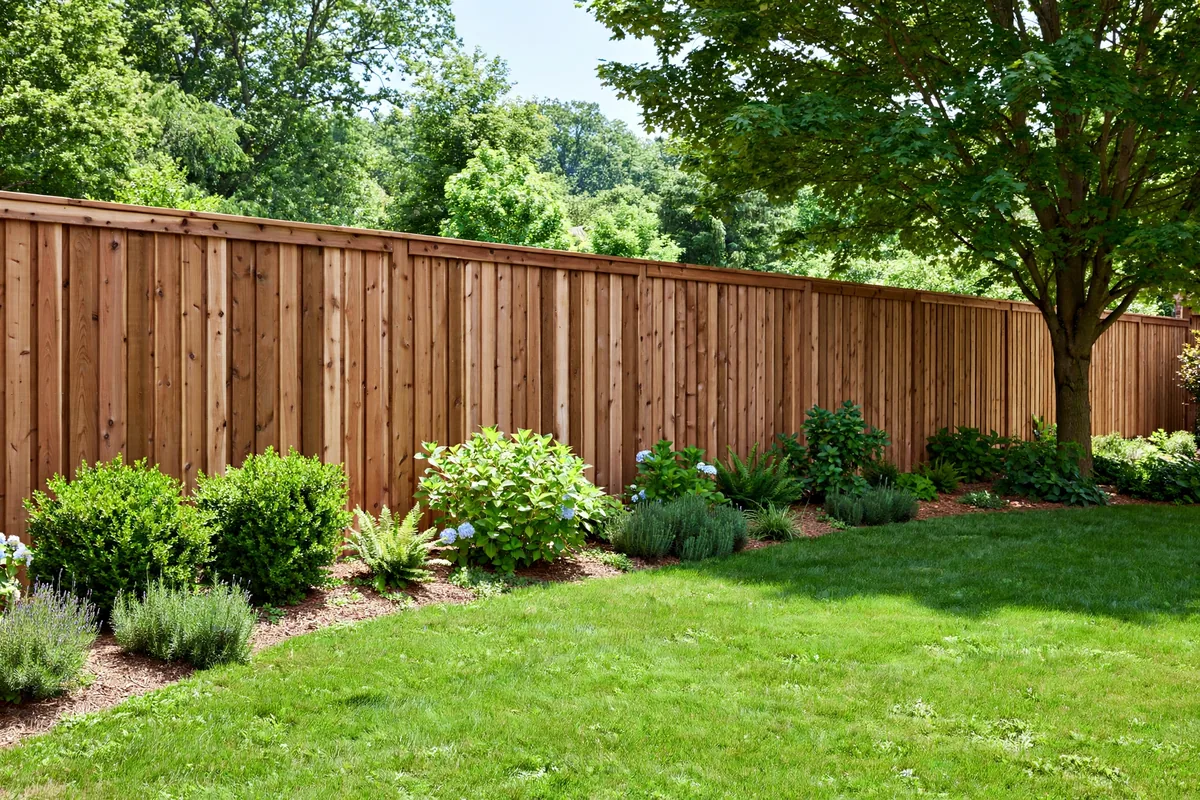
A fence looks like one project, but at the store it is four separate shopping lists that all depend on each other: pickets, posts, rails, and the concrete that holds the posts up. Guess any one of them wrong and the whole job stalls — too few posts and a section has nothing to hang from, too few pickets and the last stretch stands open, too little concrete and the final post wobbles in a half-filled hole. The good news is that every one of those numbers comes from a single measurement, the length of the run, and that is exactly what our Fence Calculator — posts, rails, pickets and concrete does: one length in, the whole fence out. This guide shows how the calculator works, the simple maths underneath it, and the one real decision it cannot make for you — whether to build the fence face from pre-built panels or from individual pickets. By the end you will be able to check any store's or contractor's materials list against your own numbers, line by line.
The short answer, on one card
- Sections = fence length ÷ post spacing, rounded up. Posts = sections + 1
- Rails = sections × rails per section — 2 per section is standard, 3 on tall fences
- Privacy pickets run at about 2 per foot of fence (5.5 in board, 6 in allowed per picket) — about 200 for 100 ft
- Concrete starts at about 1 bag (60 lb) per post — wider or deeper holes take more
- 8 ft post spacing is the standard; drop to 6 ft for windy sites and tall, heavy fences
- Gates, hinges, latches, fasteners and post caps are extra — the calculator counts the fence itself
Step 1 — Measure the run (the only number everything hangs on)
Walk the line the fence will follow, corner to corner, and measure it in feet. A long tape is best; a measuring wheel is faster on a big yard; pacing works in a pinch at roughly 2.5 feet per normal pace. Measure each straight side of the yard separately and write the sides down individually rather than as one grand total — a corner post is shared between two sides, and the calculator's sections-plus-one maths is written for one straight run at a time, so three sides counted separately give a truer post count than one perimeter number forced through a single run. If the yard is new to you, the method in How to Measure Your Yard's Square Footage covers tapes, pacing and awkward corners in full. Two things to settle while you are out there with the tape. First, the property line: a fence built six inches onto a neighbour's land is an expensive fence to move, so confirm the line before a single hole is dug — stakes and a string line, as in the photo below, make the run visible to everyone before it becomes permanent. Second, buried services: call your local locate service and have underground lines marked before digging. Post holes go deep, and a spade does not know where the gas line is.
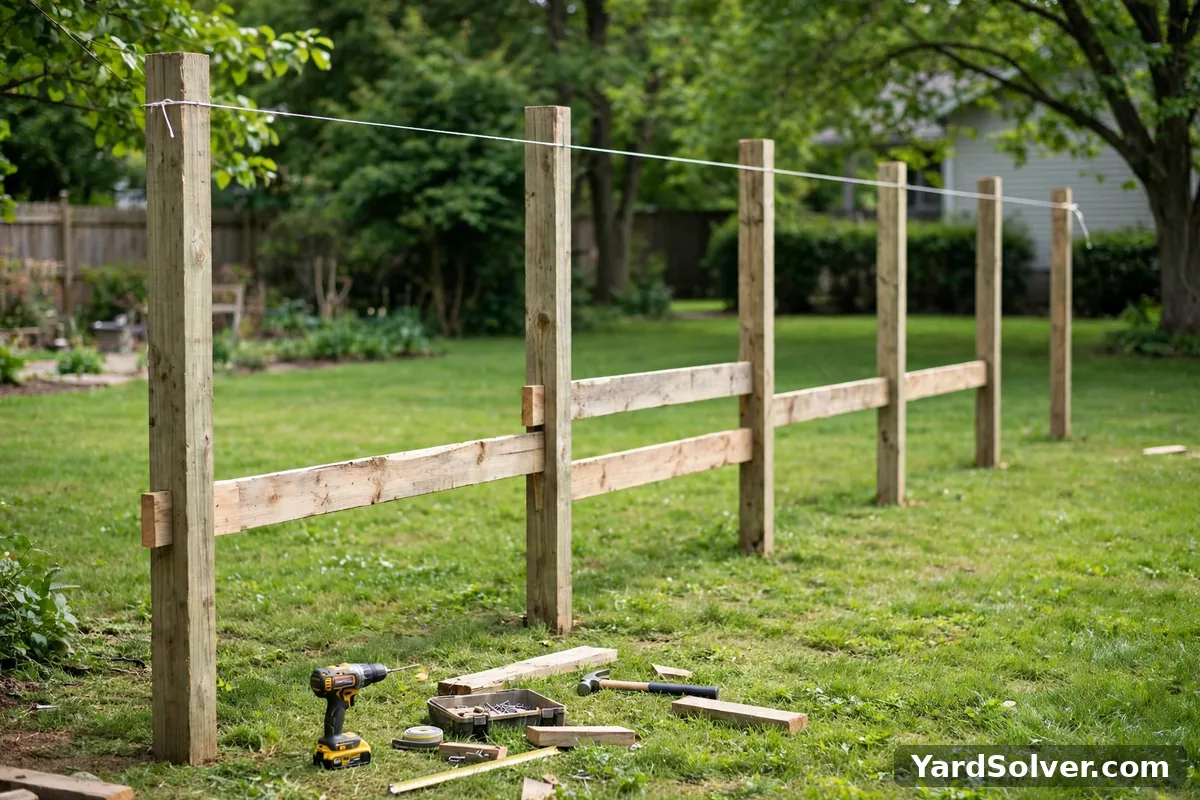
Step 2 — Run the calculator: what each input does
Open the Fence Calculator and start with the length from Step 1, in feet or metres — the unit switch converts behind the scenes. Next, post spacing: 8 ft or 6 ft. Eight feet is the standard because pre-built fence panels are sold 8 ft wide and rails come in matching lengths, so an 8 ft rhythm means almost no cutting; choose 6 ft when the site is windy, the fence is tall, or the ground slopes enough that shorter sections step down more gracefully — Step 6 explains the wind reasoning in full. Then the fence style, which is the fork this whole guide is built around: pre-built panels, or individual pickets nailed up on site. Panels are faster and the calculator simply counts one panel per section; pickets are slower but follow slopes and curves far better, and the calculator counts them at about 2 per foot. Finally, rails per section: 2 for a standard fence up to about 6 ft tall, 3 for taller or heavier faces that need the extra stiffness. Pick your country, Canada or the USA, so the cost estimate uses typical store prices in your currency. The answer comes back as one list — posts, rails, panels or pickets, and concrete bags — with an estimated materials cost range. Press the print button and that list is your shopping list.
Step 3 — The maths the calculator is doing
There is no hidden model here — a fence is repeated parts along a line, so the maths is four short formulas you can check on paper. Sections = length ÷ post spacing, rounded up. The rounding is the whole trick: a 100 ft run at 8 ft spacing divides to 12.5, and since you cannot build half a section, it becomes 13 sections, each a touch under 8 ft. Posts = sections + 1, because every run needs a post at both ends — 13 sections need 14 posts. Rails = sections × rails per section: 13 × 2 = 26 rails. Pickets = length × 2, because a privacy picket is nominally 5.5 inches wide and the calculator allows 6 inches per picket to cover the board plus a small gap — 12 inches ÷ 6 inches = 2 pickets per foot, so 100 ft needs about 200 pickets. Concrete = 1 bag per post as a starting estimate: 14 posts, about 14 bags of 60 lb concrete. Notice how the rounding flows downhill: the half-section you rounded up in the first line quietly adds a post, two rails and a bag of concrete to the list, which is exactly right — those parts genuinely have to exist. The table below runs the same maths for the three lengths people ask about most, all at 8 ft spacing with 2 rails per section.
| Fence length | Sections | Posts | Rails (2 per section) | Panels (1 per section) | Privacy pickets (2 per ft) | Concrete (60 lb bags) |
|---|---|---|---|---|---|---|
| 50 ft | 7 | 8 | 14 | 7 | 100 | 8 |
| 100 ft | 13 | 14 | 26 | 13 | 200 | 14 |
| 150 ft | 19 | 20 | 38 | 19 | 300 | 20 |
Read the table the way the calculator thinks: posts, rails and concrete all grow in steps, jumping each time the length crosses another section boundary, while pickets grow smoothly, foot by foot. That is why two fences only a few feet apart in length can need the same posts but noticeably different picket counts — and why measuring honestly matters more than measuring to the inch.
Step 4 — Panels or pickets? The fork in the list
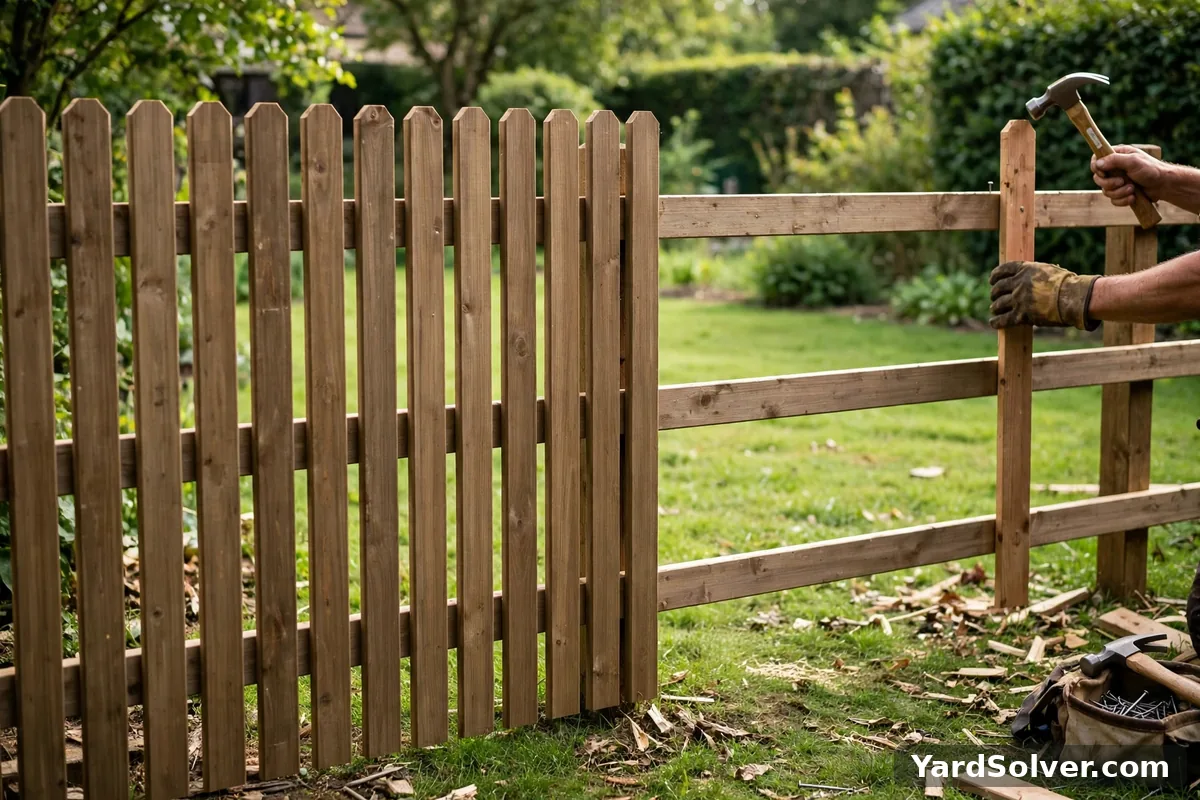
The style choice changes the character of the list more than any other input. Pre-built panels arrive as finished 8 ft sections: you set the posts exactly 8 ft apart, hang one panel per section, and the face of the fence is done in an afternoon. The price of that speed is rigidity — posts must land on the panel rhythm, and on sloping ground panels have to step down in visible stairs, leaving triangular gaps at the bottom that dogs and rabbits read as invitations. Individual pickets are the older way: rails run continuously between posts, and each picket is nailed up one at a time, as in the photo. It is slower — about 200 pickets on a 100 ft fence is 200 boards to hold plumb, space and fasten — but the face can rack to follow a gentle slope, run around a curve, and mix board widths for shadowbox and board-on-board patterns that panels cannot do. Pickets also repair one board at a time after a storm; a damaged panel is replaced whole. Neither answer is wrong. Flat yard, tight weekend, standard privacy fence: panels. Sloped or curved line, a pattern in mind, or a fence you expect to maintain board by board for twenty years: pickets. The calculator prices both from the same length, so run it twice and compare the two lists before you decide.
Step 5 — A whole fence, worked start to finish
Here is the calculator's own example, done slowly. The fence is 100 ft of backyard line, posts at the standard 8 ft spacing, 2 rails per section. Sections first: 100 ÷ 8 = 12.5, rounded up to 13 sections. Posts: 13 + 1 = 14 posts. Rails: 13 sections × 2 = 26 rails. Concrete, at one 60 lb bag per post as a starting estimate: about 14 bags. Built with pre-built panels, the face is simply 13 panels, one per section, and the list is complete. Built with privacy pickets instead, the face becomes 100 ft × 2 pickets per foot = about 200 pickets, and everything else on the list stays exactly the same — same posts, same rails, same concrete. That is the shape of every fence estimate: the skeleton (posts, rails, concrete) is set by length and spacing alone, and the style choice only changes what fills the skeleton in. Add a sensible spare allowance on the pickets — a few boards in every bundle are warped or split, so an extra 5 to 10 percent beats a mid-job store run — and note what is not on the list yet: the gate, its hinges and latch, screws or nails, and post caps are all extra, covered in the honesty section below. Put the build weekend in the Garden Planner with the digging day first and a curing day before the rails go on — concrete grabbed too early leans forever.
Step 6 — Posts that stay put: depth, frost and wind
The calculator counts posts; the ground decides whether they stand straight. The standing rule is one third of the post in the ground: a 6 ft fence typically stands on an 8 or 9 ft post with roughly 3 ft buried. Depth has a second master, though — the frost line. Soil that freezes and thaws heaves anything sitting inside the frost zone upward a little each winter, so post holes must reach below your local frost line, often 3 to 4 ft in Canada and the northern US. Whichever rule asks for the deeper hole wins, and local code has the final word. The full method — hole width, gravel base, bracing a post plumb while the concrete sets, and why gate posts go deeper — is covered in How Deep Should Fence Posts Be?. Wind is the other force the list has to respect. A solid privacy fence is a sail: at 8 ft spacing a strong gust loads each post through a wide panel of boards, and on an exposed site that load is what slowly leans fences over the years. Dropping to 6 ft spacing shortens each section, adds posts to share the load, and stiffens the whole line — the calculator handles it with one change to the spacing input, and the worked maths is identical: a 100 ft fence at 6 ft becomes 17 sections, 18 posts, 34 rails at 2 per section, and about 18 bags of concrete. More parts, yes — but cheaper than re-setting a leaning fence.
What the calculator can't do
Honesty about the edges, so the list earns your trust. The calculator counts one straight run: corners share a post between sides and gates interrupt the run with two heavier posts of their own, so a real yard is best counted side by side, adding a gate post pair where each gate hangs. It does not count gates, hinges, latches, screws and nails, or post caps — those depend on the gate width and style you choose, and they are a real cost, not a rounding error, so budget them separately at the store. Its concrete figure is a starting estimate of one 60 lb bag per post for a standard hole; wide holes, deep frost country and gate posts can each take two, so keep spare bags and return what you do not open. It assumes the run is level: a steep slope stepped in panels or racked in pickets uses a little more length than the map distance, so measure along the ground, not across it. And its costs are typical store-price ranges for your country, not quotes — lumber prices move weekly, and a sale can beat the range as easily as a shortage can bury it. What it does guarantee is the count maths, checked above: get the length, the spacing and the style right, and the list follows.
Keep going
Run your own fence line through the Fence Calculator — one length in, posts, rails, pickets and concrete out, then set the posts with How Deep Should Fence Posts Be? before the first bag of concrete is opened. Still laying the yard out? How to Measure Your Yard's Square Footage gets every side measured honestly.
Planning the whole season around the build? The Garden Planner lays out digging, planting and bed work in one calendar, so the fence weekend lands where it does the garden the least harm.
Questions people ask
How far apart should fence posts be?
8 ft is the standard for wood fences, because it matches pre-built panel widths and standard rail lengths. Drop to 6 ft in windy spots, on exposed corners, or for tall, heavy fences — closer posts make a stiffer fence that flexes less in a storm. Whatever spacing you choose, keep it the same along the whole run so the sections come out even.
How deep should fence post holes be?
Follow the one-third rule: about a third of the post goes in the ground, so a 6 ft fence on an 8 or 9 ft post needs a hole roughly 3 ft deep. The hole must also reach below your local frost line — often 3 to 4 ft in Canada and the northern US — or frost heave will lift the post. Check local code before you dig.
How much concrete does one fence post need?
About one 60 lb bag per post is the calculator's starting estimate for a standard hole, roughly 8 to 10 inches wide and 3 ft deep. Wider or deeper holes, and gate and corner posts that carry extra load, can take two bags. Treat the count as a starting estimate and keep a spare bag or two on hand.
How many pickets per foot?
About 2 pickets per foot of fence. A standard privacy picket is nominally 5.5 inches wide, and the calculator allows 6 inches per picket to cover the board plus a small gap, so a 100 ft fence needs about 200 pickets. Spaced picket styles with wide gaps need fewer; board-on-board styles that overlap need more.
How many fence posts do I need?
Posts equal sections plus one for a single straight run. Divide the fence length by the post spacing and round up to get sections: a 100 ft fence at 8 ft spacing is 13 sections, so it needs 14 posts. Corners and gates add posts on top of the straight-run count, so count each run of a multi-sided yard separately.
Are gates, hardware and post caps included in the calculator's list?
No. The calculator counts the fence itself — posts, rails, panels or pickets, and the concrete to set the posts. Gates, hinges, latches, screws and nails, and post caps are extra, because they depend on the gate size and style you choose. Add them at the store once the main list is settled.
Picket counts are fence length divided by picket-plus-gap — the gap is a design decision
A picket fence is mostly air by design, and the air is measured: decide the gap — commonly the width that keeps a small dog in and a view out, often around half a picket's width — then divide the run's length by picket width plus gap. Change the gap by a centimetre across a long fence and the count moves by whole bundles, which is why the style decision comes before the order, never at the till.
Subtract gates as finished units, add five percent for the warped and the miscut, and buy pickets in one batch for one tone of timber. Space with a jig — a spacer board of exactly the gap — rather than by eye, because the eye forgives each small error and the finished fence displays their sum, drifting visibly by the far corner.
Sources
Key facts on this page cross-checked against Picket fence — Wikipedia — background on picket fences and their construction and Fence — Wikipedia — background on fences and their construction.
Related page
Read next: How Deep Should Fence Posts Be?.
Comments & ratings
No comments yet.
Be the first to share your experience.