
Guides · Trees · Published November 11, 2026 · By Faizan Ahmad
Winter Burn on Evergreens: How to Prevent It (and What Helps After)
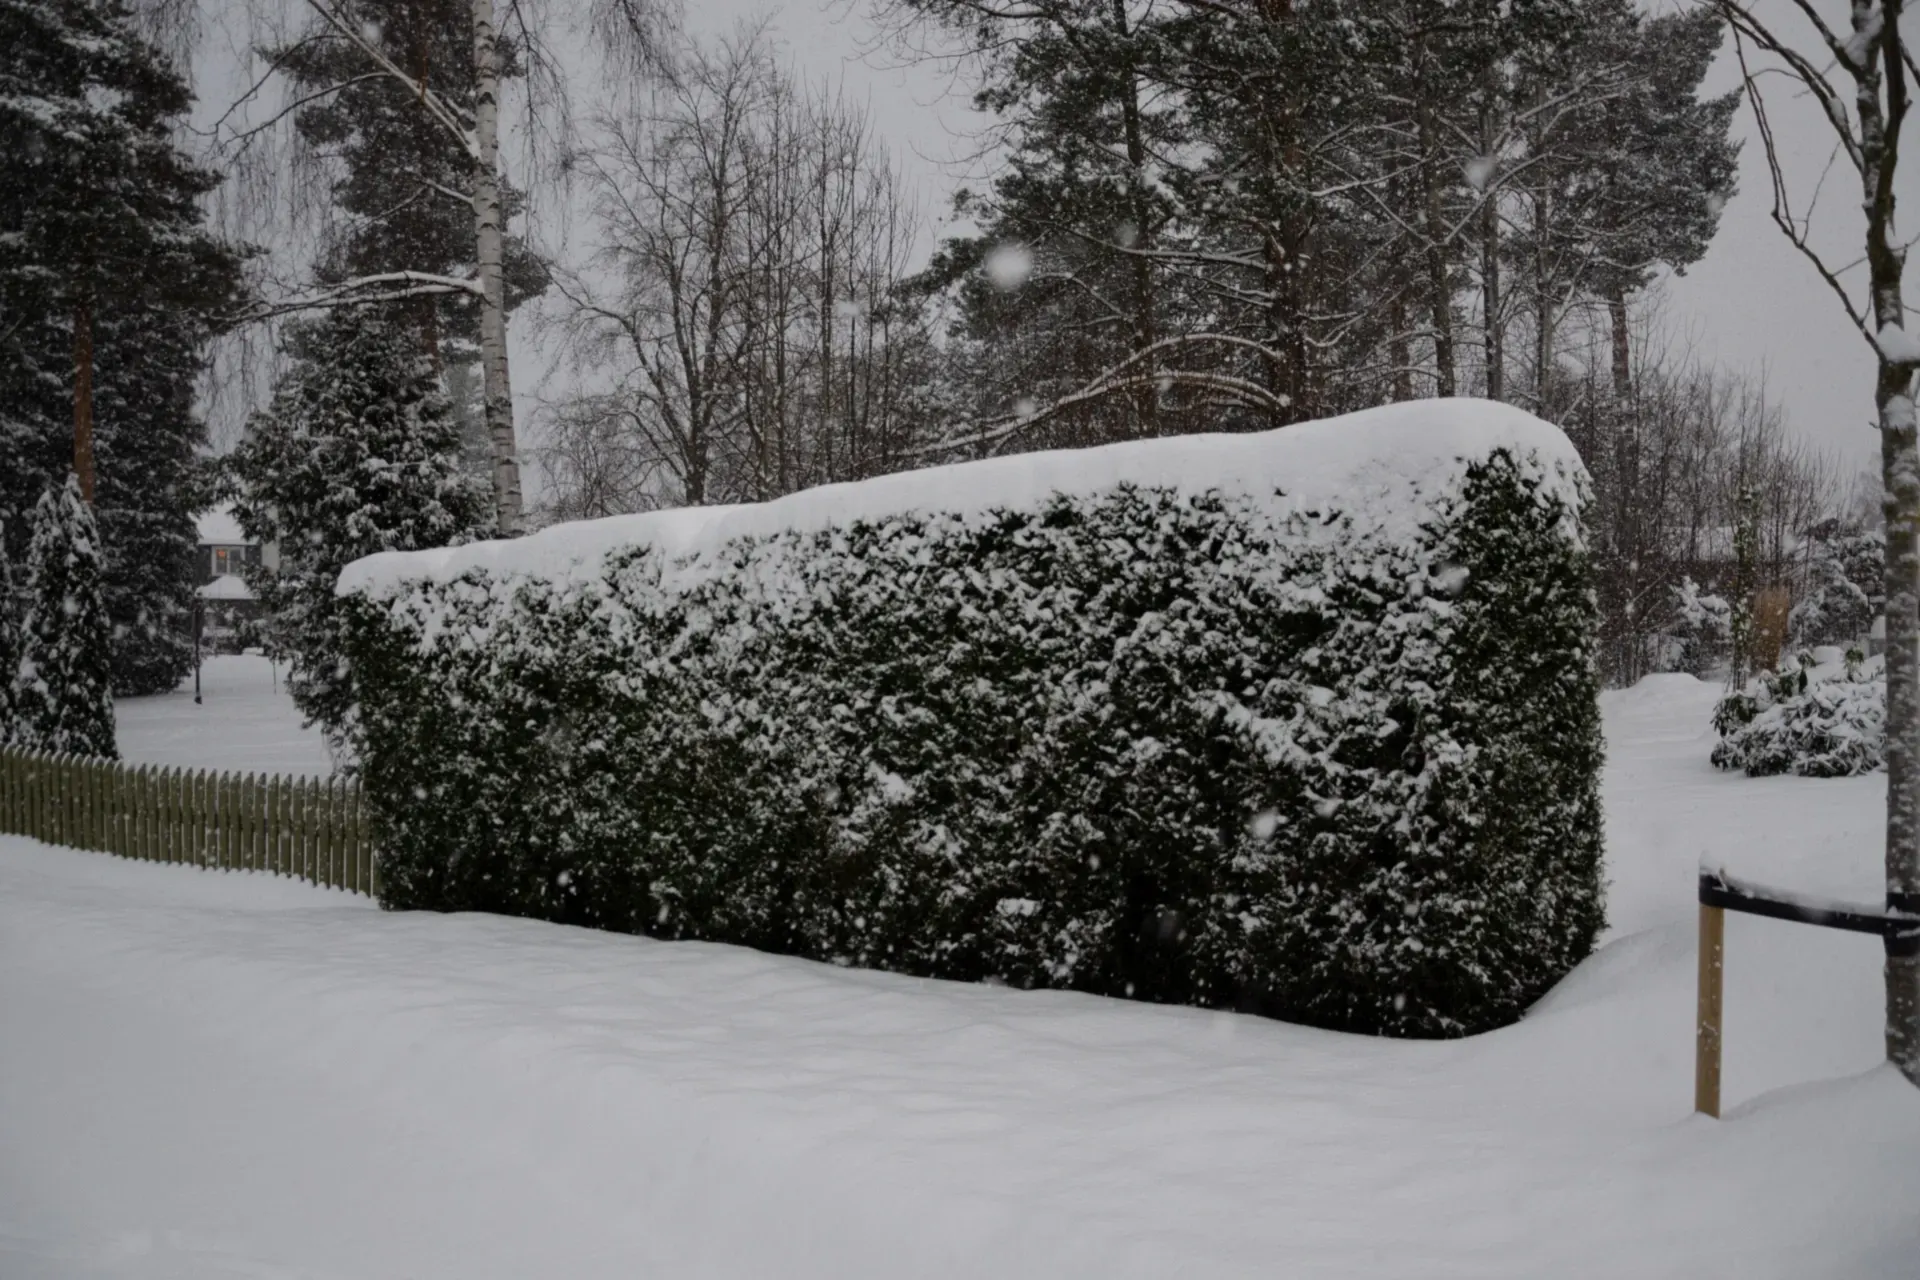
Winter burn looks like cold damage and is almost never caused by cold. It is thirst. On a bright, windy winter day an evergreen's foliage loses water to the air exactly as it does in summer — but its roots are locked in frozen soil and cannot replace a drop of it. The leaves and needles dry out cell by cell until they turn the colour of a paper bag, and by the time you notice, the damage was done weeks ago.
What winter burn is — at a glance
- The cause: foliage loses water to winter sun and wind faster than frozen roots can replace it — desiccation, not freezing
- Where it shows: worst on the windward and south-facing sides; the sheltered side of the same plant often stays green
- Who suffers most: boxwood, arborvitae, yew and rhododendron, and above all any evergreen planted this year — broadleaf evergreens and shallow-rooted plants first
- The pattern to learn: browning that follows exposure — one side, the top, the tips — is winter burn; browning spread evenly through the interior is more likely age, shade or disease
Even an evergreen herb can lose this fight: rosemary is evergreen, yet winter-kills outright in cold zones when dry wind and frozen soil combine.
Step 1 — Water until the ground freezes

Water is the whole cure, and it has to go in before the ground locks. All fall, keep evergreens watered to about 1 inch (25 mm) of water a week, counting rainfall, and give them one final deep soak just before freeze-up so they enter winter with a full reservoir in both soil and foliage. A plant that goes into winter already dry has nothing to spend.
Method matters more than volume. Lay a soaker hose in a spiral on the root zone out to the dripline — the circle under the edge of the foliage, where the feeder roots actually are — and run it slowly for a few hours rather than blasting the base of the trunk for ten minutes. Water in the morning on a mild day so it soaks in before nightfall. Newly planted evergreens need this most of all: their roots still occupy little more than the planting hole, and they dry out first.
One exception to the freeze-up deadline: in dry-winter climates with little snow, a mid-winter thaw is a watering opportunity, not a day off. If the ground thaws for several days running and the soil a few inches down is dry, water evergreens again in the morning of a mild day, while the soil can still drink. A plant cannot use water sitting frozen on the surface, but it can use every soak a thaw lets through — and a January drink has saved more dry-climate evergreens than any spray ever sold.
Step 2 — Mulch the root zone
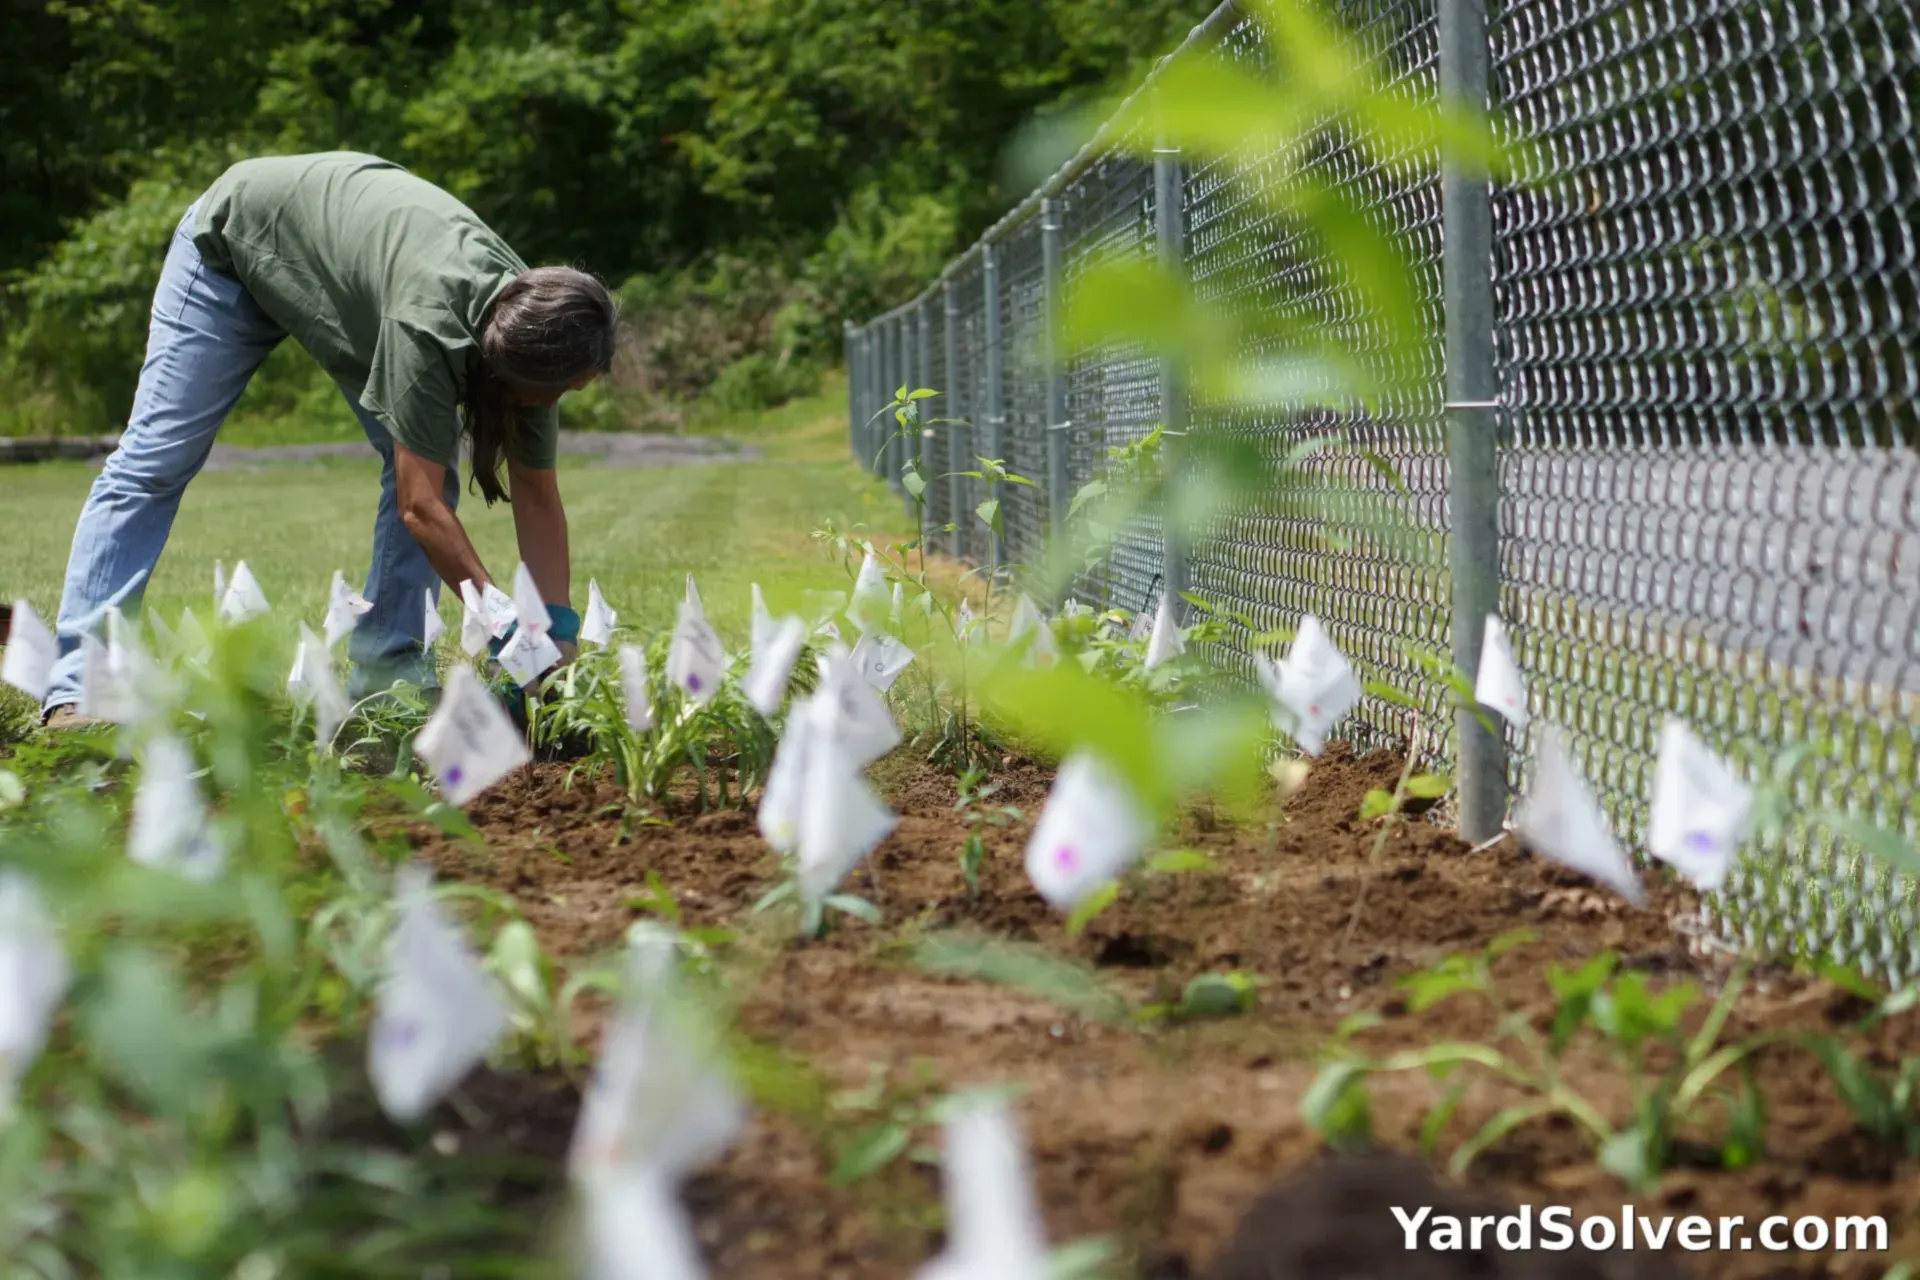
A steady blanket of mulch keeps the root zone frozen steadily instead of swinging through freeze–thaw cycles that push shallow roots out of the soil and crack the ground open to drying air. Spread 2–4 inches (5–10 cm) of wood chips or shredded bark over the whole root zone, out to the dripline where you can, keeping it a few inches clear of the trunk and stems. The Mulch Calculator works out the volume for a hedge or a whole bed, and our guide to how deep mulch should be covers depth by material.
Timing is the one detail people get wrong: mulch evergreens after the ground has cooled or lightly frozen, not on a warm fall day. Mulch applied too early insulates warm soil, delays the plant's hardening off, and makes a cosy winter hotel for voles. Wait for cold weather, then blanket.
Step 3 — Screen with burlap — don't wrap the plant
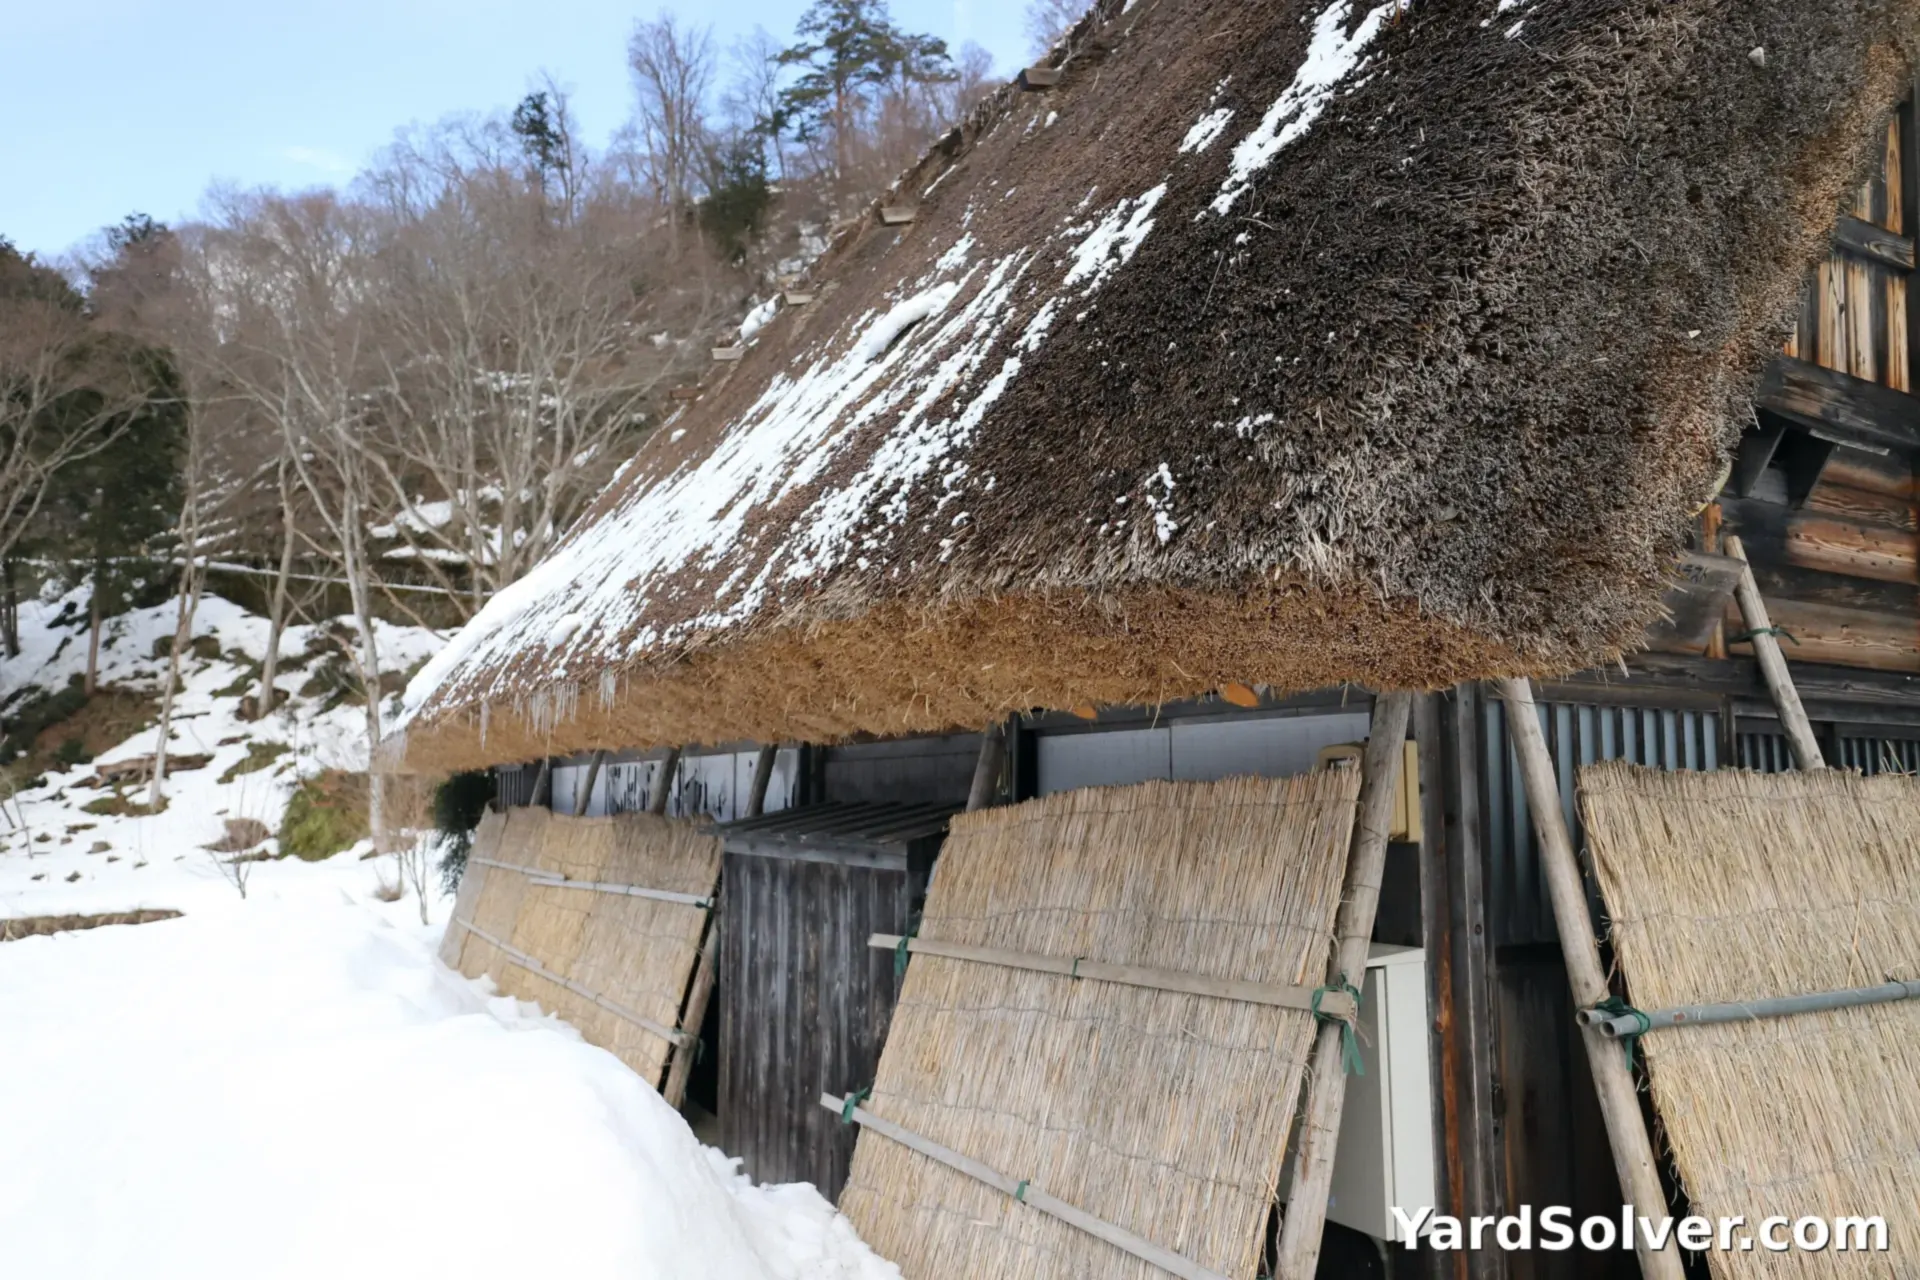
Where winter burn repeats on the same plant every year, block the wind and sun rather than treating the plant. Drive two or more stakes into the ground 6–12 inches (15–30 cm) out from the foliage on the windward and south sides, and staple or tie a length of burlap between them, screen-fashion, a few inches clear of the leaves. The screen breaks the wind and shades the foliage; the air gap stops the burlap itself freezing onto the leaves.
Do not wrap the plant itself. Burlap or plastic wound tight around an evergreen holds ice and wet foliage against the plant, bends and breaks branches under snow load, and cooks on the first sunny spring day it is forgotten. A screen protects; a wrapping smothers. If you are unsure which side takes the punishment, our Sun & Shadow Calculator shows where winter sun and shade actually fall across your garden.
Step 4 — Stop feeding and pruning late
Winter burn is made worse by soft, thirsty growth that never hardened off, and late-season habits create it. Give evergreens no nitrogen fertilizer after late summer: a feed in September pushes a flush of tender new growth that goes into winter soft, water-hungry and first in line to scorch. Ordinary spring feeding, once growth starts, is all a healthy evergreen needs.
Pruning has the same deadline. A late-summer trim stimulates the same tender regrowth and removes foliage the plant spent all season building, so finish any shaping of hedges and conifers by mid-to-late summer and leave the plants alone after that. Fall is for watering and mulching, not for feeding and cutting — the two cheapest winter-burn mistakes are both made with the best intentions in September.
Step 5 — Keep road salt off them
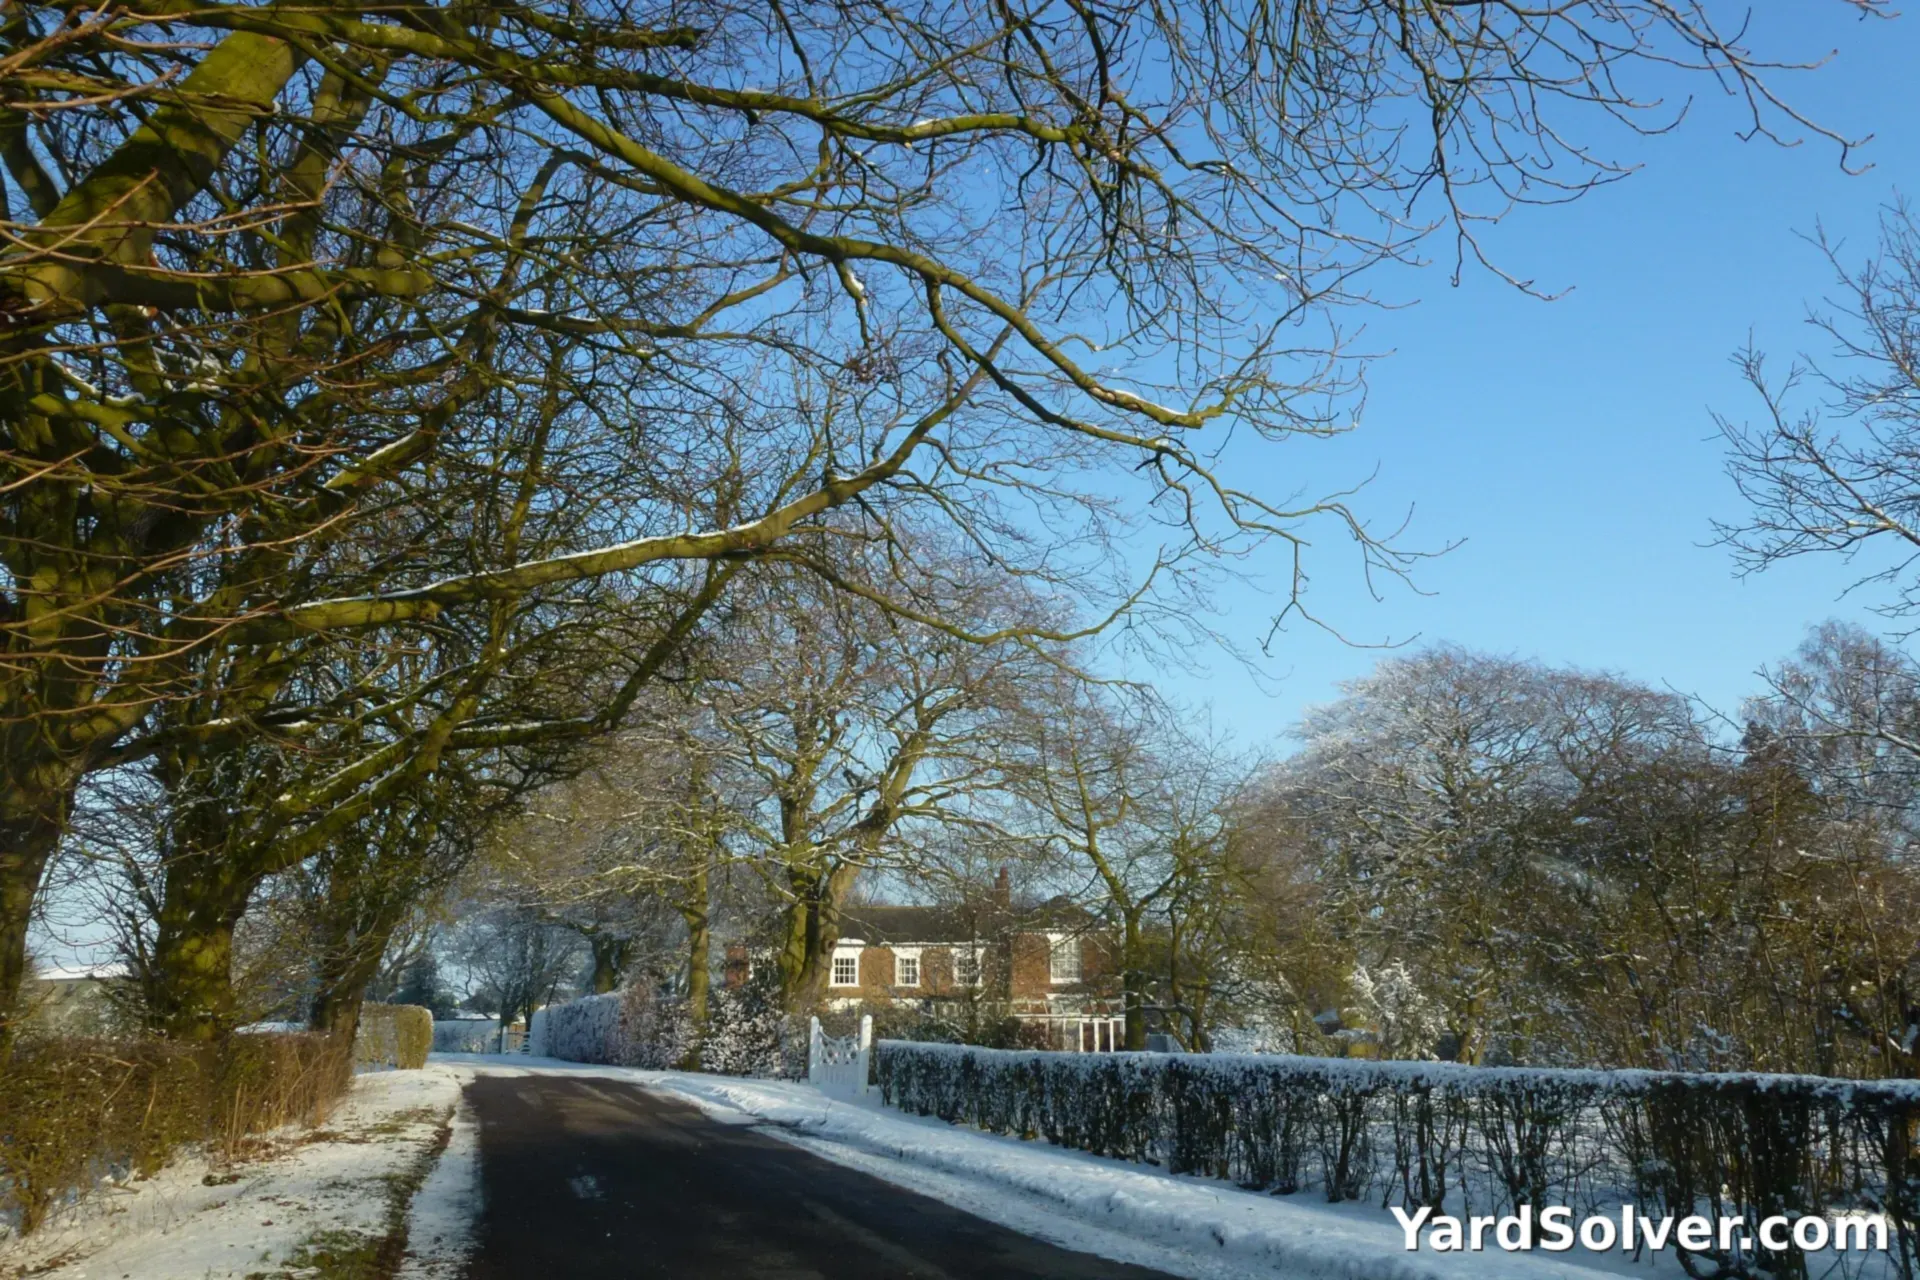
Salt damage looks exactly like winter burn — brown, scorched foliage — because it does the same thing: it pulls water out of plant tissue and poisons the soil the roots drink from. Hedges beside roads, driveways and paths get it twice over, sprayed from passing traffic and fed it from meltwater. Where you control the surface, use sand or a calcium-magnesium product near plantings rather than rock salt, and put a burlap barrier on the road side of a hedge that gets sprayed.
The rule that saves the most plants is the simplest: never pile shovelled snow from a salted road or driveway onto an evergreen's root zone. That snow is a salt concentrate, and it melts its load straight into the roots in spring. Pile road snow on the lawn or the road verge instead. In spring, flush a salt-exposed bed with a long, deep watering to wash salt down past the roots before growth starts.
Step 6 — In spring, wait before you prune

Winter burn is slow to confess. Damage done in January may not fully show until March or April, and the reverse is also true: foliage that looks dead in early spring often has living buds tucked behind it. So in spring, wait. Water the root zone well once the ground thaws, keep the mulch in place, and hold the pruners until new growth shows in mid-spring and tells you exactly what is alive and what is not.
Then prune only what is truly dead: scratch a twig with a thumbnail — green and moist underneath means alive, brown and dry means dead back to that point — and cut dead wood back to living tissue. On most evergreens the browned outer foliage is a surface loss, not a death sentence; the plant refills from the inside over a season or two. The exceptions are plants browned to the trunk on every side, and leaders killed on young conifers, which may never regain their shape. Prevention — water, mulch and a screen — is a fall afternoon; replacement is a spring expense.
Keep going
Map your beds and screens in the Garden Designer, and keep learning: How Deep Should Mulch Be? · How Much Water Does a Real Christmas Tree Need? · Mulch Calculator · Sun & Shadow Calculator
Questions people ask
What causes winter burn?
Winter burn is desiccation: evergreen foliage keeps losing water to winter sun and wind, while roots in frozen soil cannot replace it. The dried-out foliage turns brown, worst on the windward and south-facing sides that take the most exposure.
Can an evergreen recover from winter burn?
Usually, yes. The buds behind the browned foliage are often still alive. Water well in spring, wait until new growth shows in mid-spring, then prune out only the wood that is genuinely dead. Surface browning typically refills within a season or two.
Do anti-desiccant sprays work?
Honestly, they are unreliable. Extension services find that anti-desiccant (anti-transpirant) sprays give inconsistent protection and wear off when they are needed most. Deep fall watering, mulch and a burlap screen do the real work — spend on those first.
When does winter burn show up?
Later than you expect. The drying happens through mid and late winter, but the browning often does not fully appear until late winter or early spring, as temperatures rise. That delay is why spring pruning should wait until new growth reveals what is actually dead.
Winter burn is drought in frozen ground — water in autumn, shield the wind
Winter burn — the bronzed, scorched foliage on evergreens in late winter — is rarely cold injury: it is desiccation. Leaves keep losing water to sun and wind while the roots sit in frozen soil that cannot replace it, and the leaf dies of thirst in a landscape full of ice. Understanding that mechanism hands the gardener the cures: water deeply in autumn before the ground freezes so the plant starts winter hydrated, mulch to moderate soil temperature, and shield exposed plants from wind and reflected winter sun.
Broadleaf evergreens — rhododendron, box, holly — suffer most, especially on south and west exposures and in their first winters. Burlap screens on stakes (not wrapped tight against foliage) break the wind without trapping moisture, and anti-desiccant sprays offer partial help at best. Prune nothing in autumn: wait until spring growth shows what truly died, because bronzed leaves sometimes green again and hasty cutting removes living wood. Site is destiny — an evergreen that burns every year is planted in the wrong place, and moving it is the honest fix.
Sources
Key facts on this page cross-checked against Evergreen — Wikipedia — background on evergreen plants and their winter water loss.
Related page
Read next: How to Protect Young Trees in Winter: Guards, Wrap & Mulch.
Comments & ratings
No comments yet.
Be the first to share your experience.