
Guides · Fall & winter tasks · Published November 1, 2026 · By Faizan Ahmad
How to Prune Fruit Trees in Winter
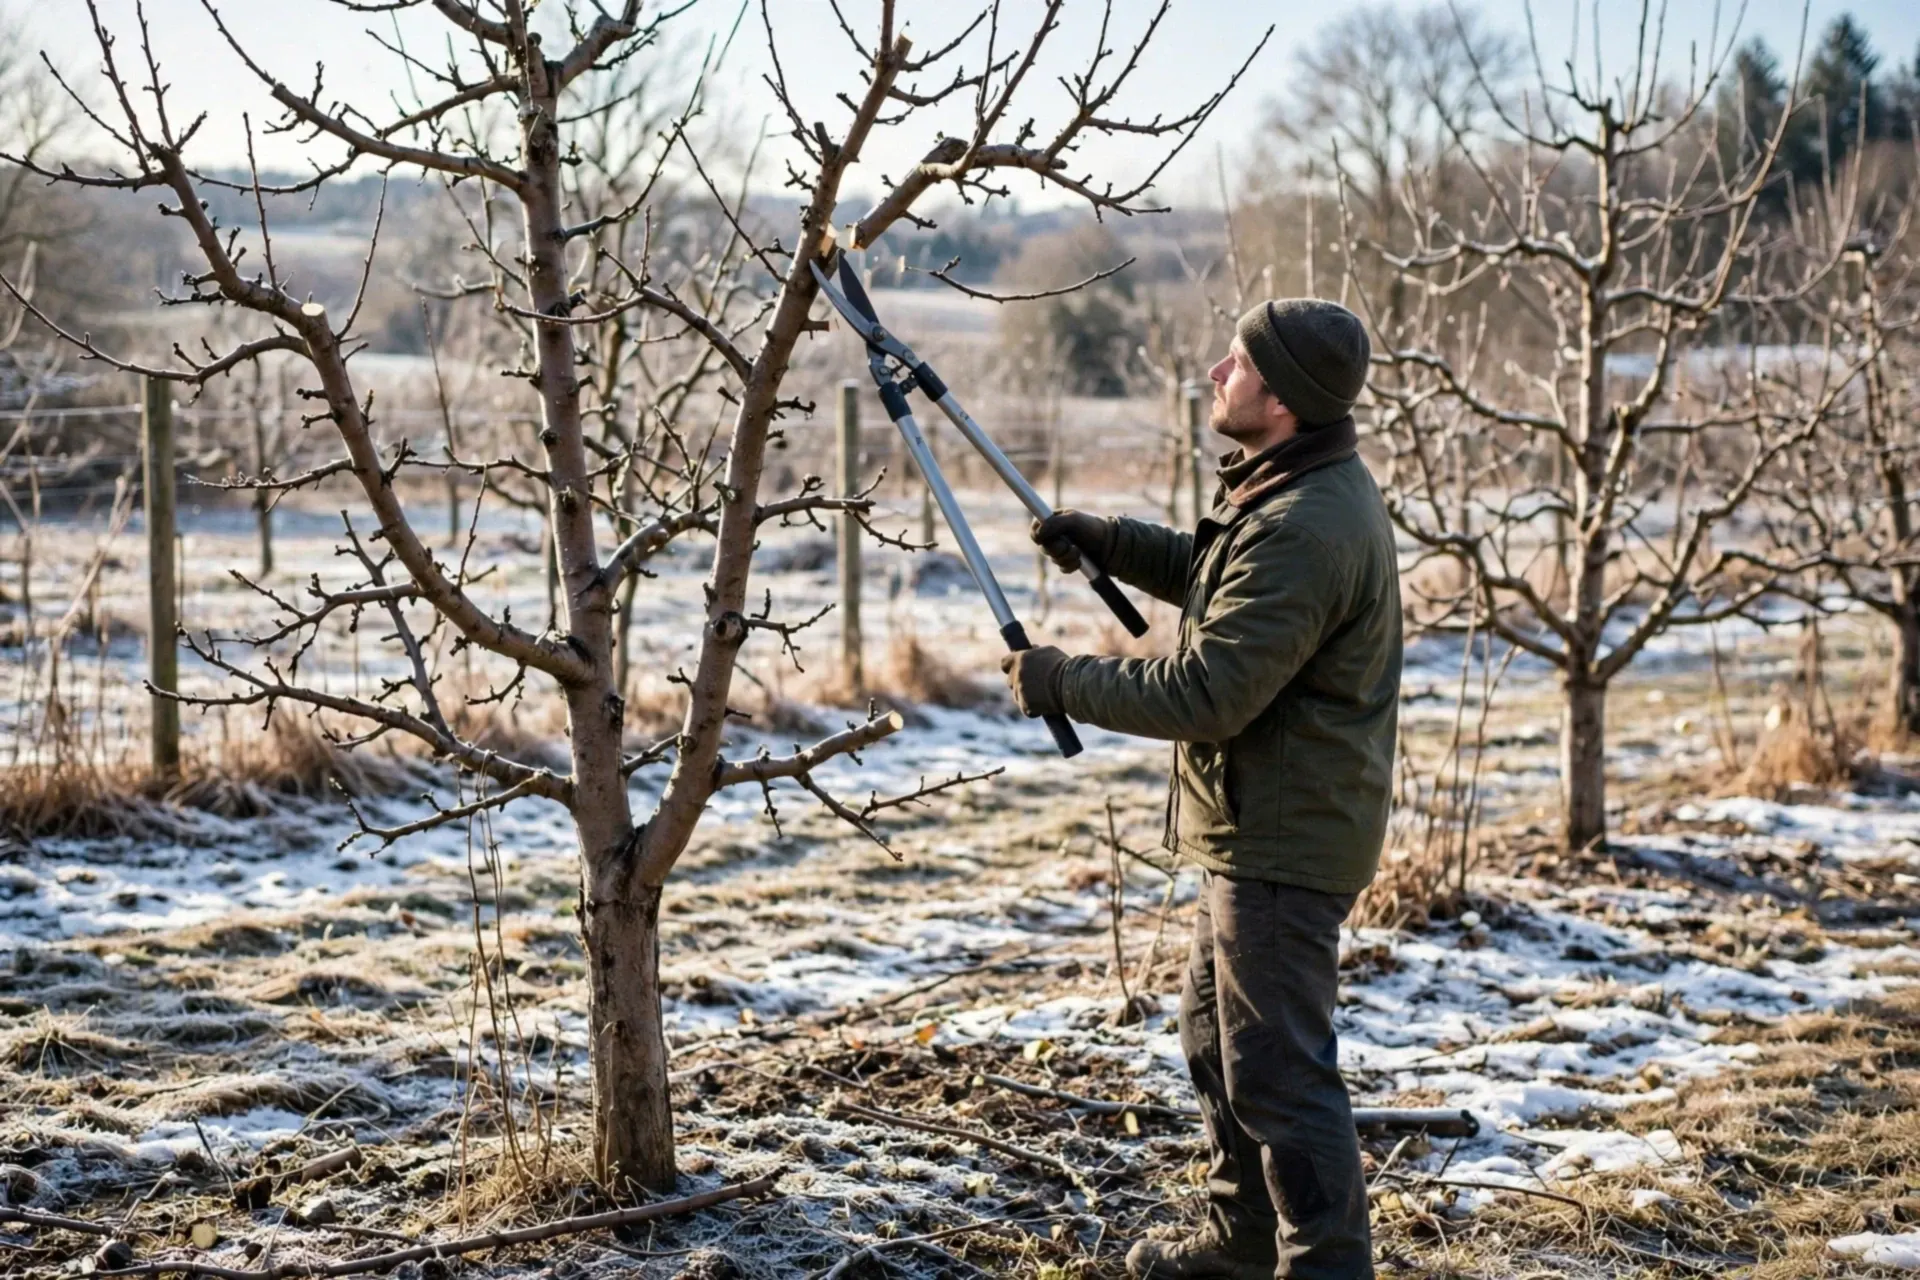
A bare fruit tree in winter is an open book: every branch visible, the tree dormant and not pushing sap, and most fungal diseases asleep too. That is why late winter is the classic pruning season. The fear most beginners have — cutting the wrong thing — dissolves once you follow a strict order of work and one limit: never remove more than about a quarter of the live wood in a single year.
Know the job before you cut: what winter pruning is for
- Remove the 3 Ds — dead, diseased and damaged wood, which harbours disease and serves no one
- Untangle the middle — crossing and rubbing branches wound each other and shade the fruit
- Let light and air in — fruit ripens and dries faster in an open canopy, with less disease
- Keep the tree a workable size — fruit you cannot reach is fruit for the wasps
- Not on the list: topping (lopping the top off) — it triggers a thicket of weak vertical regrowth and ruins the tree's shape for years
Step 1 — Tools, safety, and the honest limit
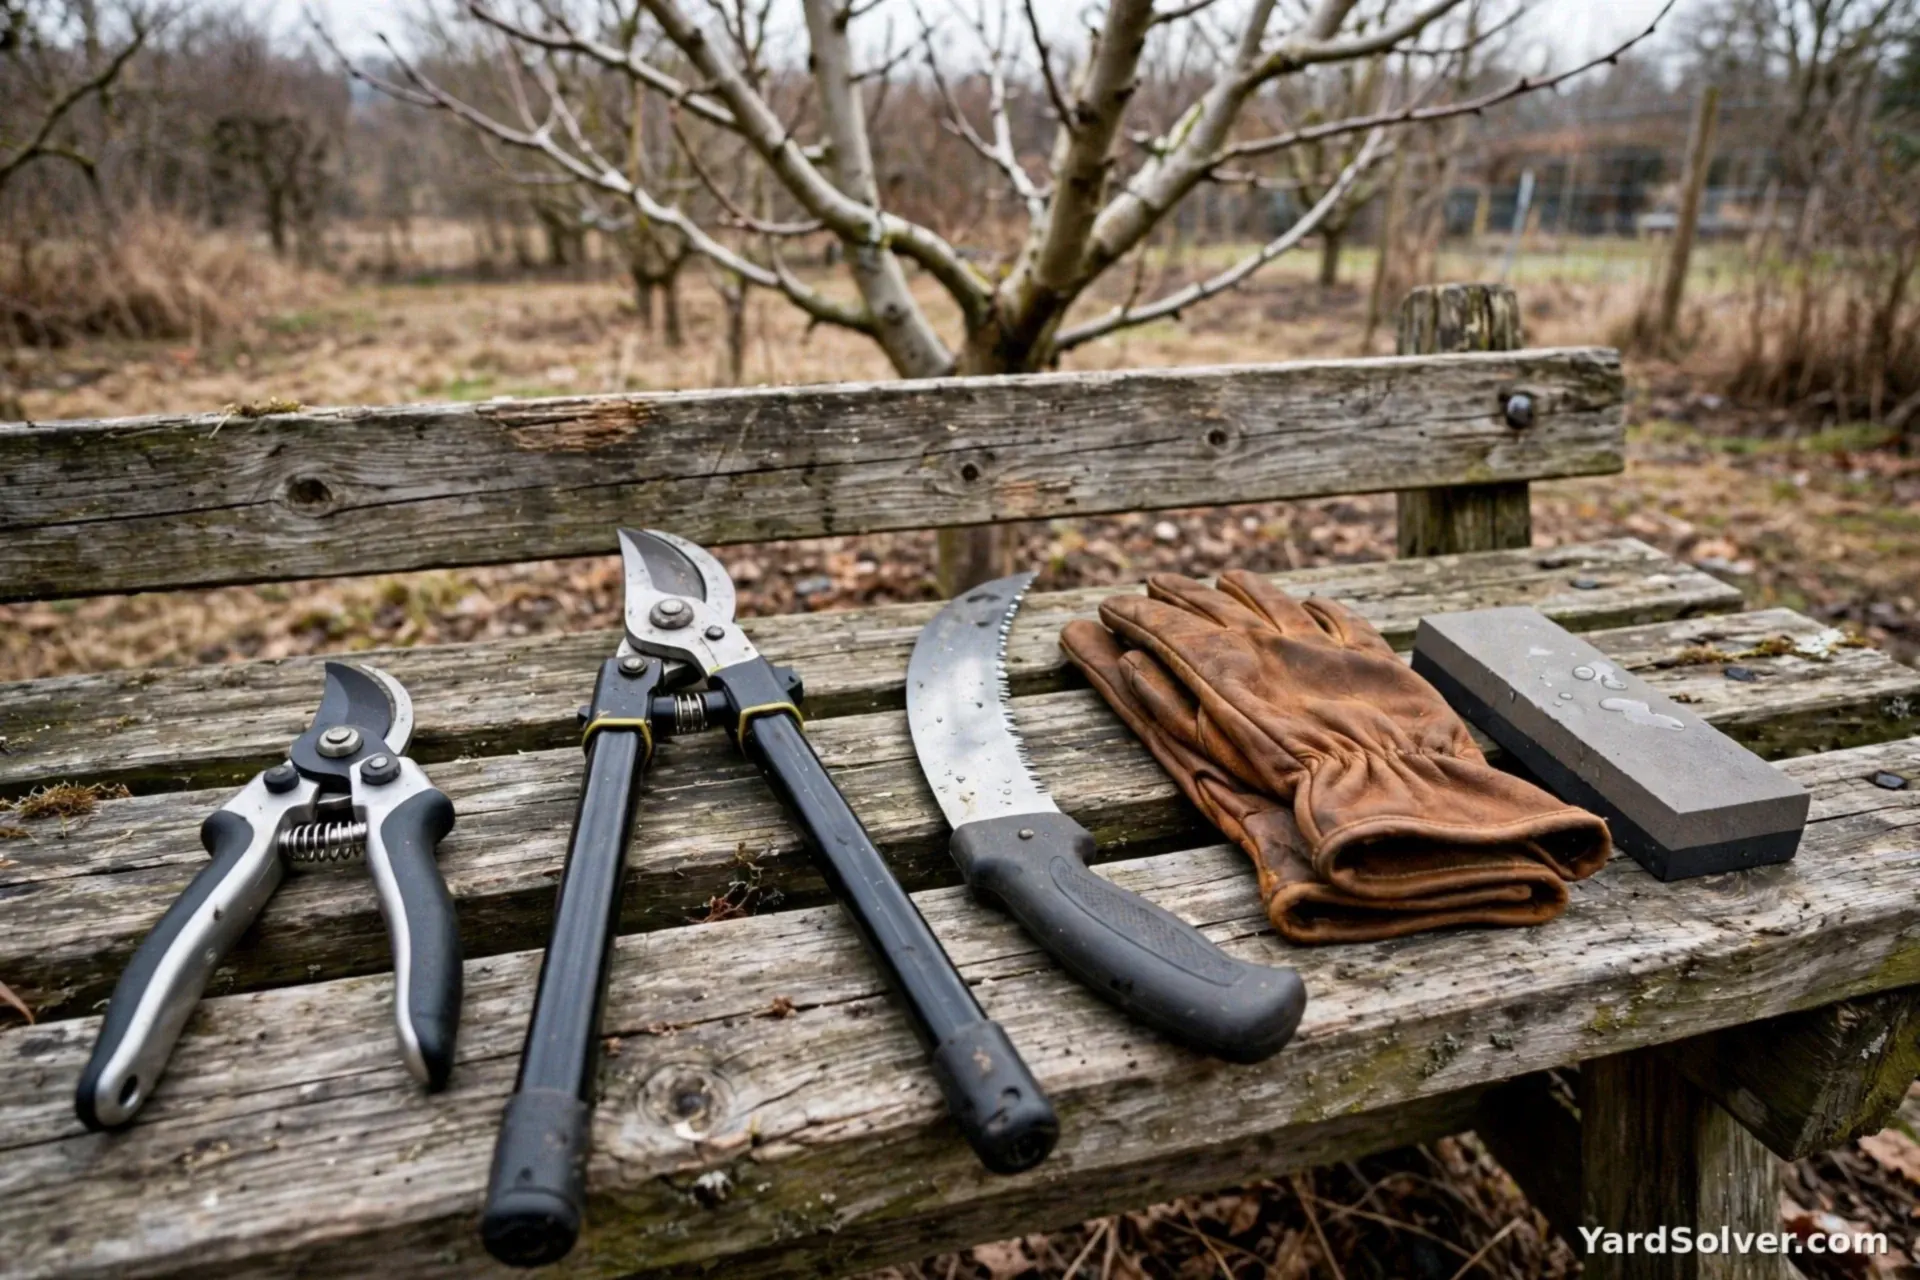
You need bypass pruners for small wood, loppers for arms up to about 4 cm, and a pruning saw for bigger limbs — all sharp, because crushed cuts heal slowly. Clean blades with disinfectant between trees, and always when leaving a diseased branch. Work from the ground or a stable ladder. And the honest limit: big limbs over a roof, anything near power lines, or a tree you cannot read at all is an arborist's job, not a learning exercise.
Step 2 — Start with the 3 Ds
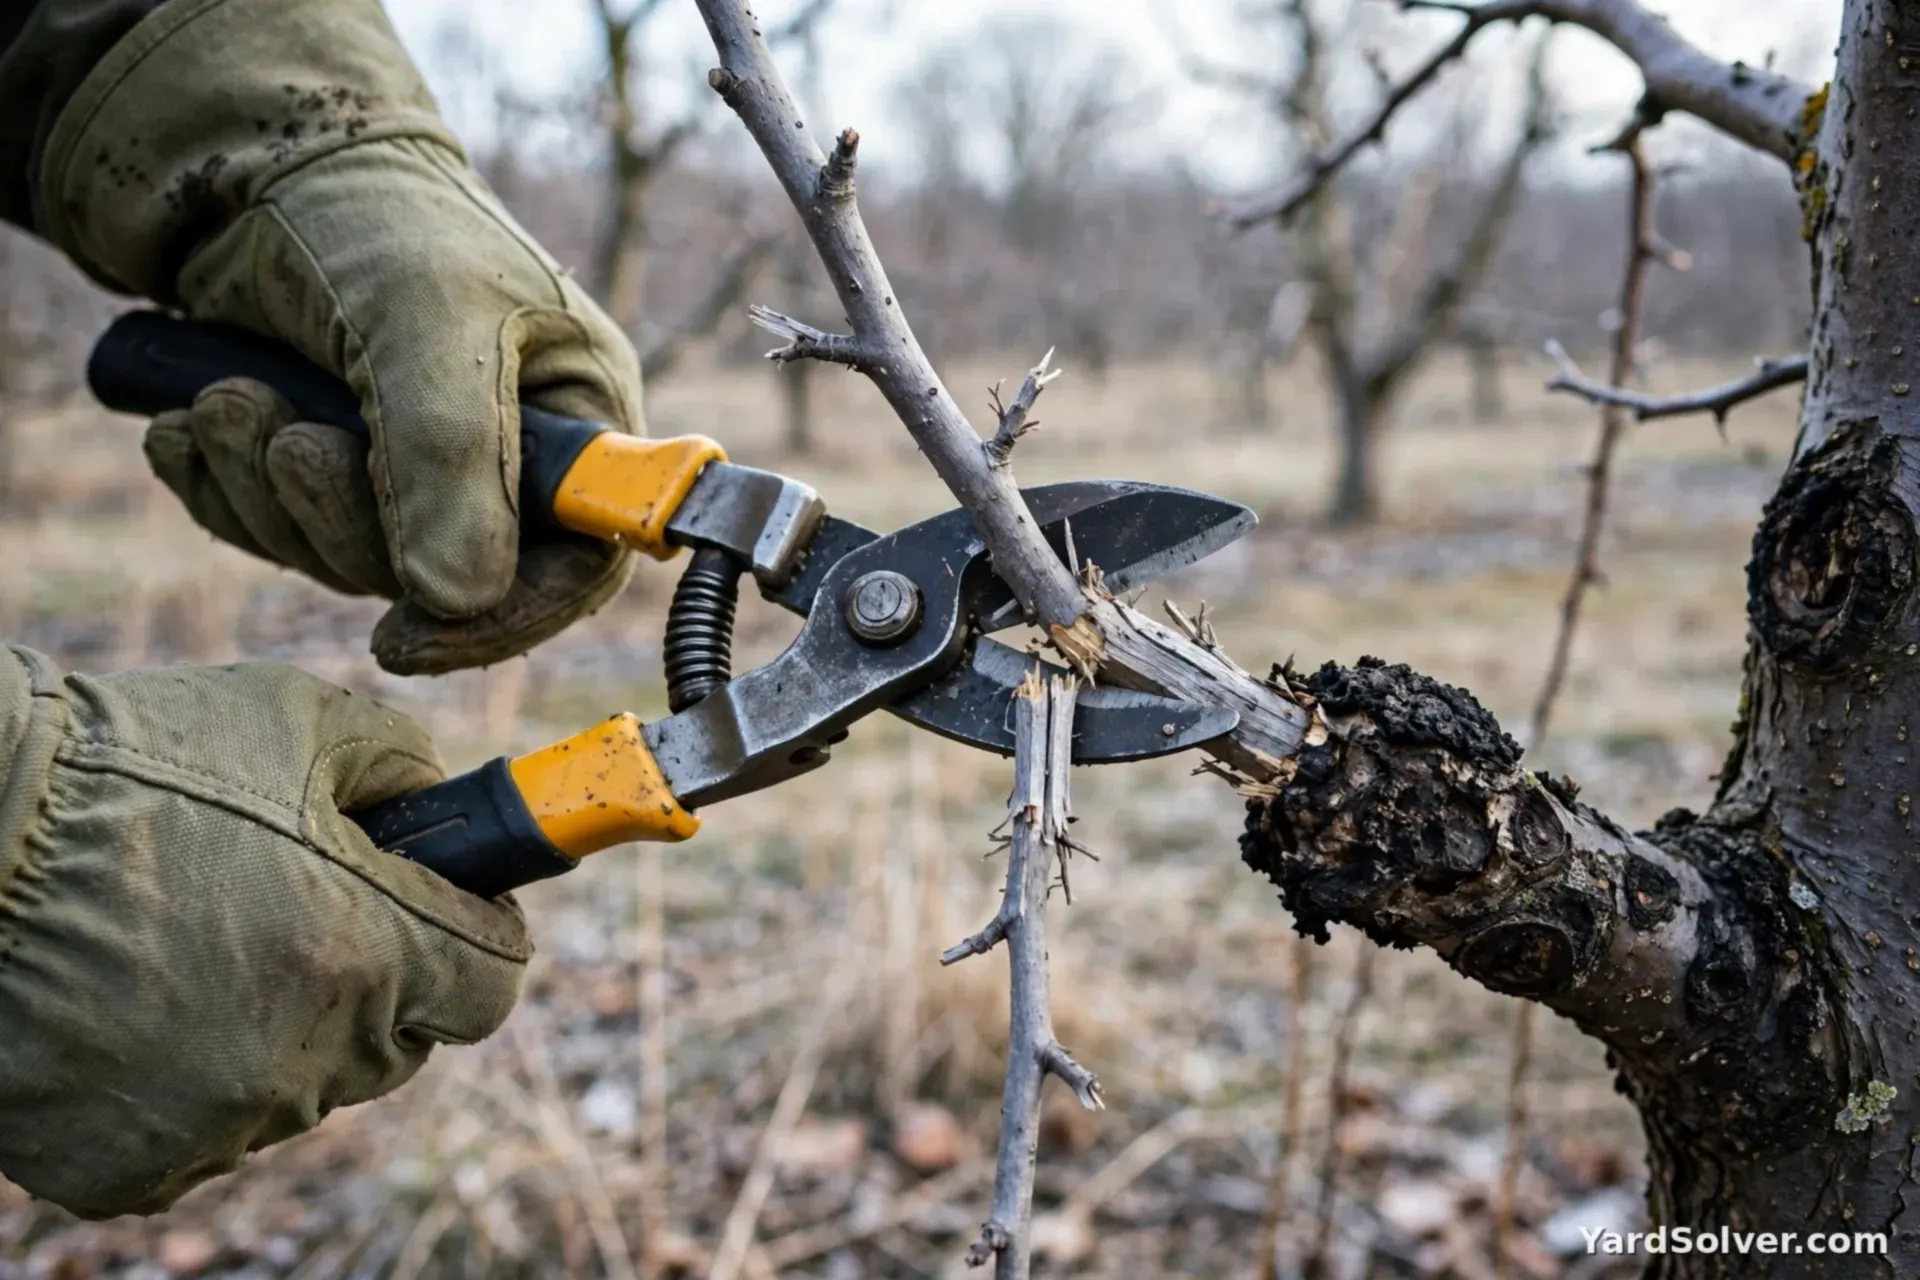
Walk around the tree and remove dead wood (grey, brittle, no live buds), diseased wood (cankered, discoloured, oozing), and broken or split branches. Cut diseased wood back into clean, healthy tissue, and take the prunings away from the tree — do not chip them into the mulch beneath it. On many neglected trees, this step alone is most of the job.
Step 3 — Untangle: crossing, rubbing, inward, and straight-up
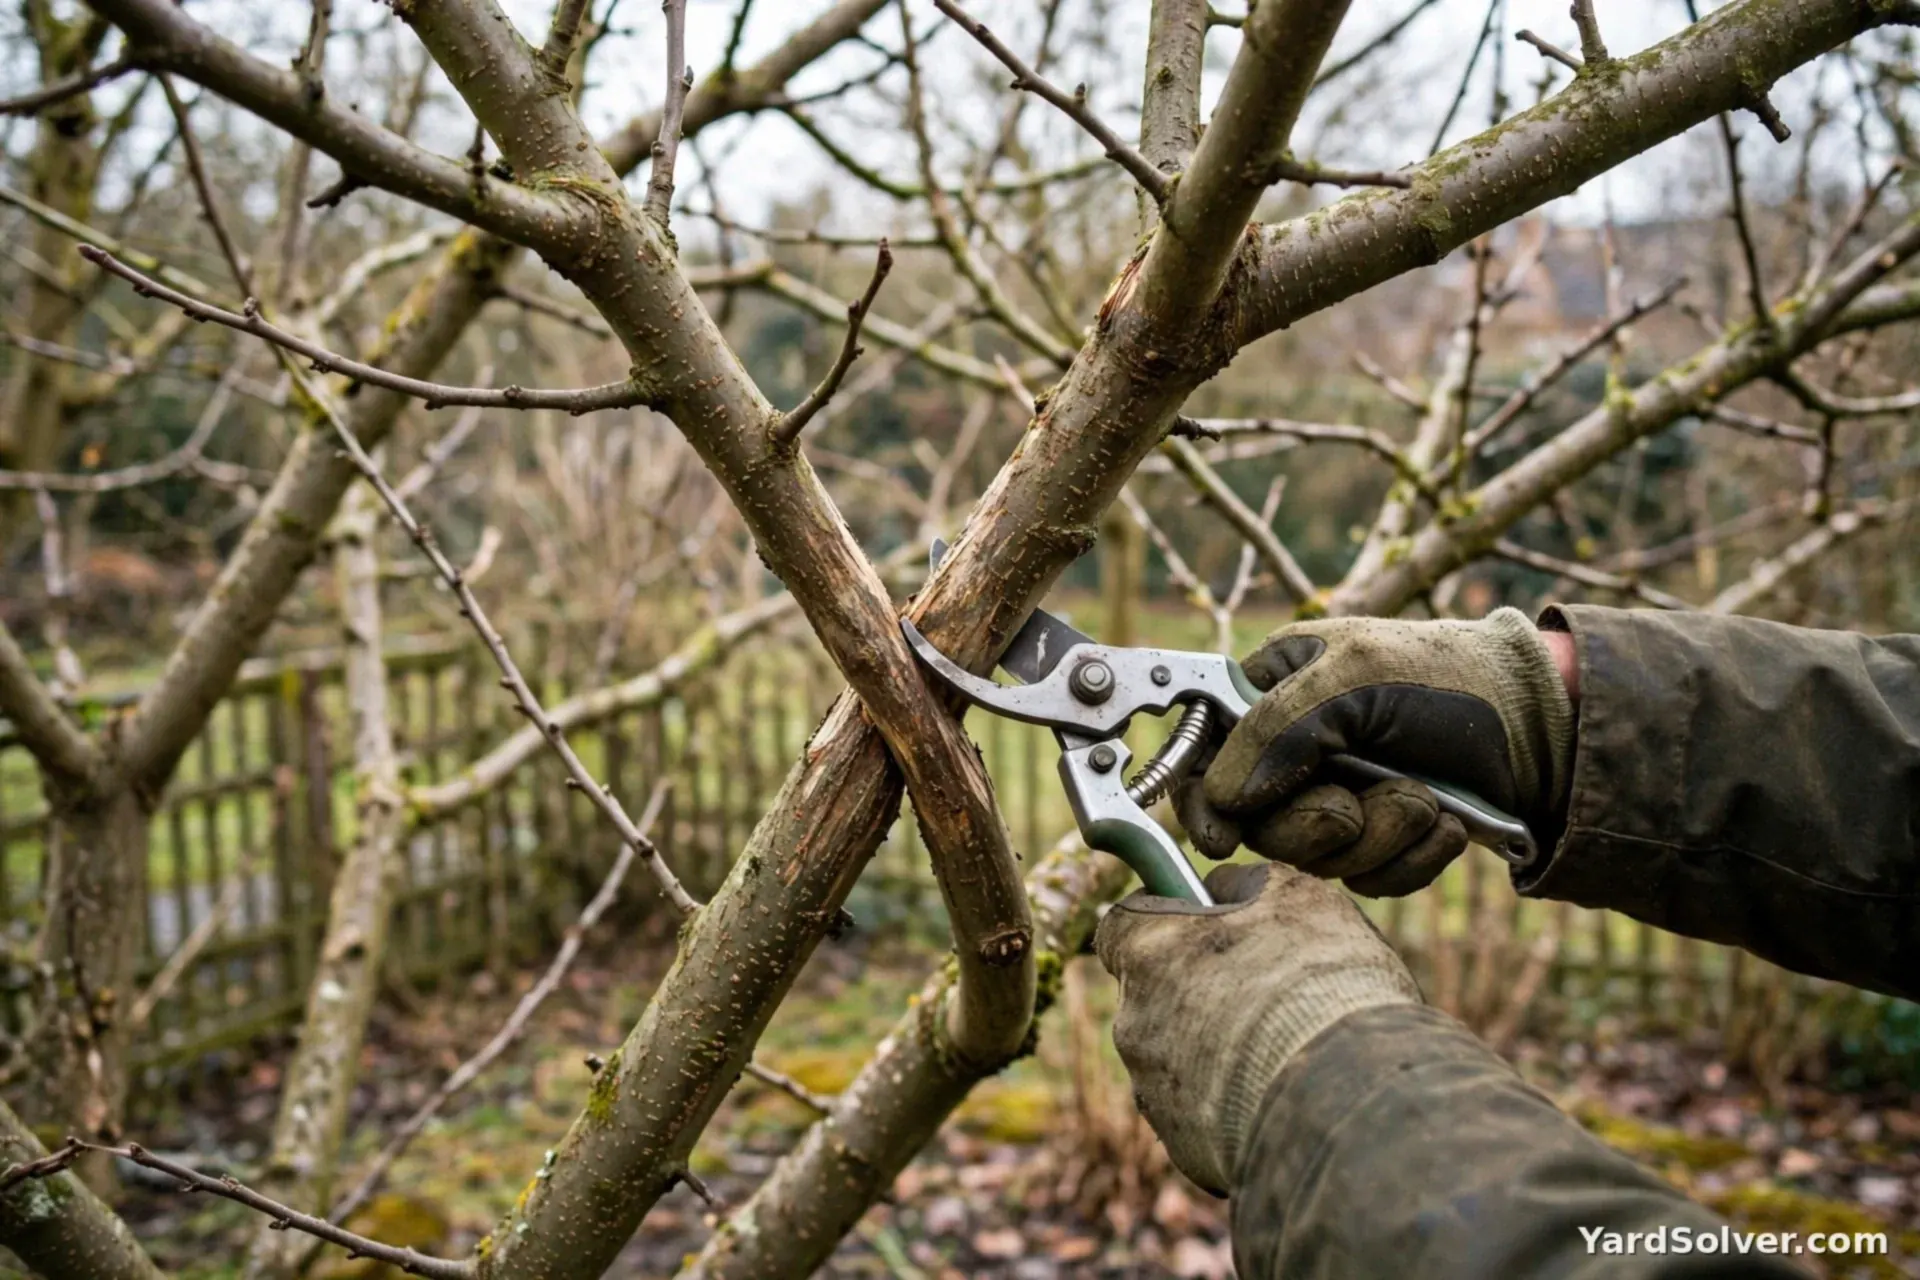
Next remove branches that cross and rub (keep the better-placed one), branches growing inward toward the centre, and the vigorous vertical shoots called water sprouts that crowd the canopy without fruiting well. Work gradually and step back every few cuts to look at the whole tree — the commonest beginner error is not cutting wrong branches, it is cutting for ten minutes without looking.
Step 4 — Shape, gently: thin, do not hack
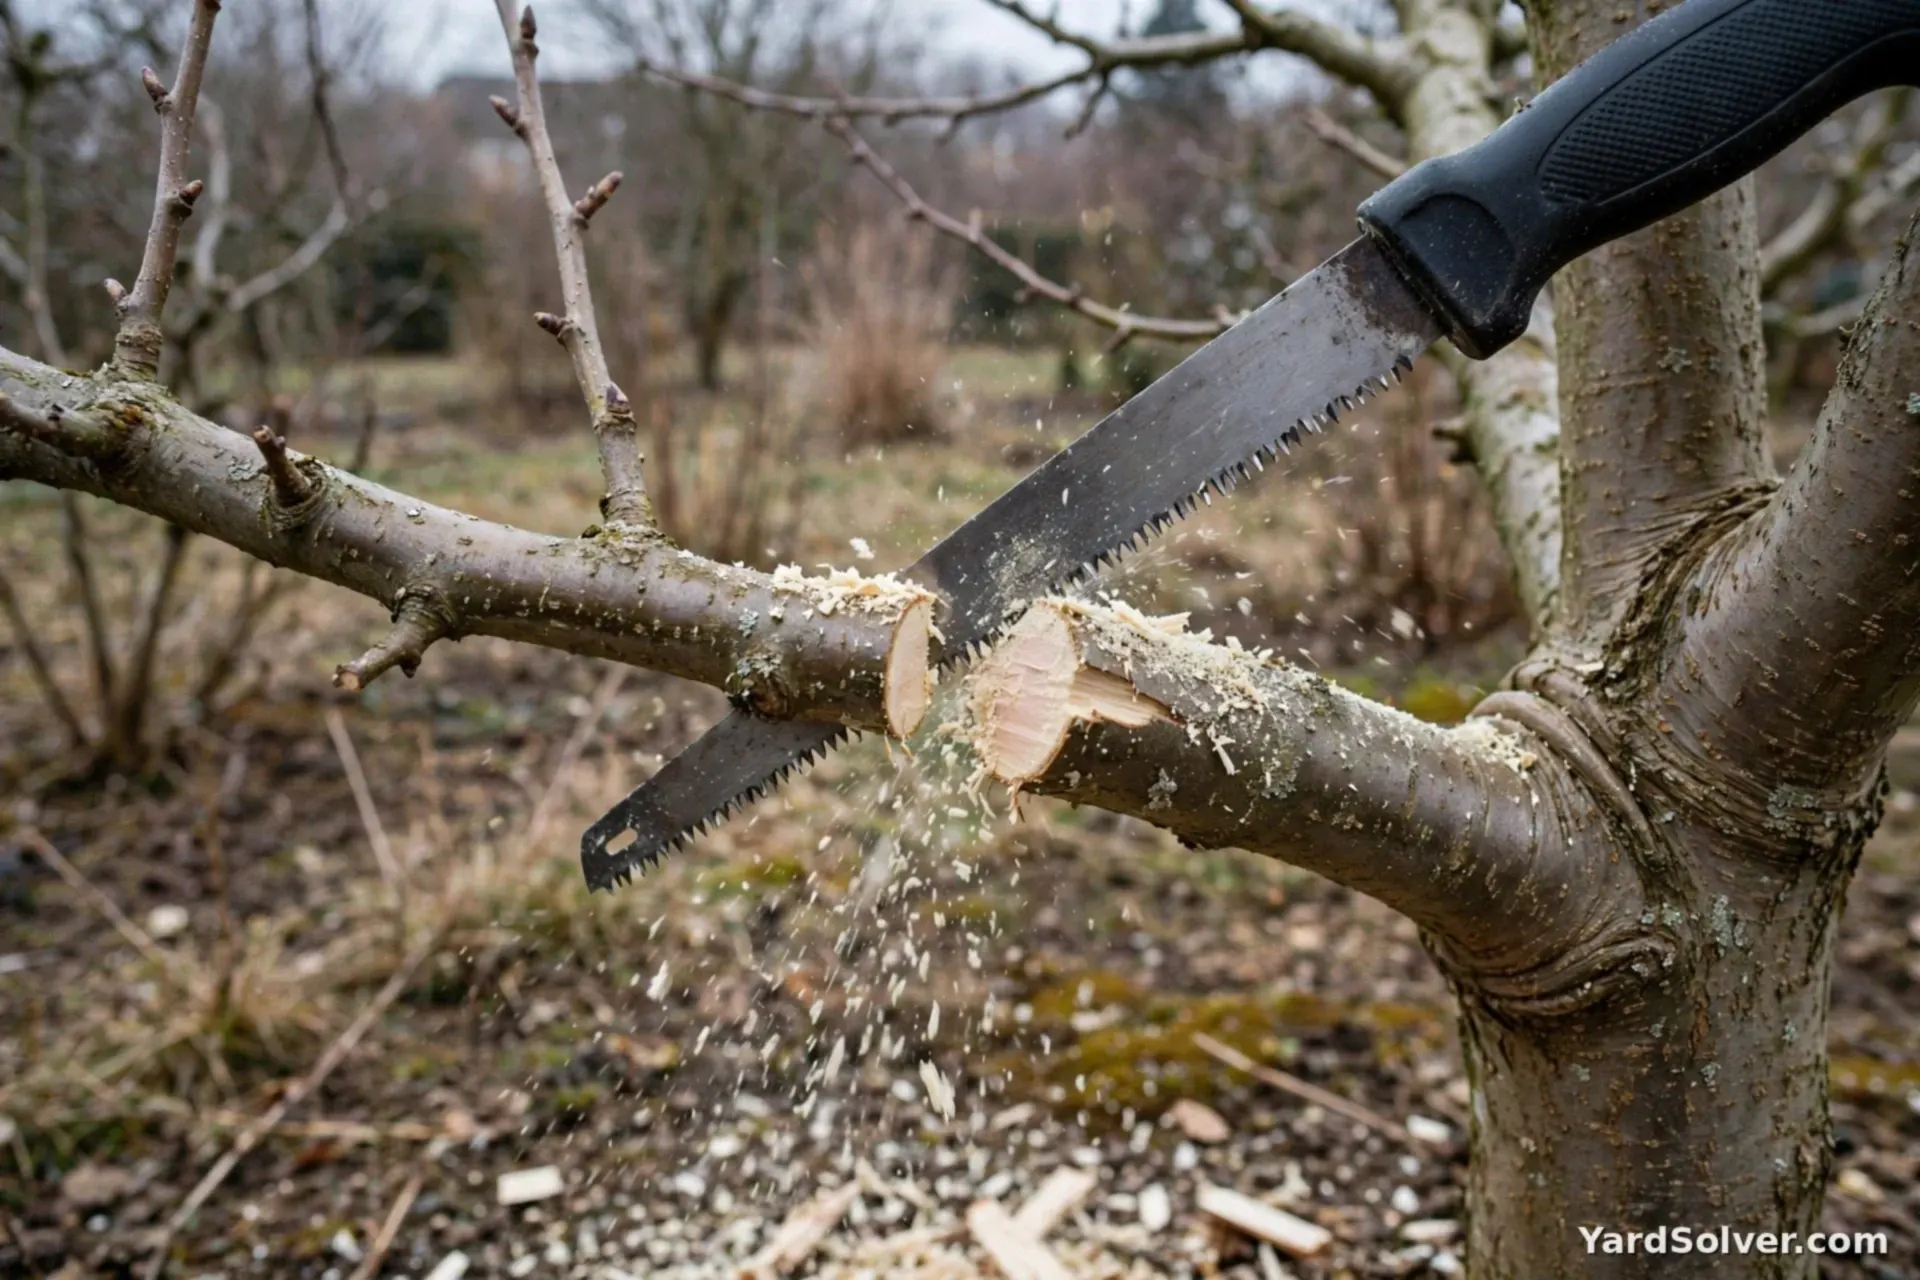
Apples and pears are usually kept to a central trunk with spaced side branches; peaches and many stone fruits to an open, vase-like centre. Whatever the shape, prefer thinning cuts (removing a branch at its base) over heading cuts (shortening), and make each cut just outside the raised branch collar — not flush with the trunk, which wounds it, and not leaving a stub, which rots. Modern extension advice is to skip wound paint: clean cuts left alone seal faster than painted ones.
Step 5 — Timing and the stone-fruit exception
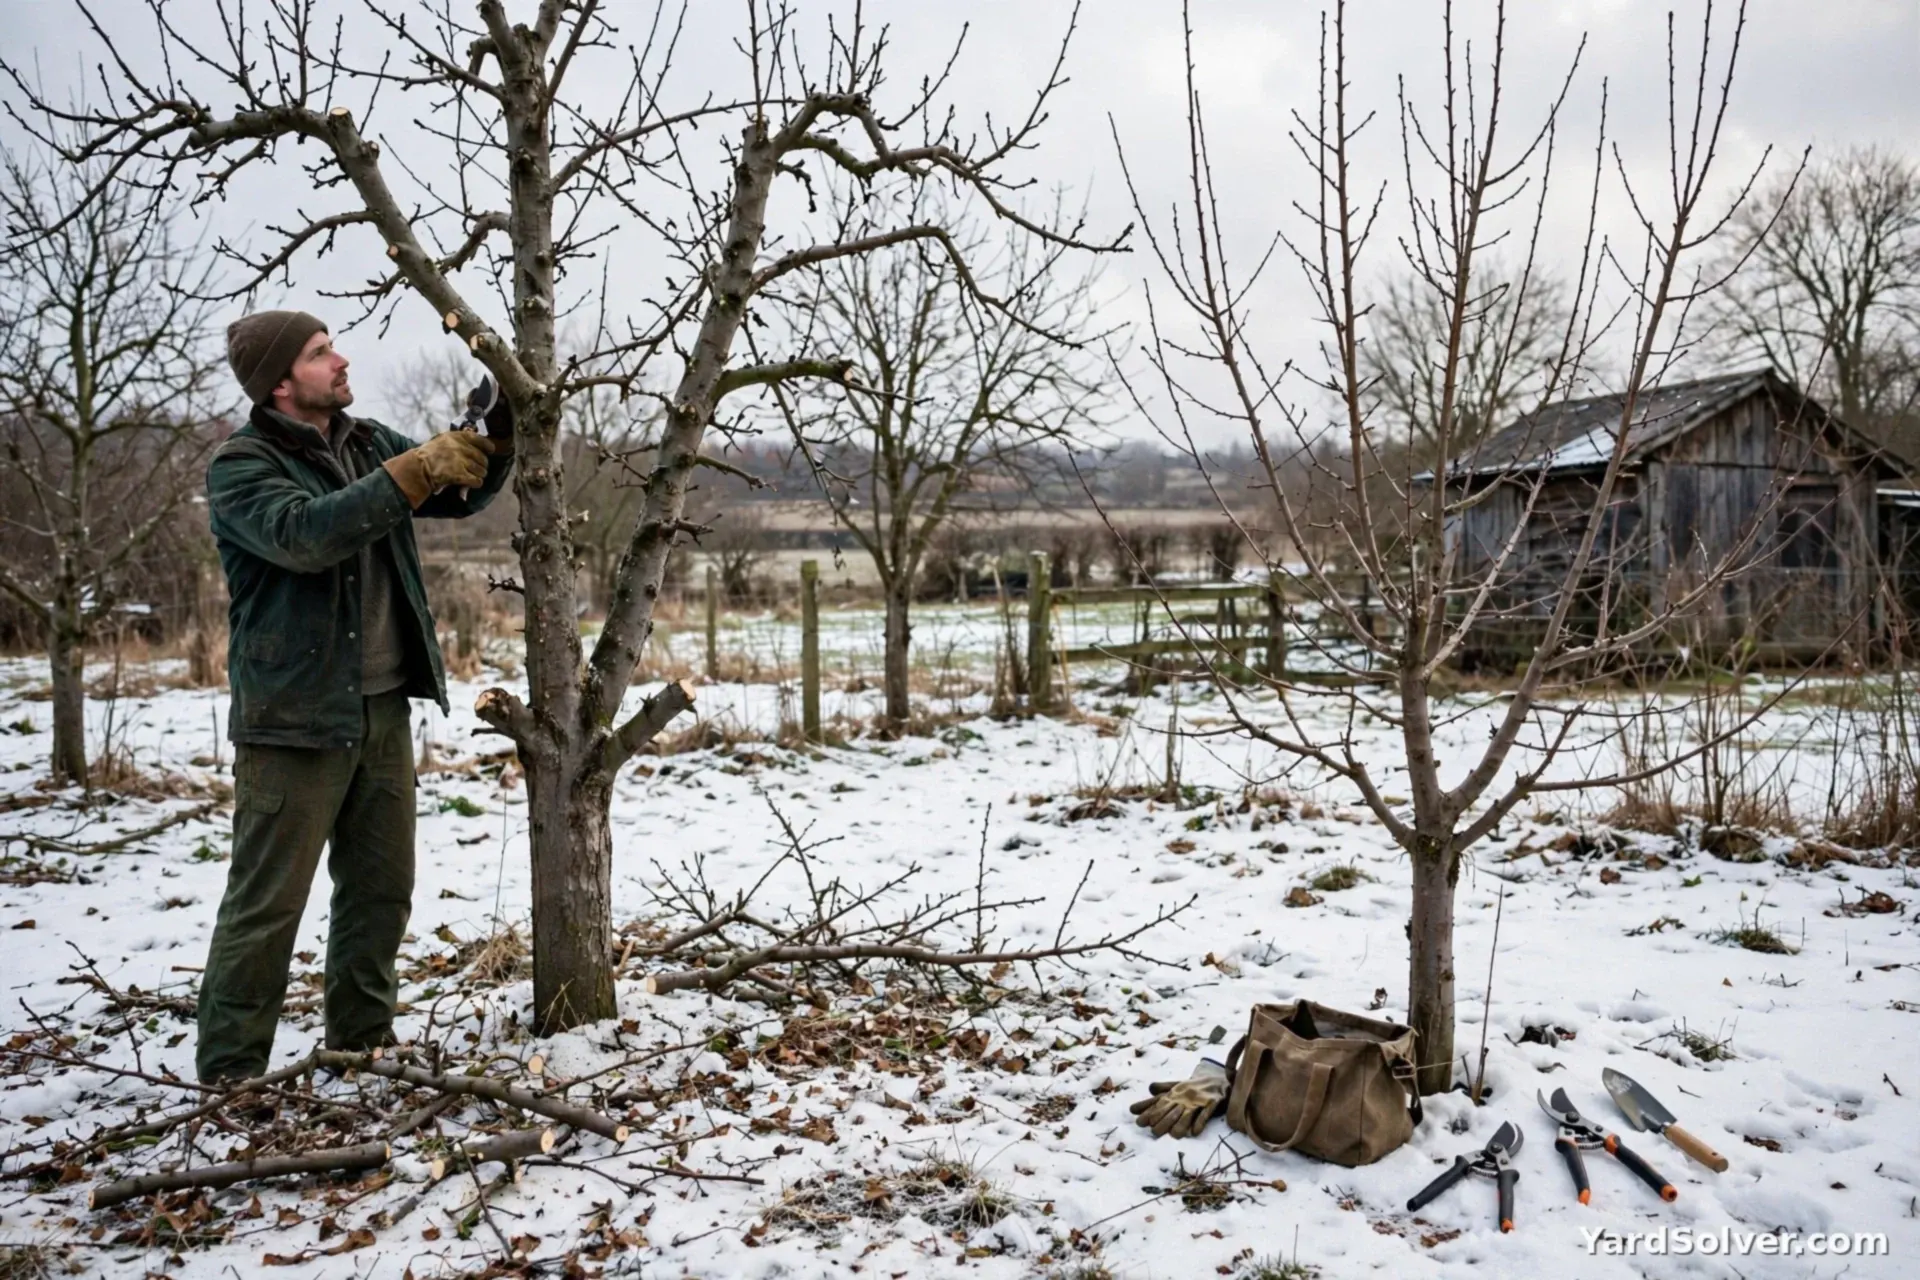
Late winter, a few weeks before buds break, is the sweet spot for apples, pears and most fruit trees — wounds close quickly as growth starts, and you avoid pruning in the hardest cold snaps, which can damage freshly cut wood. One exception to learn early: in wet climates, plums, cherries and other stone fruits are often pruned in summer instead, because winter wounds invite diseases like silver leaf and bacterial canker. If you inherit an unknown stone fruit, that single timing change matters more than any cutting subtlety.
Keep going
Winter jobs together: Putting Your Garden to Bed · How to Protect Plants From Frost. Shrubs run on a different rule — read When to Prune Hydrangeas before the shears come out. Tree profiles and planting data live in the Plant Library, and spring feeding quantities come from the Fertilizer Calculator.
Questions people ask
How much can I cut off in one winter?
About a quarter of the live wood is the safe ceiling for a healthy tree in one year. A long-neglected tree needs renovation spread over two or three winters — one huge cut triggers a forest of weak vertical regrowth and can cost you the following year's fruit.
Do I need to paint the cuts?
No. Current extension guidance is that wound paints and sealers do not speed healing and can trap moisture against the wood. A clean cut made just outside the branch collar, left open to the air, seals itself fastest.
I pruned and got almost no fruit this year. What happened?
Most likely the heading cuts: shortening lots of branches removes fruit buds (which on apples and pears sit at branch tips) and pushes the tree into leafy regrowth instead. Thin rather than shorten, spread renovation over several years, and the fruiting balance returns.
Winter pruning shapes the tree — remove the four Ds, then open the centre to light
Dormant-season pruning is structural surgery done while the tree's architecture is visible and its energy is stored in roots: the cuts made now direct the spring surge, and because leaves are absent the pruner sees exactly what the fruit will hang from. The order of work never changes — dead, diseased, damaged and crossing wood first (the four Ds), then the shaping cuts that open the centre so light and air reach every fruiting branch, because shaded fruit is small fruit and still air breeds disease.
Cut to an outward-facing bud or a branch junction, never leaving stubs and never flush-cutting the collar the tree heals from. Restraint is expertise: removing more than a quarter of the canopy in one winter provokes a thicket of watersprouts and delays fruiting, so a neglected tree is reformed over three winters, not one heroic afternoon. Stone fruits are the exception in many climates — pruned in summer to reduce disease entry — and this guide flags them rather than applying one rule to every tree.
Sources
Key facts on this page cross-checked against Pruning — Wikipedia — background on pruning and its principles and Fruit tree pruning — Wikipedia — background on fruit tree pruning systems.
Related page
Read next: How to Prune Roses, Step by Step (When & What to Cut).
Comments & ratings
No comments yet.
Be the first to share your experience.