
Plant Library · Flowers · By Faizan Ahmad
🌸 How to Grow Daylily
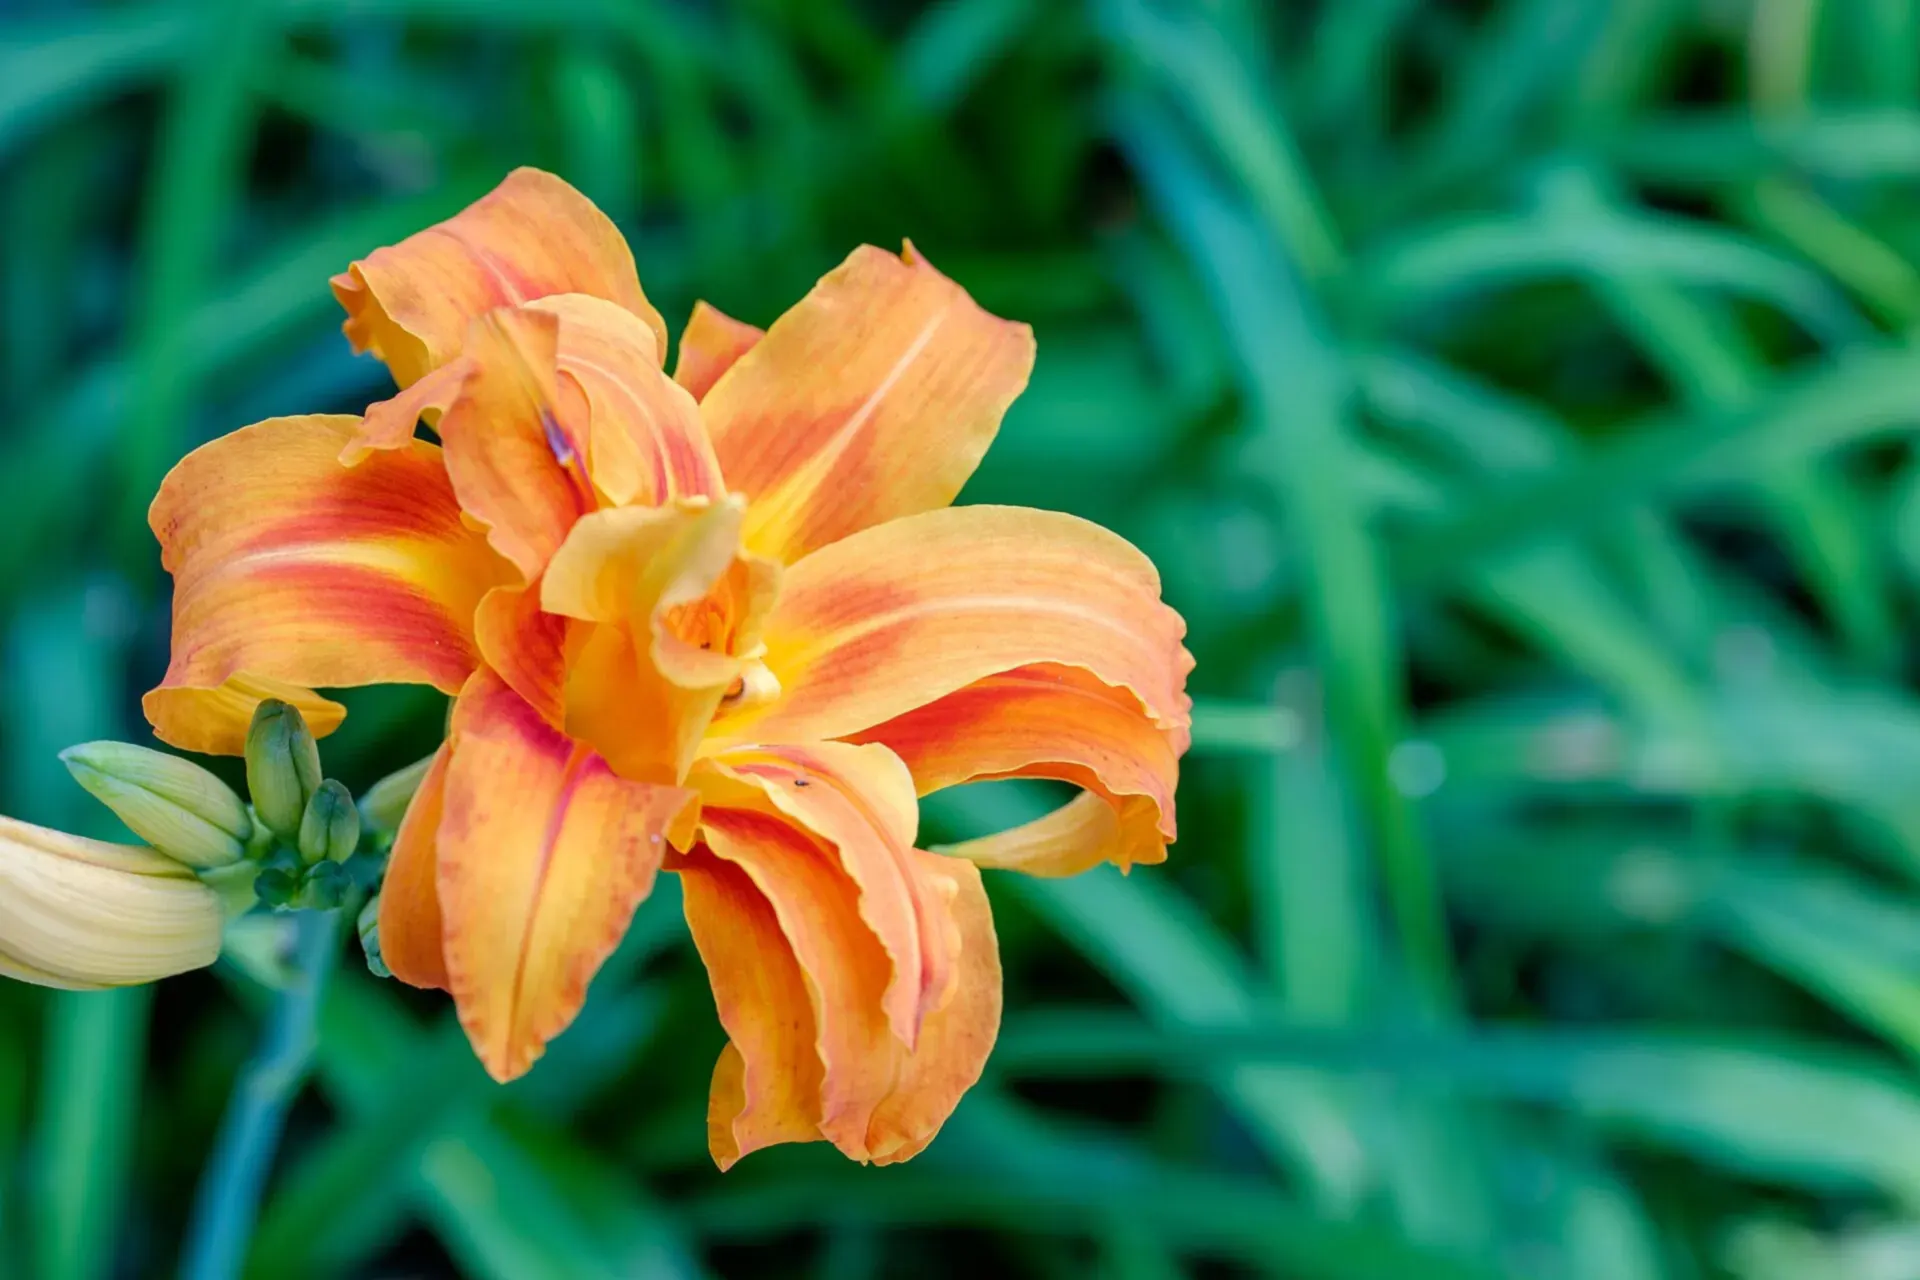
Each flower lasts a single day — and the plant makes hundreds, for a month, with almost no care at all. Daylilies (Hemerocallis) are among the toughest perennials on earth: plant the fleshy roots in spring or autumn, in almost any soil, and a clump flowers for decades. Divide a friend's clump and you're in business the same summer.
Grow Daylily with us — step by step
Everything for this plant is written step by step below — what to do, and exactly when. Read it through first if you like: you can grow it entirely on your own with that guide. Or start with us here — tell us your planting day and we lay out your personal schedule on this page, every next step on its own day, counted from your planting date. No guessing, no forgetting.
Step 1 — today: Beg or buy a daylily division — a fan of leaves with fleshy roots — and plant it the same week; daylilies forgive almost everything except drying out in the box.
Daylily at a glance
Plant out: Spring or autumn, as bare roots or divisions
Sow outdoors: From seed takes 2–3 years to flower — divisions are the way
Spacing: 21 in apart
Sun: Full sun to light part shade
Water: Moderate — tolerant of drought and damp alike
Bloom: June to August by variety; each flower lasts one day
Timing counts from your average last spring frost — get your own dates in the Planting Calendar. Guidance follows standard extension-service practice for Canada and the US.
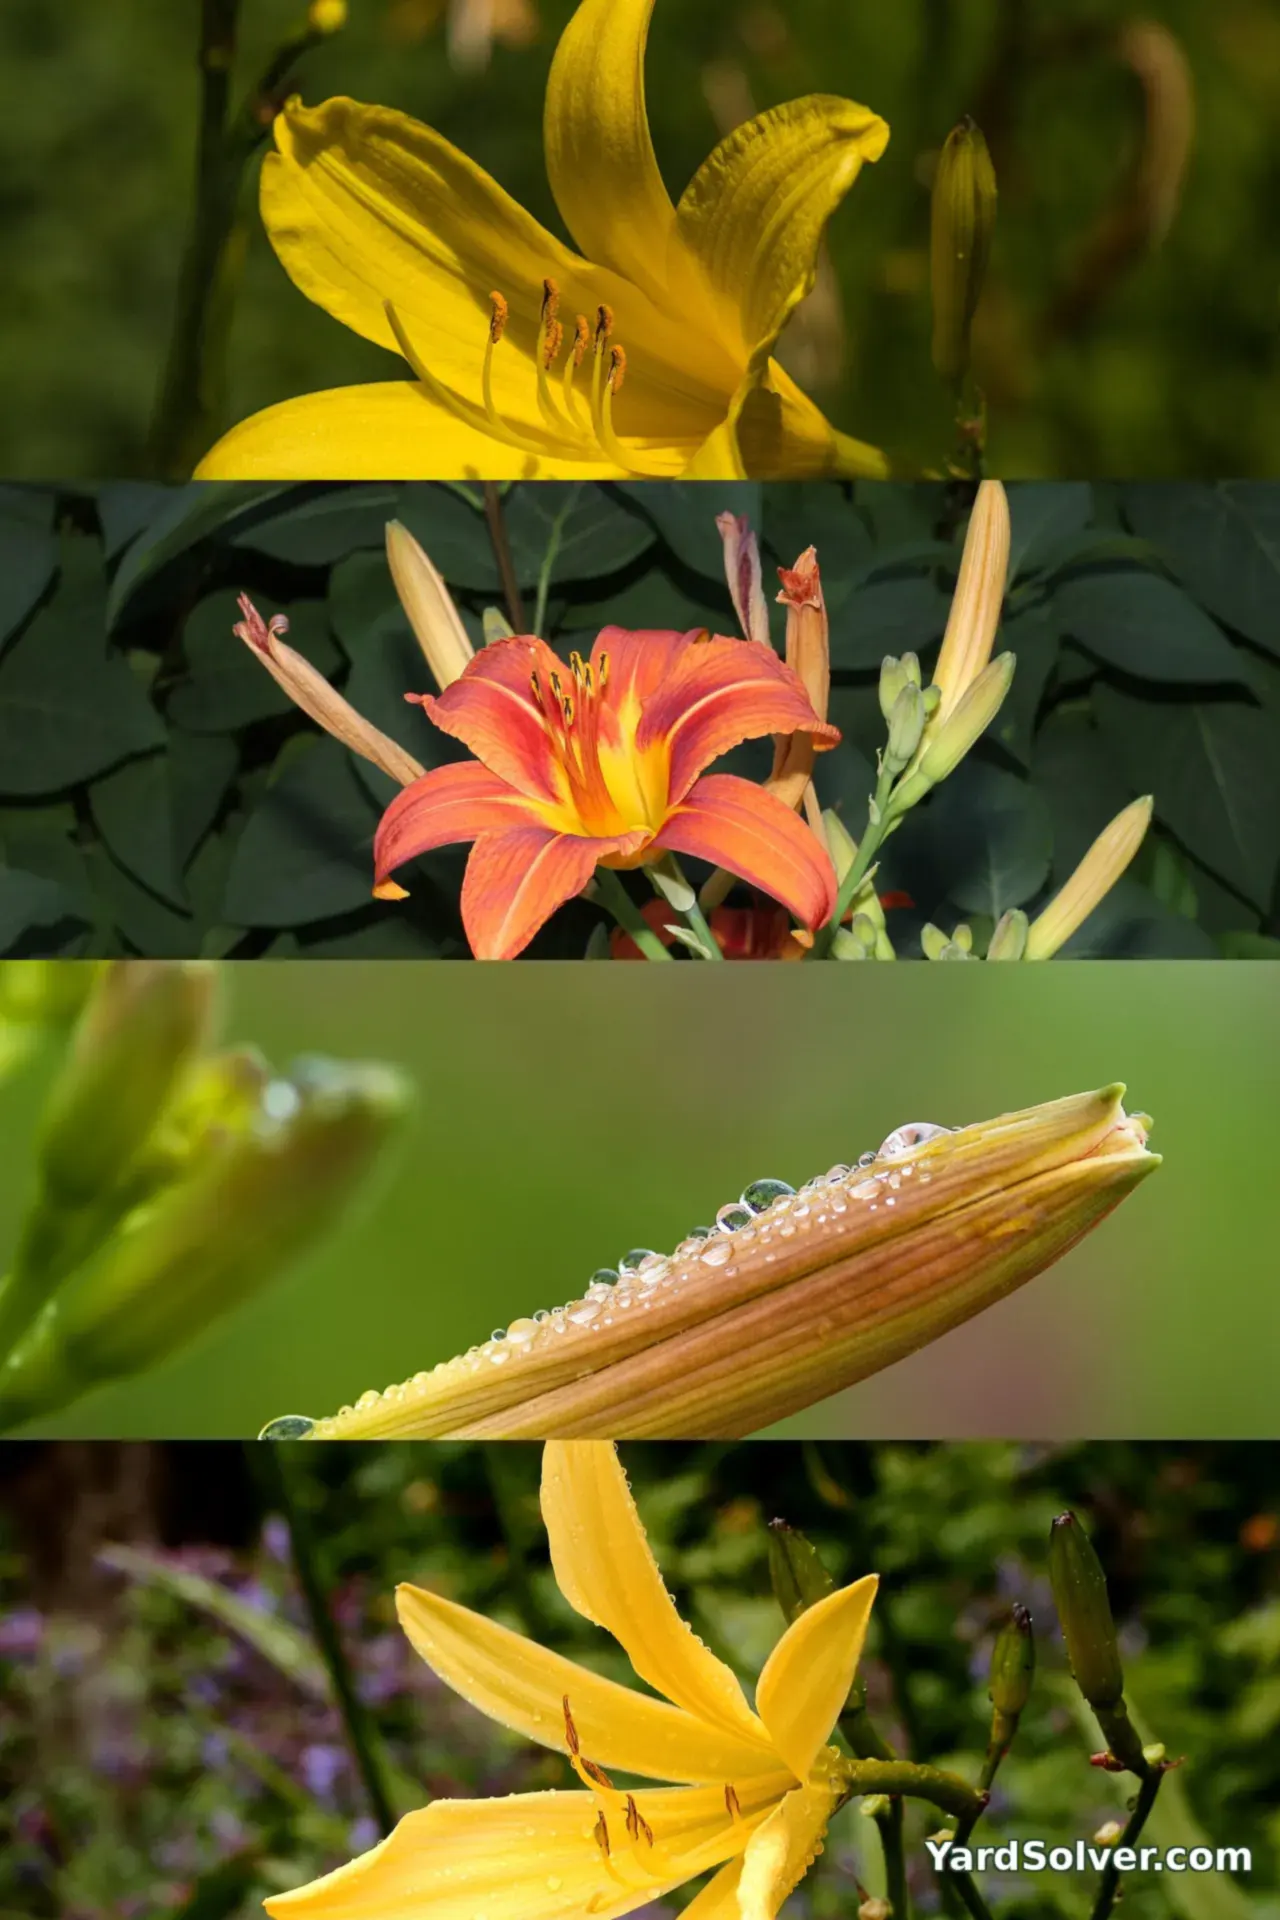
How to plant and grow daylily, step by step
Step 1 — Time it right
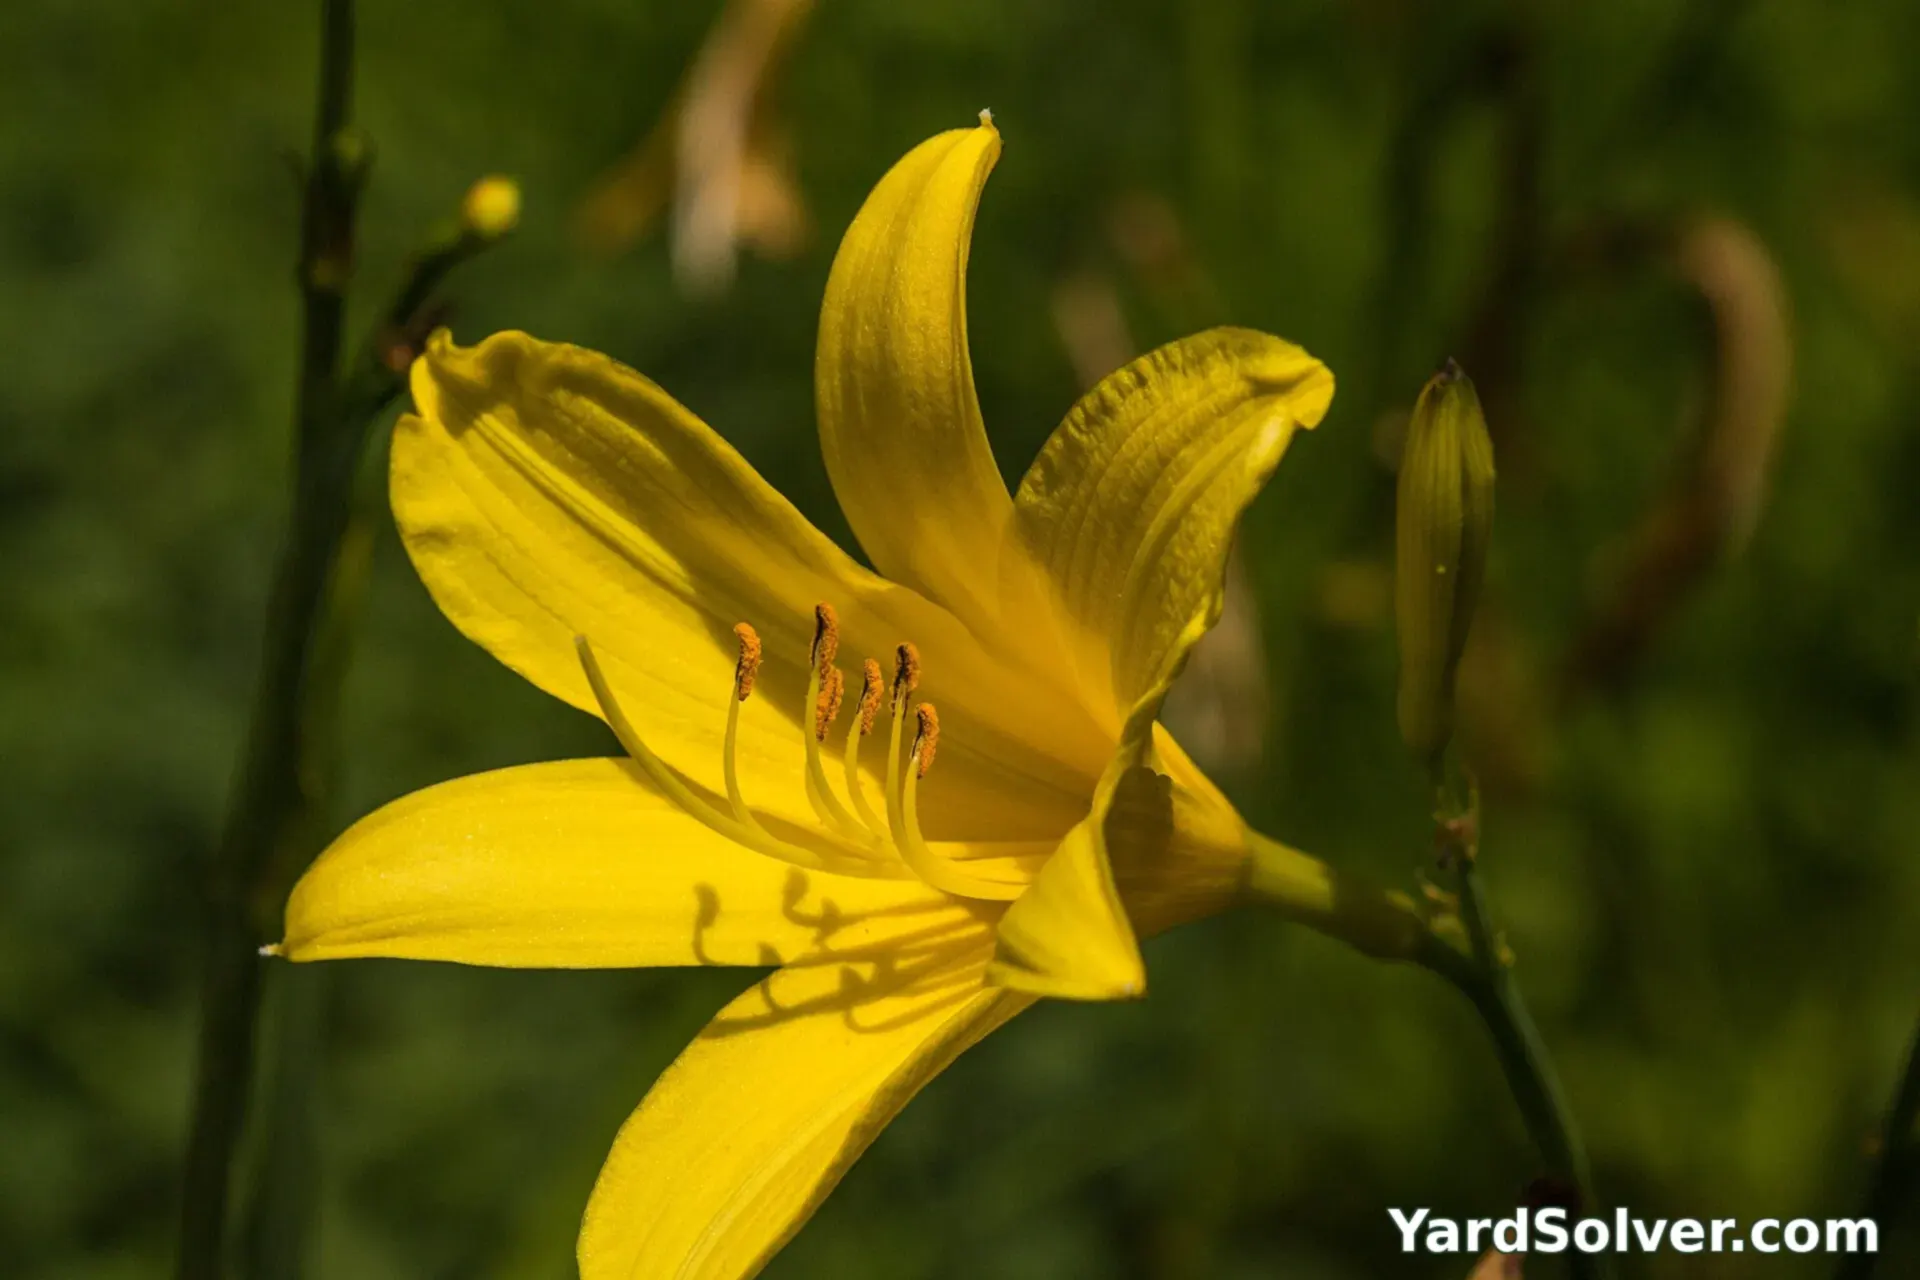
Plant out: in spring or autumn, as bare-root divisions; From seed: a breeder's game — 2–3 years to flower. All dates count from your average last spring frost — the Planting Calendar turns them into real dates for your garden. Daylilies plant happily any time the ground isn't frozen, though spring and autumn give the cleanest establishment. Bare roots should go in within days of arrival — soak them in a bucket for a few hours if they've dried in transit. Most divisions flower, lightly, the first summer, and fully from the second.
Step 2 — Prepare the spot
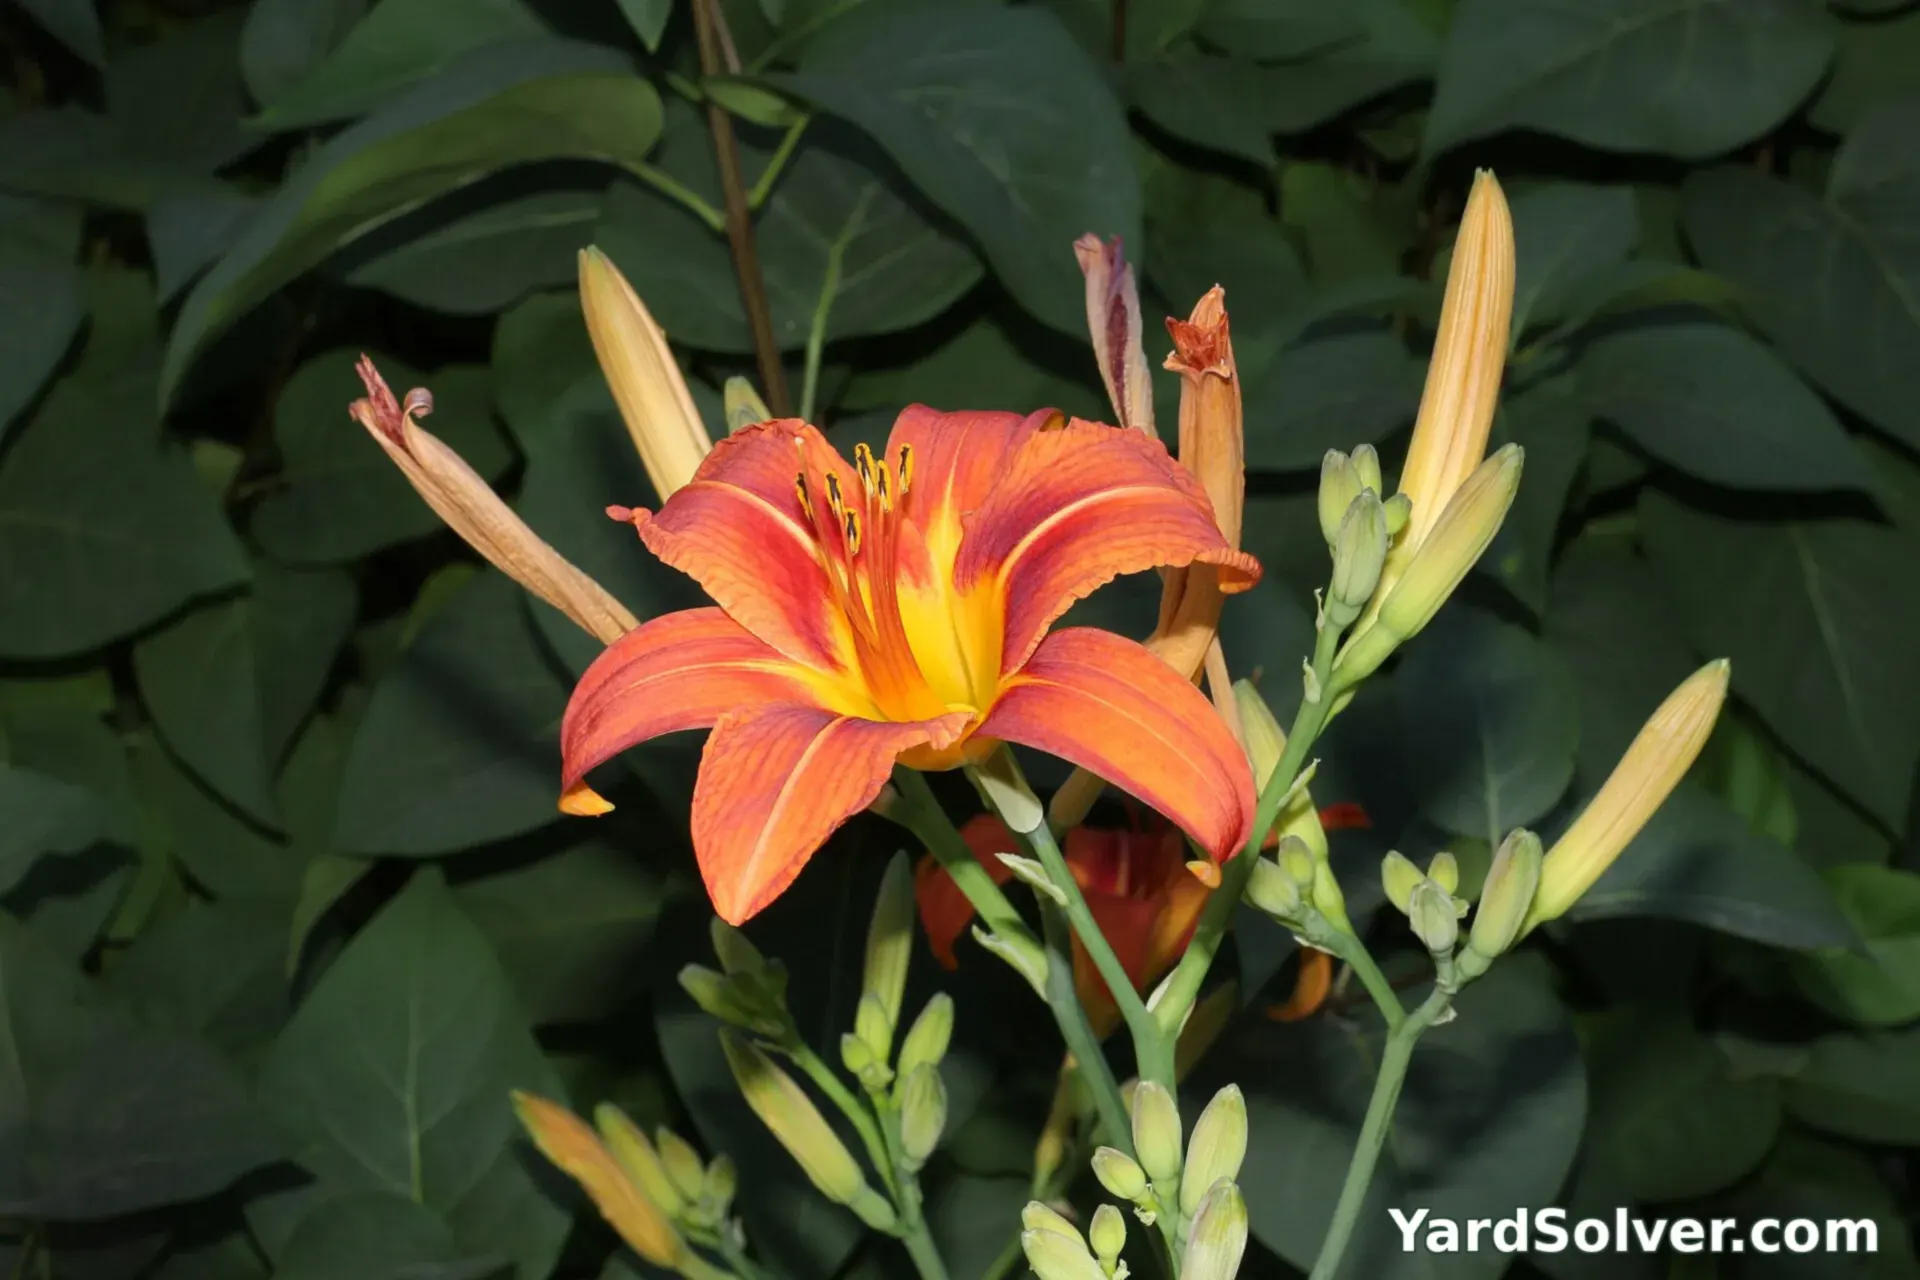
Daylilies grow in nearly any soil — clay, sand, damp, dry — in full sun or light shade (reds and purples hold their colour better with afternoon shade). Work in compost if the ground is wretched, mostly to hold moisture while roots establish. For a raised bed, the Raised Bed Soil Calculator counts the bags for you; mixing your own? The Garden Soil Calculator gives the compost-rich split to aim for.
Step 3 — Sow and plant out
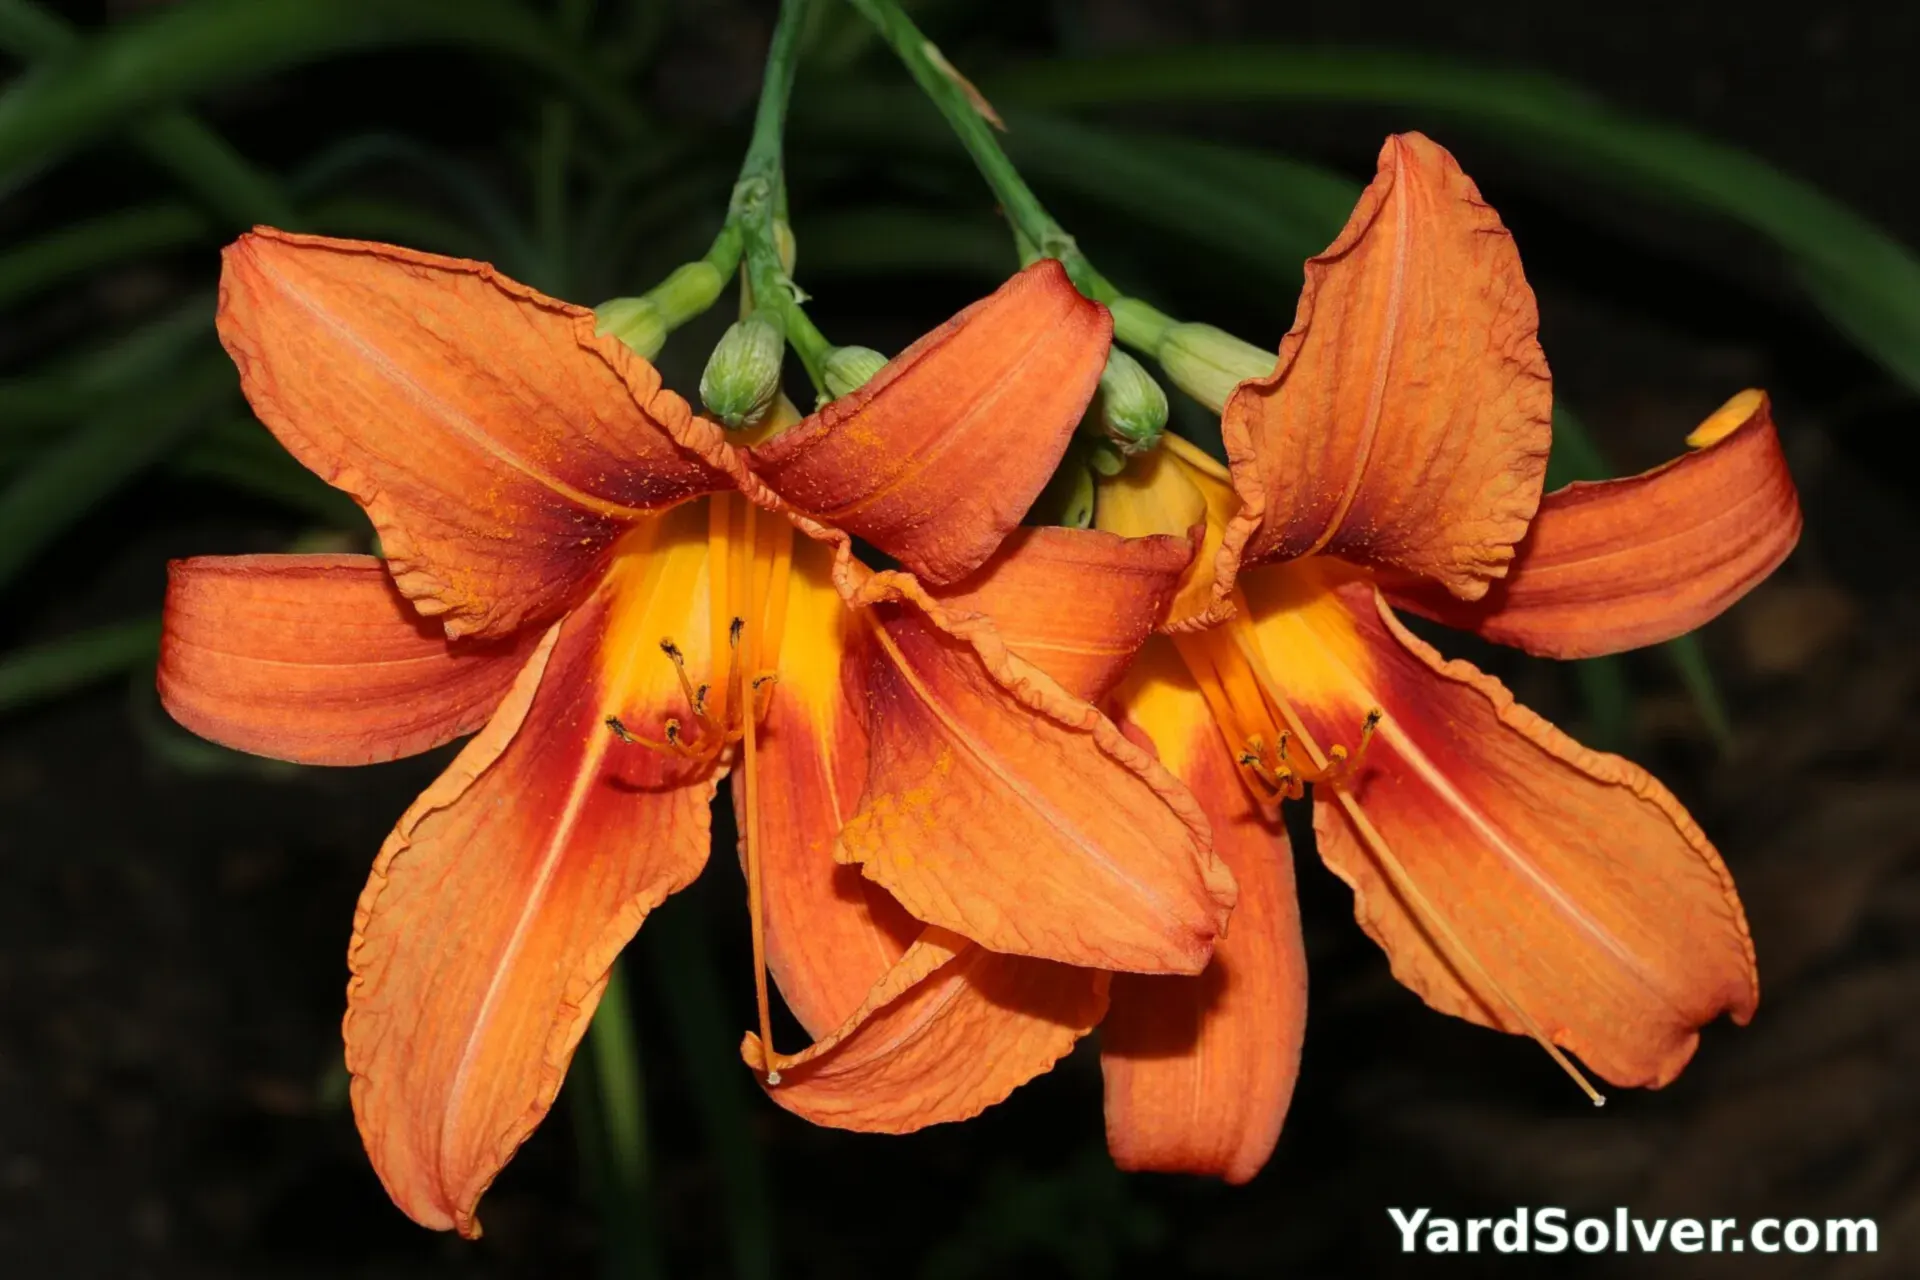
Dig a hole, make a cone of soil in the middle, and drape the roots over it so the crown sits exactly at soil level — buried crowns sulk, exposed crowns dry. Space plants 21 in apart, backfill, and water deeply. The Plant Spacing Calculator turns your bed size into an exact plant count. Good neighbours: daylilies are the summer border's peacemakers, fronting hostas and filling the gaps as spring perennials fade.
Step 4 — Water and feed
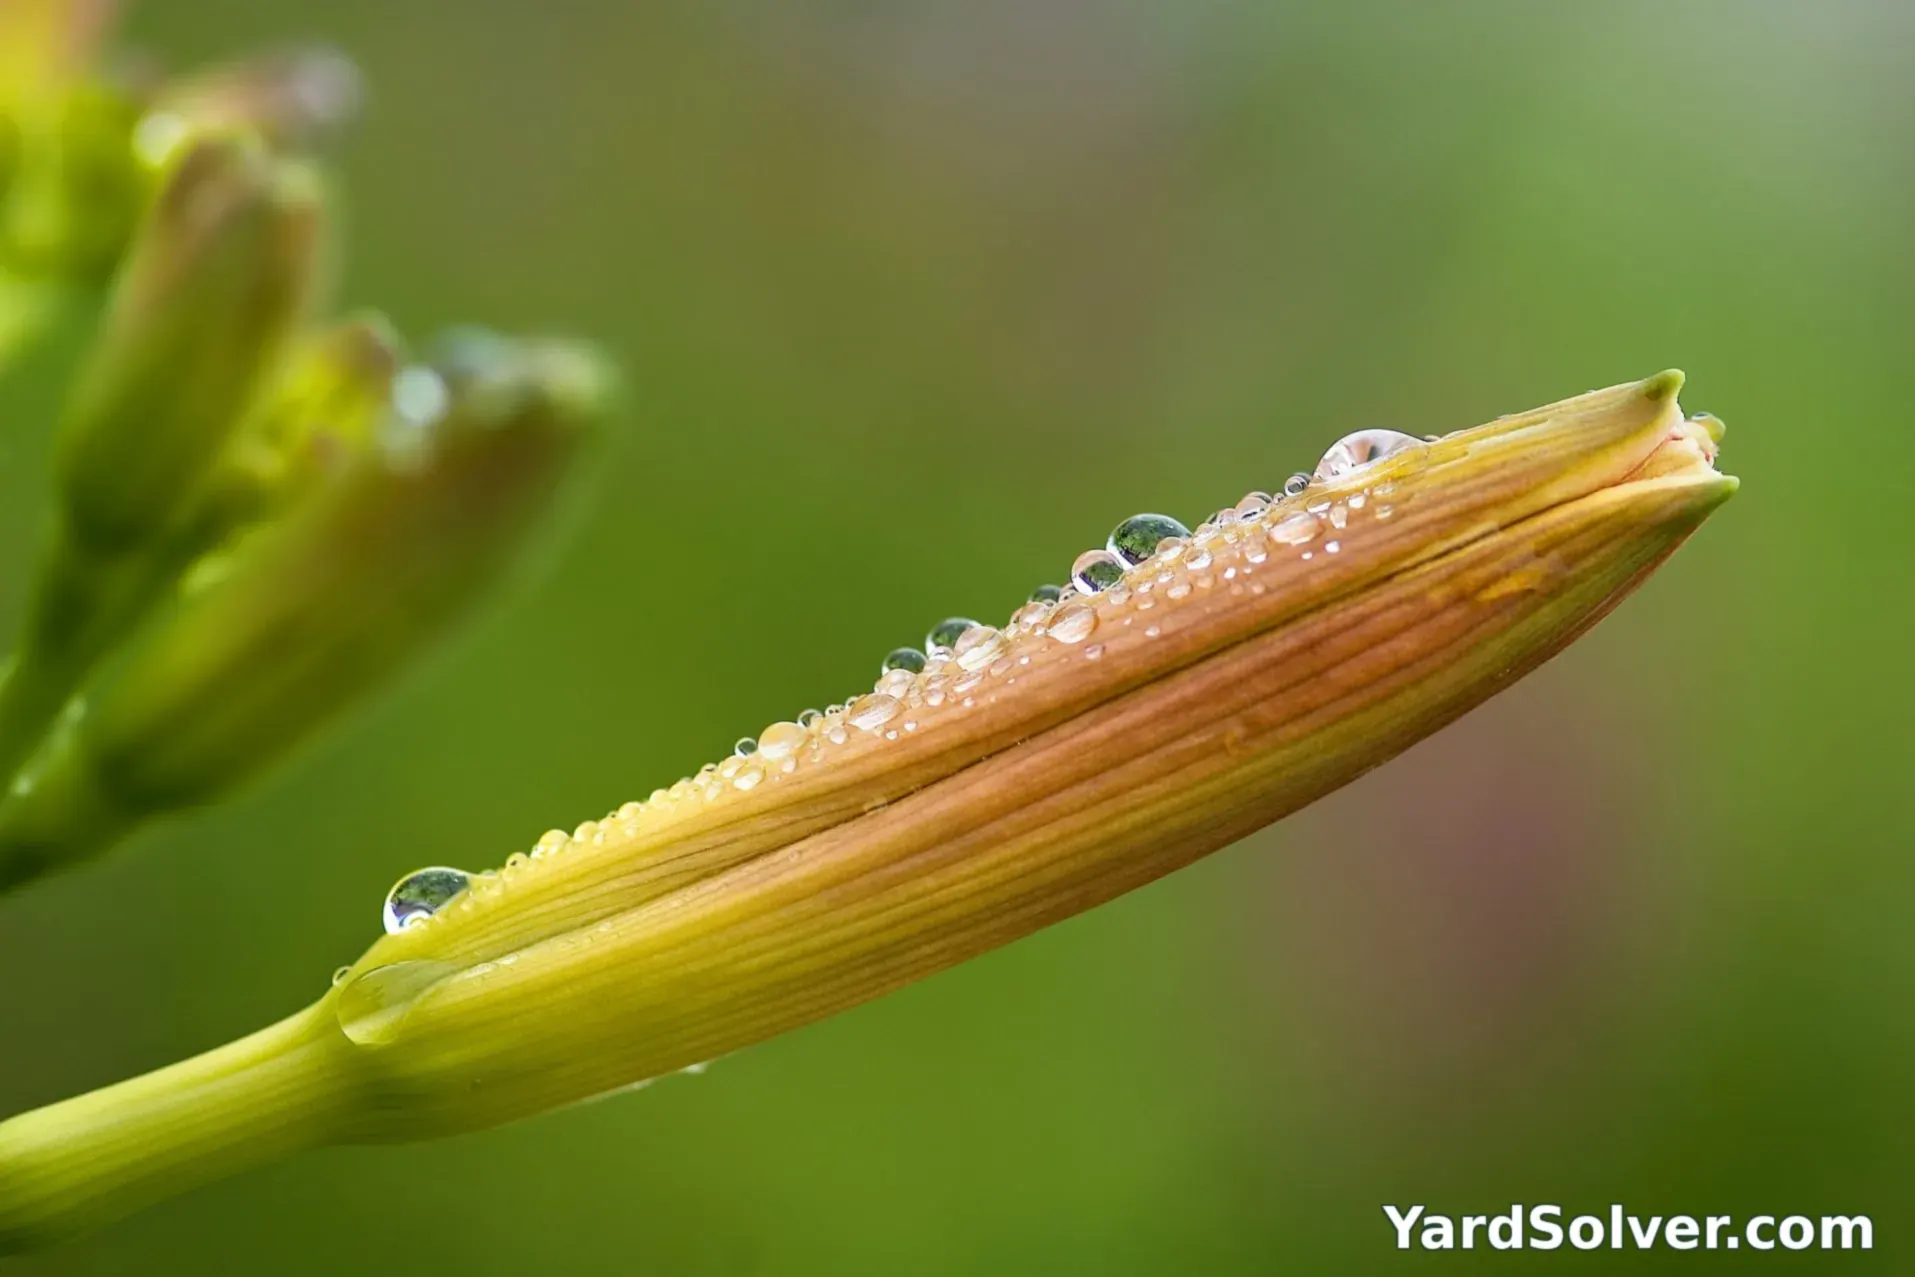
Water through the first season's dry spells. Established daylilies need no routine watering or feeding — a spring mulch of compost keeps them at their best, and a balanced feed in spring helps tired, crowded clumps — the Fertilizer Calculator turns your bed size into exact amounts.
Step 5 — Care and the problems to watch for
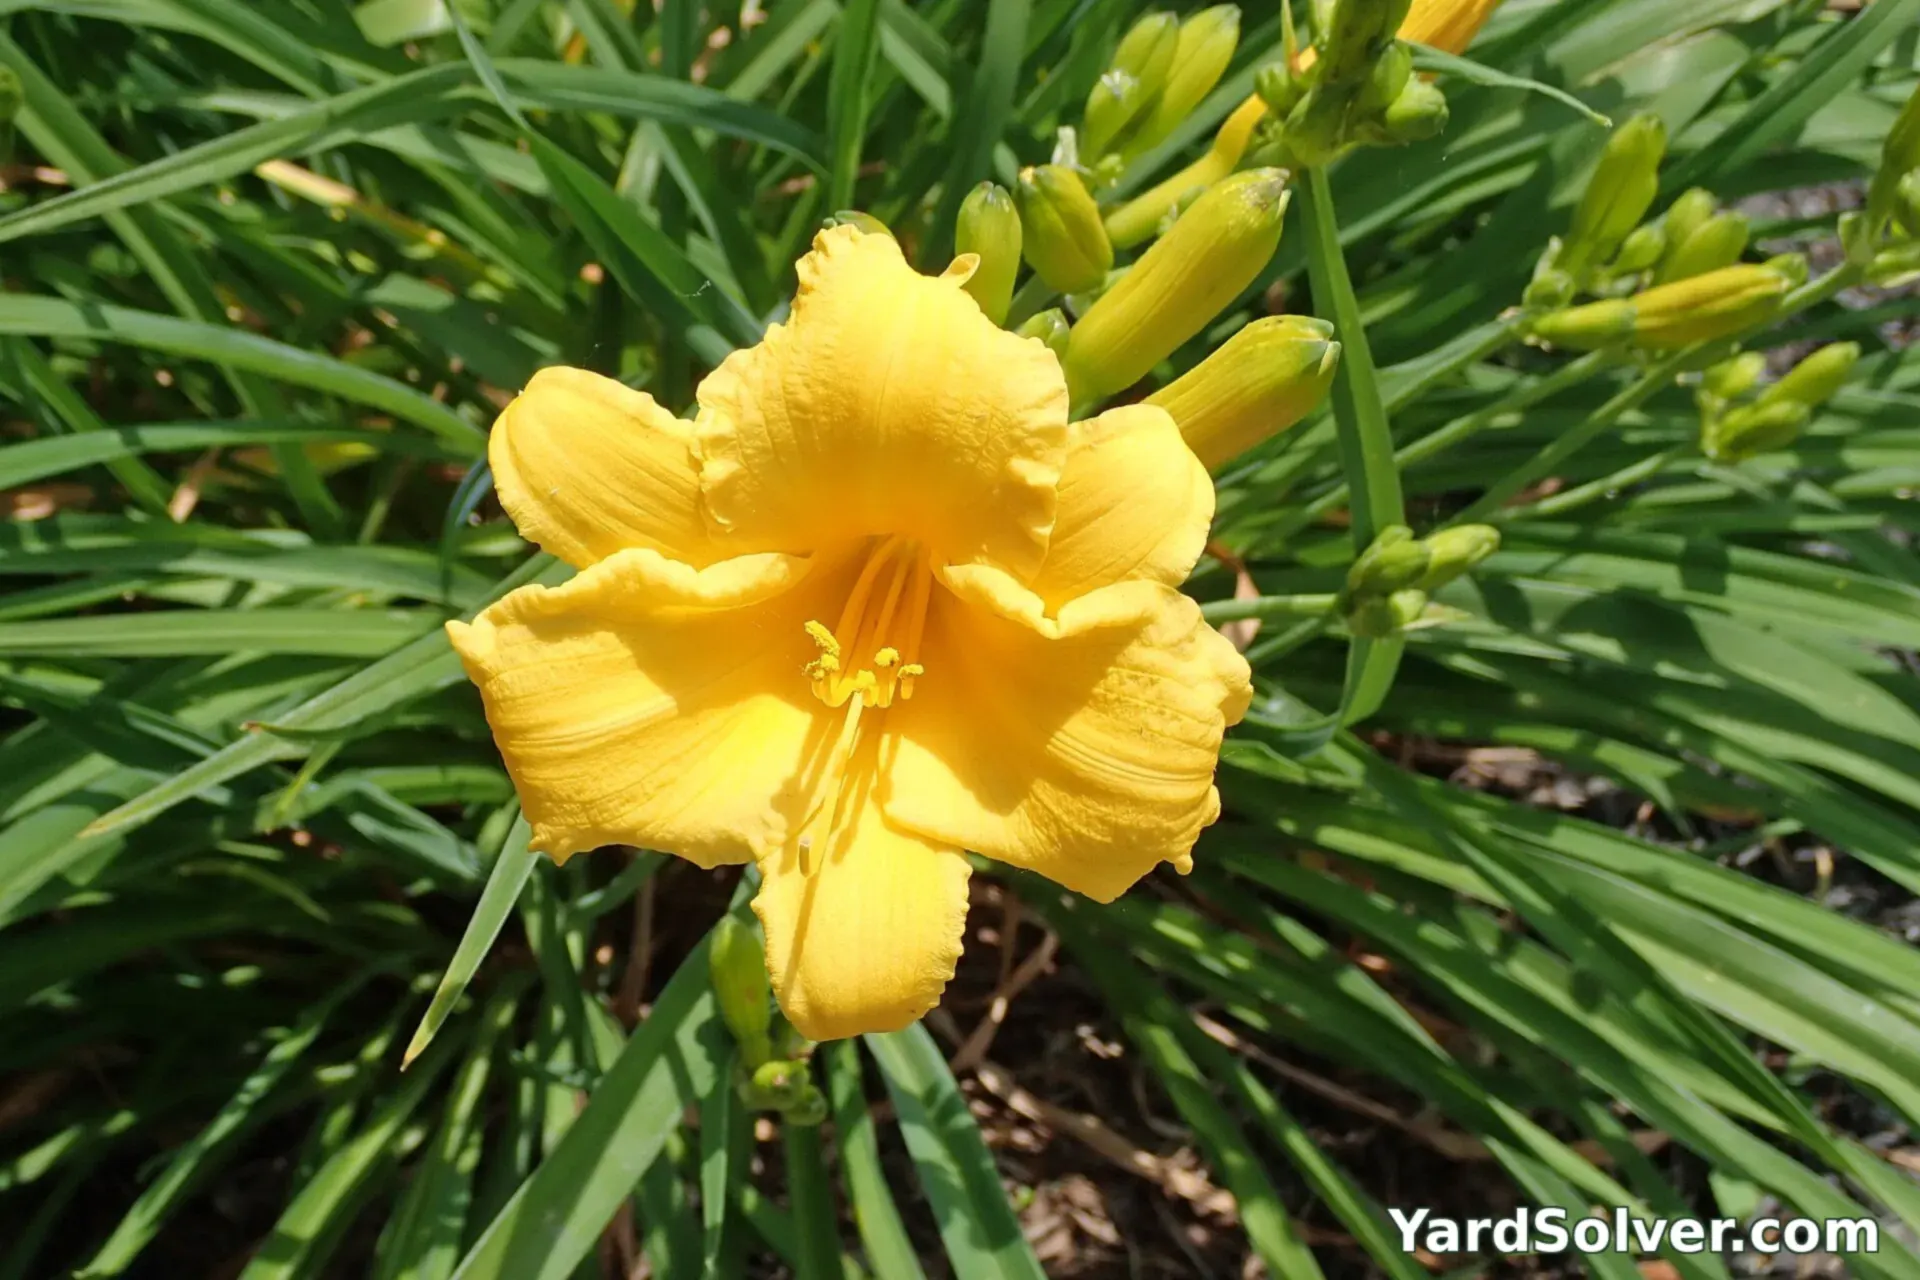
Snap off spent flowers daily if you're tidy (the plant doesn't mind either way), and pull the finished scapes when they yellow. Divide congested clumps every 4–5 years in spring or autumn.
- Few flowers — usually shade or a clump crying out for division.
- Daylily rust — orange pustules in warm humid regions; strip infected leaves and space for air.
- Buds eaten — deer find daylily buds a delicacy where deer are bold; the foliage, mercifully, they mostly leave.
Step 6 — Harvest
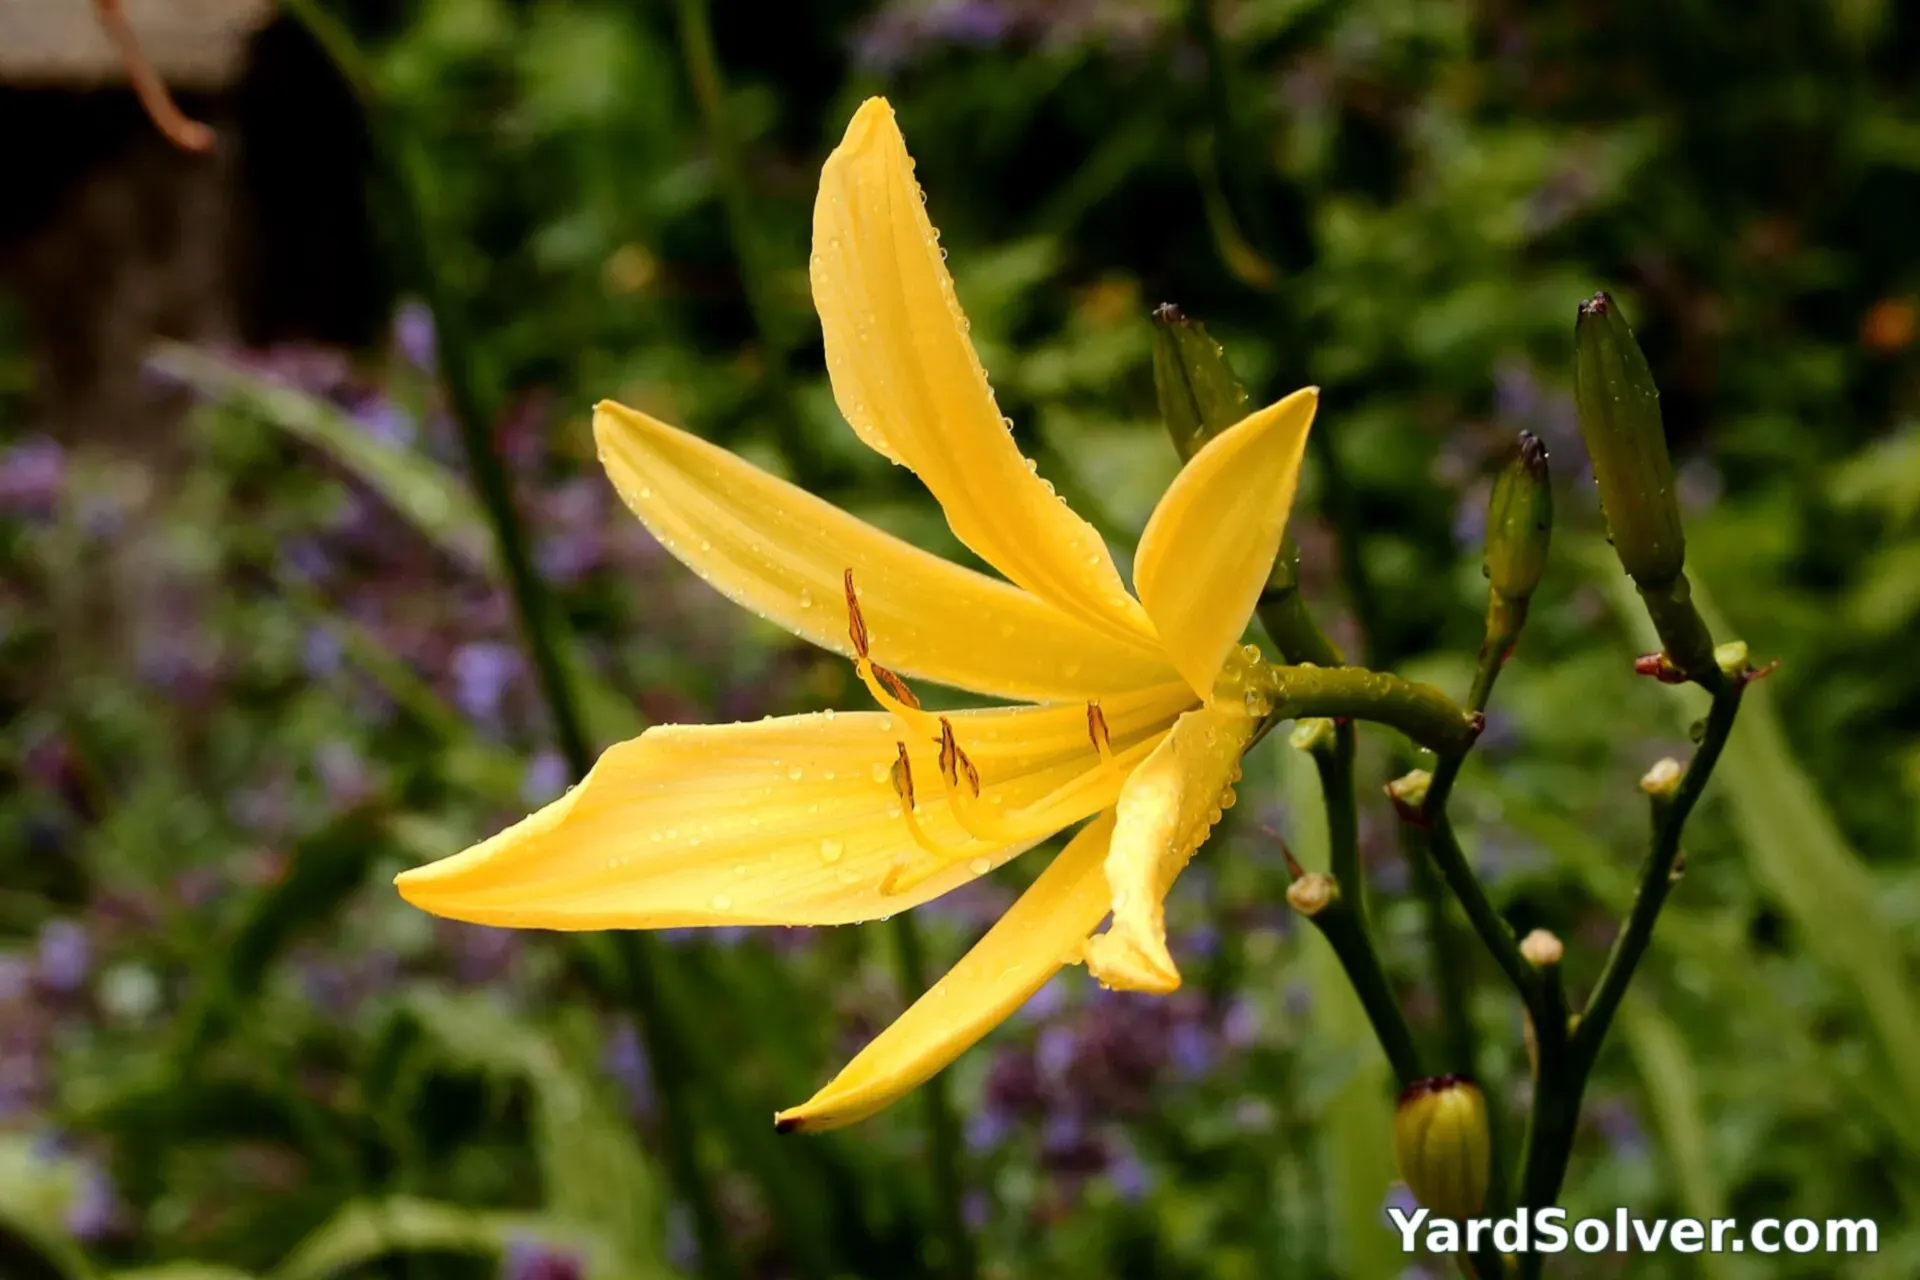
A daylily flower is a one-day wonder — cut stems carry buds that open in sequence indoors for a surprising week, or float a single perfect bloom in a bowl for its one day. The practical harvest is divisions: one mature clump yields half a dozen new plants every few years, which is how daylilies colonise whole neighbourhoods by generosity.
📅 Your personal Daylily schedule
Counted from your planting day — not a generic calendar. Day 0 is the day the seed went in the ground or the young plant went out.
Varieties worth growing
| Variety | Colour | Why gardeners like it |
|---|---|---|
| Stella d'Oro | Golden yellow, reblooming | The most famous daylily alive — small, golden, and reblooming for months. |
| Happy Returns | Lemon yellow, reblooming | Stella's cheerful rival — fragrant and endlessly flowering. |
| Pardon Me | Cranberry red, compact | A small red rebloomer for the front of borders and pots. |
Good for you — and take care
Benefits
- Close to indestructible — the lowest-maintenance perennial in the border.
- Reblooming varieties flower from June to September.
- Divides into free plants every few years.
Take care
- Each flower lasts one day — the display is the bud count, not the bloom.
- Divide crowded clumps or flowering fades.
- Keep cats away — lilies of all kinds deserve respect around pets.
A little history — and one good fact
Daylilies travelled from China along the Silk Road and have been garden plants in Europe since the 1500s — the tawny daylily escaped to become the 'ditch lily' of American roadsides. Modern breeding (an American passion) has produced some 90,000 named varieties, including the rebloomers that changed the plant's season entirely.
Fun fact: The botanical name Hemerocallis means 'beauty for a day' in Greek — honest labelling, balanced by a bud count that can top 200 per clump per season.
Keep going
Guides: Companion planting basics · Pollinator garden guide · Crop rotation basics · How to Divide Perennials
Calculators: Plant Spacing Calculator · Garden Mix Calculator · Fertilizer Calculator
More flowers: Lily · Iris · Peony
← Back to the Plant Library · Get your personal planting dates
Questions people ask
Why does each daylily flower only last one day?
That is the plant's design — Hemerocallis means 'beauty for a day'. A healthy clump carries hundreds of buds that open in sequence, so the display lasts a month or more even though each bloom lasts a day.
When should I divide daylilies?
In spring or autumn, every four to five years, when the clump's flowering thins. Lift it, split it into fans with a spade or two forks, and replant at once — the divisions flower the following summer.
Are daylilies really that easy?
Yes — they tolerate clay, sand, drought, damp and neglect better than almost any flowering perennial. Full sun, a drink in the first season, and division every few years is the whole contract.
Each flower lasts exactly one day — the plant's real craft is division, every three to five years, before the centre dies out
The daylily's name is its description: each individual flower opens for a single day. A clump flowers for weeks only because a mature plant carries many buds on many scapes, opening in succession — which is why the size and vigour of the clump, not any single bloom, is what the gardener manages. Deadheading spent scapes once every bud has flowered keeps the plant tidy and stops energy going into seed.
Division is the maintenance that matters. A daylily clump expands outward year by year until its centre becomes crowded, woody and flower-shy; lifting and dividing it every three to five years — in early spring or just after flowering — restores vigour, and the divisions are new plants for free. Daylilies are famously tough, tolerating drought, poor soil and neglect, but they flower in proportion to sun and water: a clump in dry shade survives and sulks, while the same clump in sun with reasonable moisture flowers heavily.
The worked example: a clump divided on a three-to-five-year cycle, replanted in sun and watered in its first season, commonly doubles its flower count within two years. The identical clump left undivided for a decade typically becomes a ring of leaves with a dead centre and a handful of blooms. Daylilies are not no-maintenance plants — they are low-maintenance plants, and division is the maintenance.
Sources
Key facts on this page — timing, spacing and care — cross-checked against NC State Extension Plant Toolbox — Hemerocallis (daylily) — culture, division, siting and care requirements and Daylily — Wikipedia — background on the genus and its one-day flowers.
Related page
Read next: How to Divide Perennials: When, How, and a Chart for Common Plants.
Comments & ratings
No comments yet.
Be the first to share your experience.