
Guides · Indoor gardening · Published November 20, 2026 · By Faizan Ahmad
How to Build a Seed Starting Station: Shelves, Lights and Heat That Work
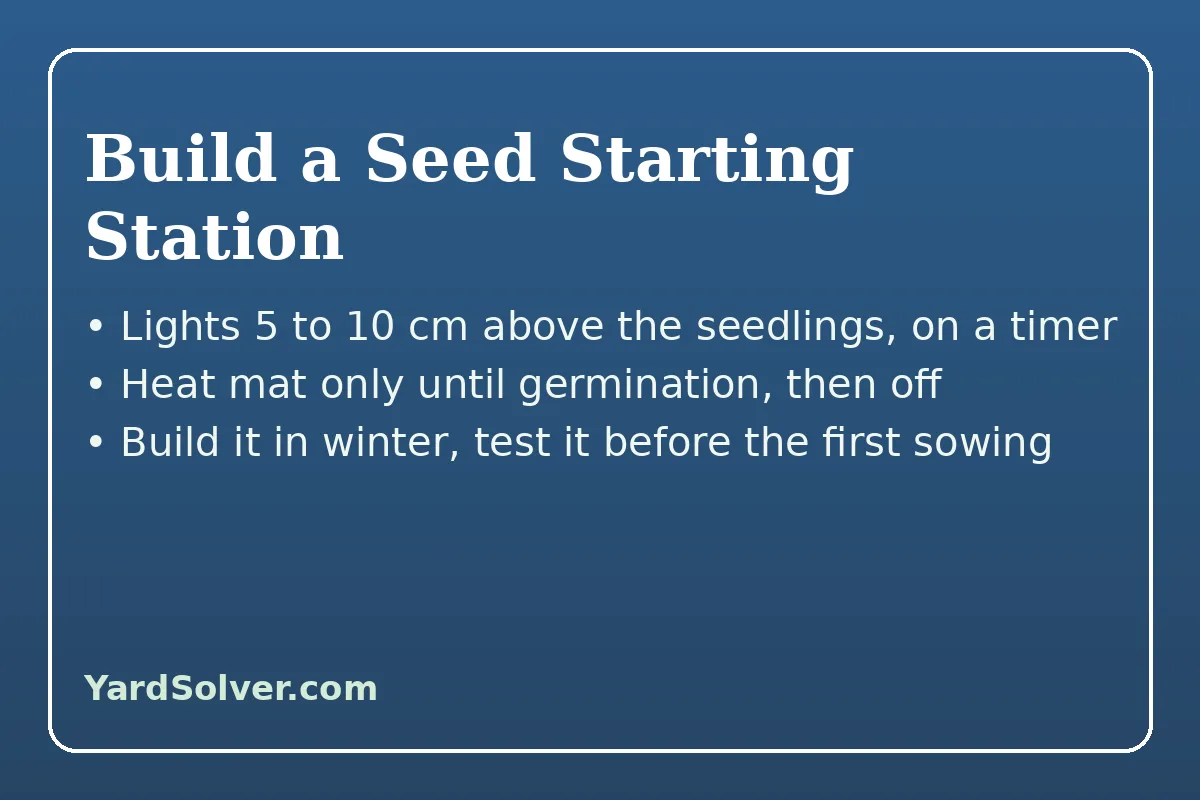
To build a seed starting station, set a sturdy shelf in a draft-free spot with power nearby, hang a full-spectrum LED or fluorescent fixture so it can sit 5–10 cm (2–4 in) above the seedling tops and rise as they grow, put it on a timer for 14–16 hours a day, sow into sterile seed-starting mix in drained trays, add a thermostat-controlled heat mat under the trays only until germination, and run a small fan on low for moving air — then test the whole station empty, in winter, before a single seed depends on it. Every spring, the same photograph circulates among gardeners: a tray of pale, flopping seedlings stretched toward a distant window, captioned with some version of "what went wrong?" Nothing went wrong with the seeds. The setup failed them, in the two ways setups always fail — light too far away and warmth applied at the wrong stage. The University of Minnesota Extension's seed-starting guidance is blunt about the first: a windowsill is not a good place to start seeds, because even spring sunlight through glass is weak compared with artificial light kept close to the plants. A station is simply the deliberate version of a windowsill — the same square metre of house, engineered. This guide gives the build in layers: the frame and location, the light and its two numbers that matter (distance and hours), trays and mix, the heat mat's proper job and its limits, air movement, and the January test run that finds the faults while they are still free. It is the hardware companion to when to start seeds indoors and grow lights for seedlings: those answer when and which light; this one answers how the whole machine fits together in a real house, in Canada and the US, before the 2027 season asks anything of it.
The short answer, on one card
Location: a basement, spare room or utility corner — stable temperature above about 16 °C (60 °F), no cold drafts, power within reach, space to work. Frame: a wire shelf or simple stand with at least two levels, so lights can hang at different heights. Light: one full-spectrum fixture per shelf, sized to cover the trays fully; hang it on chains or an adjustable mount. Distance: 5–10 cm (2–4 in) above the canopy for fluorescent and most LED bars — follow the maker's height for strong LED panels — raised as plants grow. Hours: 14–16 a day on an outlet timer, with a genuine dark period nightly. Trays and mix: drained cell trays in a solid bottom tray, sterile soilless seed-starting mix, labels in every row. Heat: a mat with a thermostat and soil probe, set near 21–24 °C (70–75 °F) for most crops, switched off or removed at emergence. Air: a small fan on low nearby, not aimed point-blank.
Layer one: the frame and the room it stands in
Minnesota Extension's planning list for a seed-starting spot reads like a station specification: a safe location away from heavy traffic, pets, cold drafts and excess heat; room to spread out as sowing continues and seedlings are potted up; air temperatures above 60 °F; and access to electrical outlets, because artificial light is not optional equipment. A wire shelving unit is the classic frame because it solves three problems at once — it is sturdy under trays of wet mix, its open shelves let air move, and its uprights give lights something to hang from at any height. Two shelves earn their floor space better than one: the lower shelf runs the youngest trays under close light while the upper holds potted-up plants that need headroom, and in the off-season the whole unit stores the trays, mix and labels it uses. The quotable fact of this guide belongs here, before any gear is bought: a seed station is a location with equipment, not equipment in search of a location — the room's steady temperature and freedom from drafts do half the work before a switch is touched. Water deserves a thought at this layer too: trays are watered daily at peak season, so a station two rooms and a staircase from the nearest tap is a station that gets watered late. A lidded bin of mix, a watering can that lives on the bottom shelf, and a waterproof mat or boot tray under the unit protect the floor and make the daily round a two-minute job instead of an expedition.
Layer two: light — the two numbers that decide everything
| Setting | The working figure | What happens when it is wrong |
|---|---|---|
| Distance, fluorescent | 5–10 cm (2–4 in) above the tops; about 5 cm (2 in) is ideal | Every extra span of distance stretches stems; light falls off fast |
| Distance, LED bar or panel | Bars close like fluorescents; strong panels at the maker's stated height | A panel hung at ceiling height behaves like a dim window |
| Hours per day | 14–16 hours on a timer | Too few: slow, pale growth. Around the clock: stressed plants — they need a night |
| Spectrum | Full-spectrum white, roughly 4000–5000K, is sufficient | Expensive coloured panels add nothing a seedling can use |
| Coverage | The fixture should span the whole tray | Edge seedlings lean inward toward the light and grow crooked |
Minnesota Extension's light rules are the ones taped to stations across the north: keep the lights no more than about 10 cm (4 in) above the seedling tops — 5 cm (2 in) is ideal — hung on chains so they rise with the plants, and give 12–16 hours of light a day but never 24, because plants need a dark period. The physics underneath the distance rule is worth one sentence, because it explains every leggy tray ever grown: light intensity falls with the square of the distance, so a fixture at 30 cm delivers a small fraction of what it delivers at 8 cm — moving the light is worth more than buying a stronger one. That is why the hanging system matters as much as the fixture: chains, S-hooks or an adjustable ratchet, anything that lets you raise the light a link at a time in ten seconds, because a light that is tedious to adjust stays where it was hung in February while the plants grow away from it. The rescue guide for seedlings that stretched anyway is why seedlings get leggy — but the station's whole purpose is to make that guide unnecessary, and a fan completes the insurance: gentle moving air makes stems grow stockier and keeps the surface conditions that damping-off fungi love from settling in.
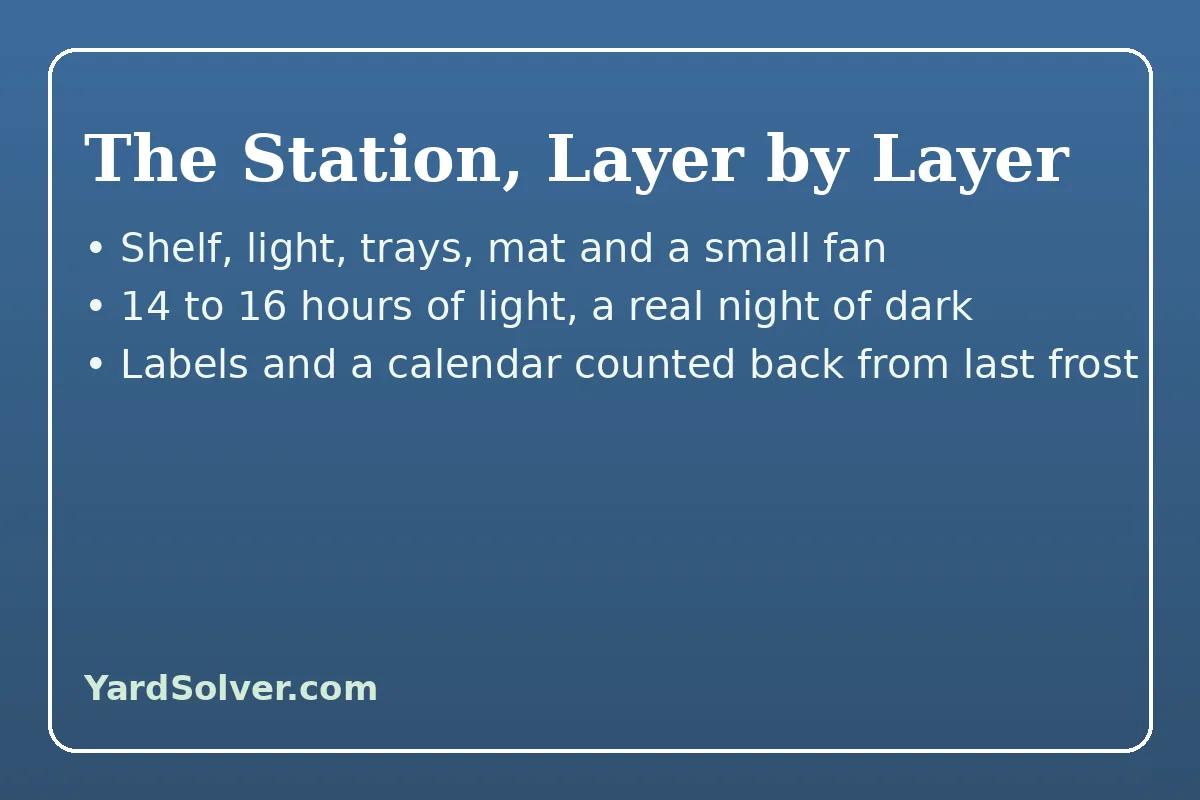
Layers three and four: trays, mix and the heat mat's real job
Containers first, because they are chosen once and used for years. Minnesota Extension recommends small individual containers — cell flats that fit standard trays, one seedling per cell — because seedlings sown together in one open container tangle their roots and are injured at separating time; every container needs drainage holes, and a solid bottom tray underneath catches the water and enables bottom-watering, which keeps the surface drier and the stems safer. Clear humidity domes earn their place for the germination days only: they hold moisture while seeds swell and sprout, and they come off the moment green shows, because a dome left on emerged seedlings is a damping-off incubator. The mix is not a detail either: commercial seed-starting mixes — typically peat or coir with vermiculite or perlite, sterile and soil-free — are the extension standard, because garden soil and used potting mix carry the fungi that kill seedlings at the soil line and the weed seeds that outgrow them. Then the heat mat, the most misunderstood component in the station. Its job is narrow and temporary: most vegetable and flower seeds germinate best in mix around 21–24 °C (70–75 °F), warm-season crops like peppers and eggplant toward 24–29 °C (75–85 °F), and a mat with a thermostat and a probe in the mix holds that band in a cool basement where the mix would otherwise run several degrees below room temperature. The discipline is in the ending: the mat comes off — or the tray comes off the mat — the day the seedlings emerge, because continued bottom heat after germination pushes soft, stretched growth, the precise fault the close light is fighting. Two safety notes from extension guidance belong in the build: a bare mat without a thermostat can overshoot and cook seed, which is why the thermostat is the purchase and the mat is the accessory; and the mat never goes on the light timer — it is controlled by soil temperature, not by the clock.
The January test run: find the faults while they are free
A station built in winter can be tested in winter, and should be, because every fault it has is cheap in January and expensive in March. Run it empty for a full day first. Set the timer and confirm the lights actually keep the schedule; hang a thermometer at tray height and log the shelf's temperature morning and evening; put the heat mat under a tray of moist mix with the probe buried and check with a second thermometer that the thermostat holds its setting rather than wandering; stand a tray of plain water on each shelf and confirm the shelf is level enough that water does not pool at one end — seedlings at the deep end drown while the shallow end dries. Then run one sacrificial tray: a pinch of fast, cheap seed — lettuce or radish — sown exactly as a March tray will be sown. In ten days the test tray reports on the whole system. Even, stocky, deep-green seedlings say the light distance and hours are right. Stretching says the light is too far or the mat stayed on. A tray that germinates in patches says the mat's heat is uneven or one end of the shelf runs cold. Fix what it reports, adjust, and only then does the station graduate to holding the year's real seed — the slow peppers and onions of February, the tomatoes of early spring, the succession trays of the cut flower plan. Keep the test tray's notes with the seed packets; next January, the same page tells you what last year's station needed before you rebuilt it from memory.
Running the station through the season
Once sowing starts, the station runs on a small daily round, and writing it down is what keeps it small. Morning: check moisture with a fingertip — the mix should feel like a wrung-out sponge — and bottom-water any tray that has dried at the surface. Raise each light to sit just above its canopy; a tray of fast growers may need a link a day. Rotate trays a half-turn every day or two if the light runs brighter in the centre, so edge plants take their turn in the strong zone. Thin to one seedling per cell as soon as the first true leaves show, snipping the extras at the base rather than pulling them and disturbing the keeper's roots. Feed only after several true leaves, at about quarter strength weekly, since soilless mix carries almost no food of its own. Label relentlessly — variety and sowing date on every row — because six identical green trays in week five are a mystery no memory solves, and the station's calendar runs backwards from your last frost date, the arithmetic in when to start seeds indoors in Canada for 2027. The season's last station job is the exit: harden seedlings off over 7–10 days before they move out, an hour of shade growing to full days, as every extension guide insists — a station-grown plant is a hothouse athlete, and the garden's wind and sun are a different sport. Then the lights go dark, the trays are washed and stacked, and the shelf waits for January's test tray, already trusted.
What the station costs, and the honest budget version
The station's reputation as a project with a price tag deserves a straight answer: its essential parts are the shelf, the light and the timer, and all three are commonly already in the house or bought once and used for a decade. A wire shelf unit serves for years and stores the kit between seasons; a single full-spectrum LED bar or a two-tube fluorescent shop fixture covers a standard tray, and Minnesota Extension's own supply lists treat ordinary 5000K fixtures as sufficient — seedlings are not a flowering crop and do not reward exotic spectra. The timer is a simple outlet model. Trays, cells and domes are bought once and washed annually; the only true consumables are the mix, the labels and the seed itself. The heat mat with its thermostat is the one upgrade worth sequencing honestly: skip it in year one if your room holds a steady temperature and your crops are the forgiving ones, and add it the year you take on peppers, eggplant or a cold basement, when it stops being a luxury and becomes the difference between germination in a week and germination in a month. What never appears on the budget version's cut list is the adjustable hanging — chains and hooks cost almost nothing, and they are the component the whole anti-legginess system hangs from, in every sense. Build the station in that order — frame, light, timer, trays, then heat — and it is complete at every stage, rather than a half-equipped shelf waiting on a part that matters less than the ones already hung.
Keep going
Time the sowings it holds with When to Start Seeds Indoors, choose its fixtures with Grow Lights for Seedlings, and rescue any tray that stretches anyway with Why Are My Seedlings Leggy?.
Sources
The station framework — choose a location away from traffic, pets, cold drafts and excess heat with air above 60 F and access to outlets; a windowsill is not a good seed-starting location; use small individual containers with drainage rather than one shared container; use sterile commercial seed-starting mix; clear domes hold moisture until germination; and the light rules of fixtures no more than about 4 inches above the tops (2 inches ideal) on chains, 12 to 16 hours a day and never 24, because plants need a dark period — follows University of Minnesota Extension, Starting Seeds Indoors. The supply list — 5000K LED or fluorescent lights, an adjustable shelf, a heat mat as optional equipment, labels and a small fan for gentle airflow — and the after-sprouting routine of lights just above the leaves and hardening off over 7 to 10 days follow the same service's seasonal guide, A Warm-Weather Jump on Seed Starting. The heat-mat discipline — a thermostat and soil probe are the essential purchase, most crops germinate near 70-75 F with peppers warmer, and bottom heat comes off at emergence because it drives stretch — follows the seed-starting references at Seed Starting Indoors: LED Height and Heat Mats Guide.
Questions people ask
What do I actually need to build a seed starting station?
A sturdy shelf in a draft-free spot with power, one full-spectrum LED or fluorescent fixture per shelf hung adjustably, an outlet timer, drained cell trays with a solid bottom tray, sterile seed-starting mix, labels, and a small fan. A thermostat-controlled heat mat is the one valuable extra. Everything else is refinement.
How close should grow lights be to seedlings?
For fluorescent fixtures and most LED bars, 5 to 10 cm (2 to 4 in) above the tops of the plants — about 5 cm (2 in) is ideal — raised as the plants grow. Strong LED panels follow the maker's stated height. Distance is the main control against leggy seedlings, because light intensity falls quickly as the gap grows.
How many hours of light do seedlings need?
About 14 to 16 hours a day on a timer (extension guidance gives a 12 to 16 hour range). More is not better: seedlings need a genuine dark period every night, and lights left on around the clock stress plants rather than speeding them.
Do I need a heat mat for seed starting?
Only for germination, and mainly in a cool room or for warm-season crops. Most seeds germinate best in mix around 21-24 C (70-75 F), peppers and eggplant warmer. Use a mat with a thermostat and a probe in the mix, and take the tray off the heat the day seedlings emerge — continued bottom heat makes soft, stretched growth.
Why not just use a sunny windowsill?
Because winter and early-spring light through glass is weak, one-directional and uneven: University of Minnesota Extension states plainly that a windowsill is not a good seed-starting location. Seedlings stretch toward the light, grow one-sided, and chill at the glass on cold nights. A shelf with close artificial light outperforms the best sill in the house.
When should I build and test my seed station?
Build it in winter — December or January — and test it empty, then with one fast sacrificial tray of lettuce or radish, before any real sowing depends on it. The test exposes timer, temperature, levelling and light-distance faults while fixing them costs nothing.
Comments & ratings
No comments yet.
Be the first to share your experience.