
Guides · Water & irrigation · Published November 22, 2026 · By Faizan Ahmad
How to Check Drip Irrigation Flow Rate: The Bucket Test & Line Limits
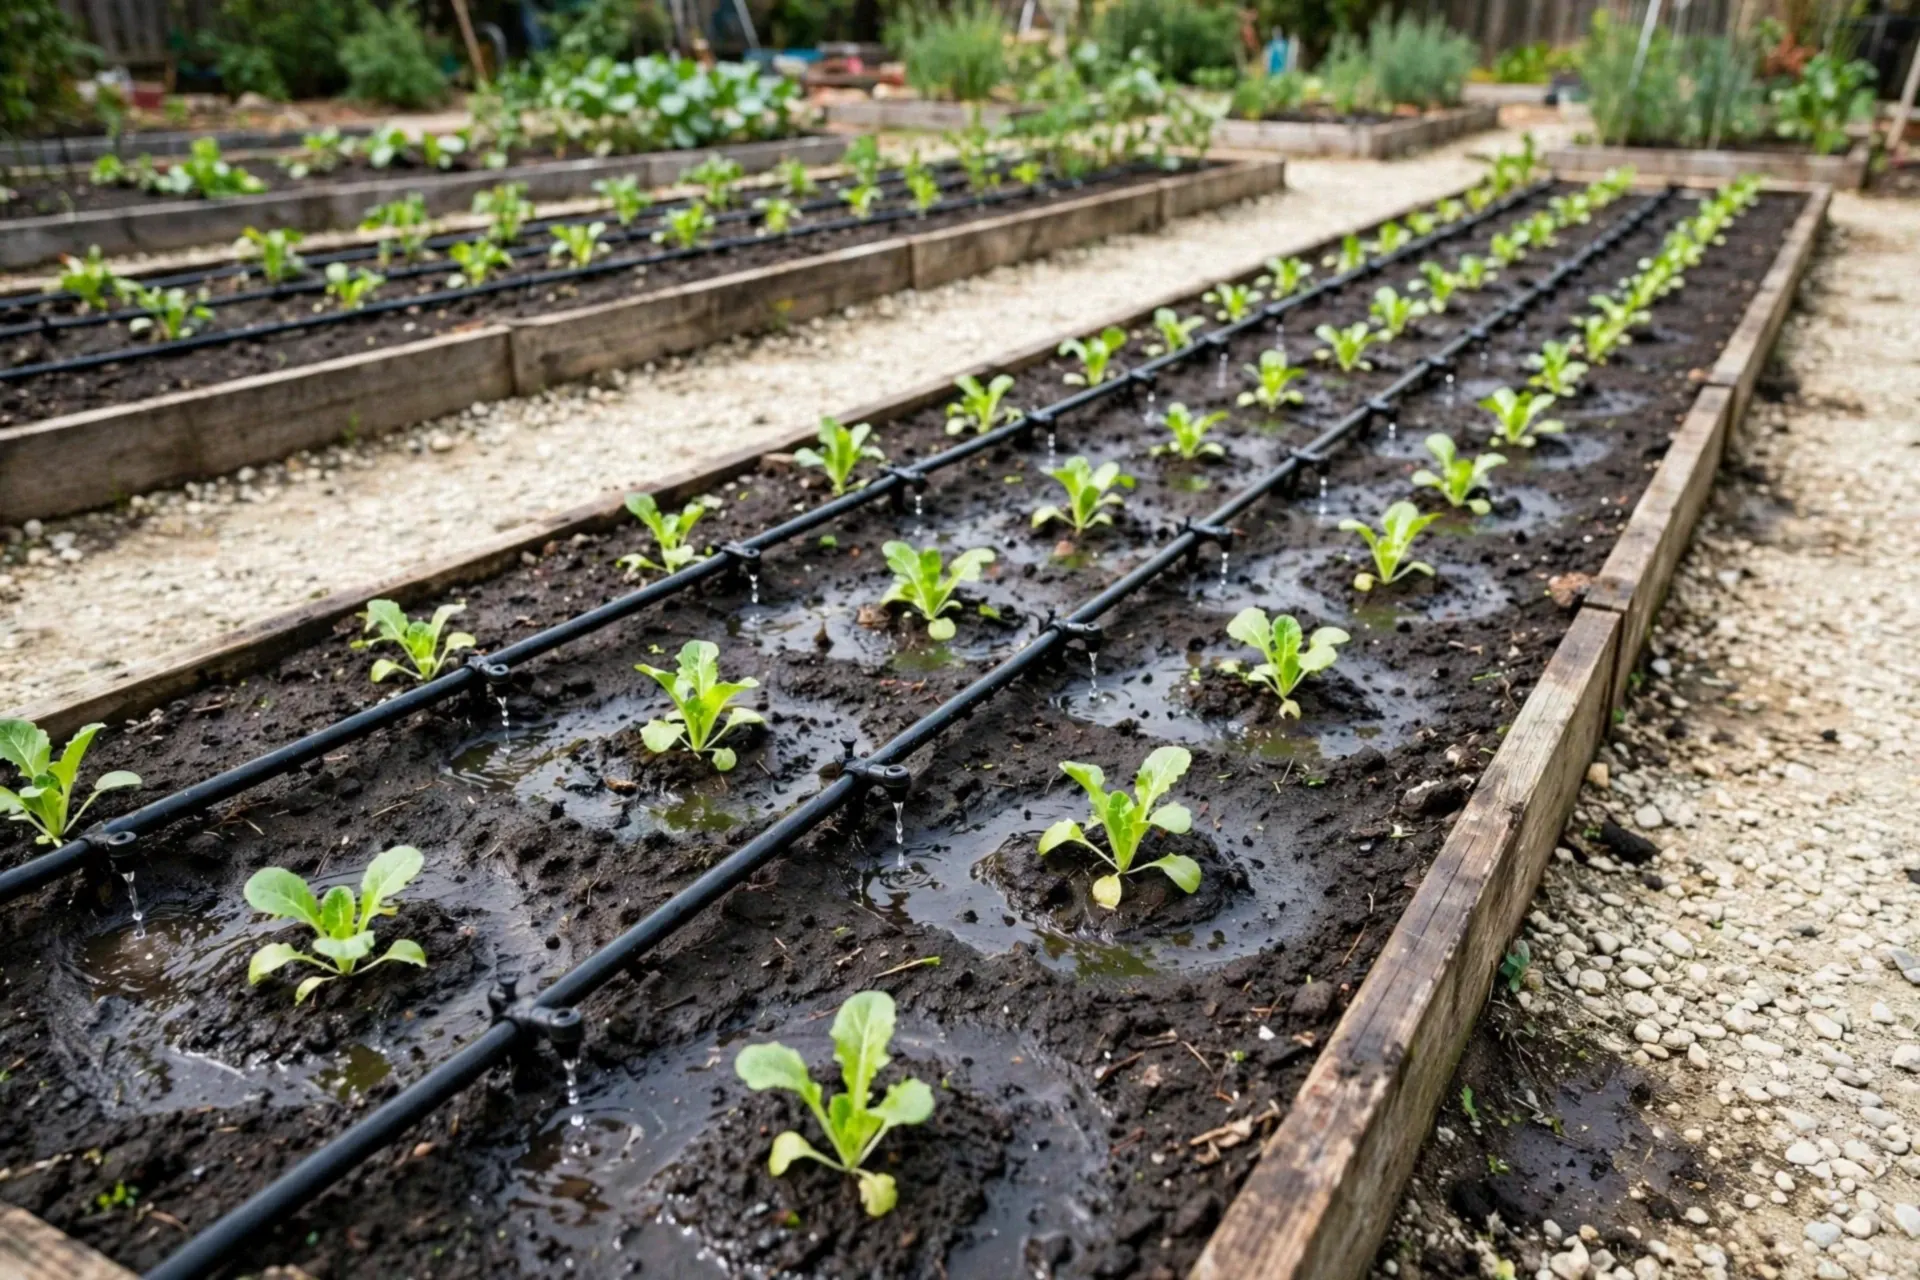
A drip line has a flow budget, and every emitter added spends it — cross the tubing’s capacity and the far end of the line fades to a dribble while the near end floods. Our Drip Flow Rate Calculator totals your system flow, checks it against your line size, and converts a bucket test into true gallons per hour. This guide covers the measurement, the limits, and the detective work when pressure disappoints.
The short answer, on one card
- Bucket test: gallons ÷ seconds × 3,600 = true GPH — measure at the farthest emitter
- System flow: emitters × rated GPH — 100 emitters at 1 GPH is 100 GPH of demand
- Line limits: ¼-inch ~30 GPH · ½-inch ~200 GPH · ¾-inch ~480 GPH
- Over the limit? Split the zone — no filter cleaning or pressure tweak repeals friction
- Weak everywhere = supply or filter; weak only at the far end = capacity or pressure
On this page
Step 1 — The bucket test: your system’s honest speedometer
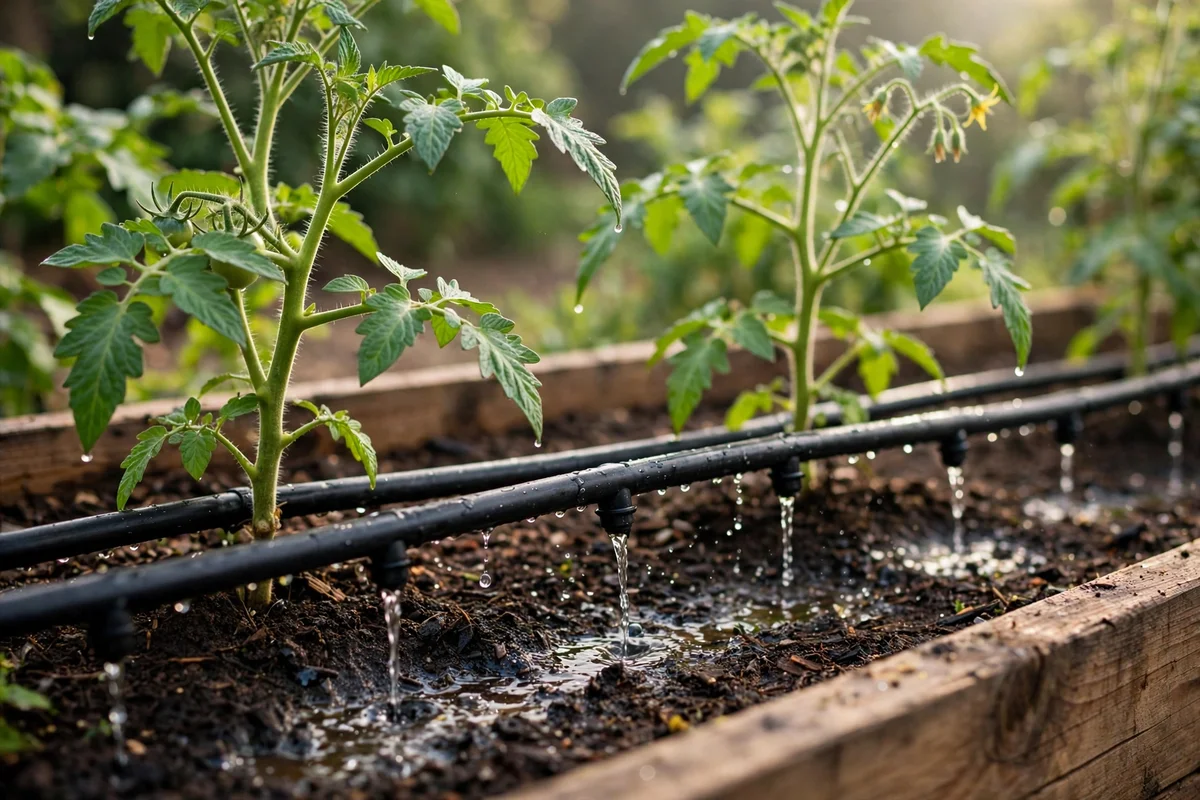
Catalogue flow rates are measured at a standard 25 psi on a test bench. Your garden offers different pressure, a filter with a season of silt in it, and a hundred feet of friction. The bucket test cuts through all of it: pull the farthest emitter (or open the line’s far end into a jug), run the zone, and time how long a measured gallon takes. Gallons divided by seconds, times 3,600, is your true gallons-per-hour figure — the one every run time should be built on.
Test two points and you have a diagnosis as well as a number. If the near emitter delivers its rating and the far one delivers 60% of it, the line is losing pressure along its length — capacity or run length. If both are equally weak, the problem sits at the supply: filter, pressure regulator, or the tap itself. Two minutes with a jug replaces a season of guessing.
Step 2 — Line capacity: the limits that explain weak ends
Friction loss climbs steeply with flow, so each tubing size has a design ceiling — the flow beyond which pressure at the far end falls away. These are the standard design limits used across the drip industry; the calculator checks your total against the size you select.
| Supply line | Design limit | What that feeds (at 1 GPH per emitter) | Typical role |
|---|---|---|---|
| ¼-inch tubing | ~30 GPH | About 30 emitters | Short laterals, patio pots, a single row |
| ½-inch mainline | ~200 GPH | About 200 emitters | Most home-garden zones |
| ¾-inch mainline | ~480 GPH | About 480 emitters | Large gardens, long runs, several beds per zone |
Over the limit, the remedies are structural, not hopeful: split the zone at a tee and run halves alternately, step the mainline up a size, or shorten the longest runs. Run your own count through the Drip Flow Rate Calculator — flow total and capacity verdict. Designing a new system instead? Start with the Drip Irrigation Calculator, which sizes zones before a single part is bought.
Step 3 — Pressure, elevation and the clogged filter
Drip emitters are rated at 25 psi and most systems regulate down to 20–30 psi from a house supply that may run two or three times that. A failed or missing regulator shows up as misting, blown fittings and erratic flow; a clogged filter shows up as everything slowly weakening over weeks. Elevation is the quiet variable: every 2.3 feet of rise costs about 1 psi, so a bed ten feet above the tap starts roughly 4 psi poorer — trivial for pressure-compensating emitters, decisive for standard ones on a long line.
The maintenance order matters because it is also the price order: flush the line ends and clean the filter first (free), bucket-test again, and only then conclude the design itself is over capacity. Most "my drip system is dying" stories end at the filter, with the calculator’s capacity check as the alibi that cleared the design.
Step 4 — From flow to run time
Flow becomes useful when it meets a target: the bed needs a depth of water, the depth is a volume, and the volume divided by flow is the run time. An inch over a square foot is 0.623 gallons, so a 20 × 4 ft bed at one inch wants about 50 gallons — at a measured 80 GPH zone flow, 37 minutes. The calculator runs this with your numbers, including the honest adjustment: if the bucket test says your emitters deliver 70% of rating, the run time stretches by the same proportion.
Log the figures per zone on the printed sheet. Next season’s question — "can this line take another bed?" — is then a subtraction, not a summer of dry far ends and archaeology. Flow rates are the system’s memory; write them down once and every future decision gets easier.
Questions people ask
How often should I bucket-test my system?
Once a season, at spring start-up, and any time a zone’s far end looks weaker than you remember. It takes two minutes and catches the clogged filter and the slow leak while both are still cheap.
My zone is over its line limit but waters fine — is the limit real?
At short runs and generous pressure, a line can carry somewhat more than its design limit before the far end visibly suffers — the limits assume long runs. Treat them as the planning line they are: a system at 210 GPH on a ½-inch line may behave; the same total at the end of 150 feet will not.
Can a pressure-compensating emitter fix an overloaded line?
It fixes uneven pressure along slopes and long runs — each emitter holds its rate across a pressure range. It cannot create flow the tubing cannot carry: if total demand exceeds what the line delivers, PC emitters share the shortage evenly instead of letting the far end starve, which is better, but the zone still wants splitting.
Why do my emitters clog, and which water is worst?
Three clogging families: particles (fixed by the filter), mineral scale from hard water (acid treatment or vinegar flushes, and emitters rated for hard water), and biological slime in warm, nutrient-rich water (flush and occasional chlorination in big systems). The filter handles the first; the bucket test detects all three by their effect.
Should each bed be its own zone?
Beds with different thirsts — salad greens versus established shrubs — earn separate zones; beds with similar plants and soil can share one if the flow total fits the line. Zoning by thirst, sized by flow: the two calculators between them cover both halves of that sentence.
Sources
Key facts on this page cross-checked against Drip Irrigation for Home Gardens — Colorado State University Extension — extension guidance on drip layout, emitters and scheduling for home gardens Drip irrigation — Wikipedia — background on drip systems, pressure and emitter behaviour.
Related page
Read next: How to Plan Drip Irrigation: Emitters, Flow Rates and Run Times
Comments & ratings
No comments yet.
Be the first to share your experience.