
Guides · Indoor growing · Published November 1, 2026 · By Faizan Ahmad
How to Grow Microgreens Indoors (Fast Winter Harvests)
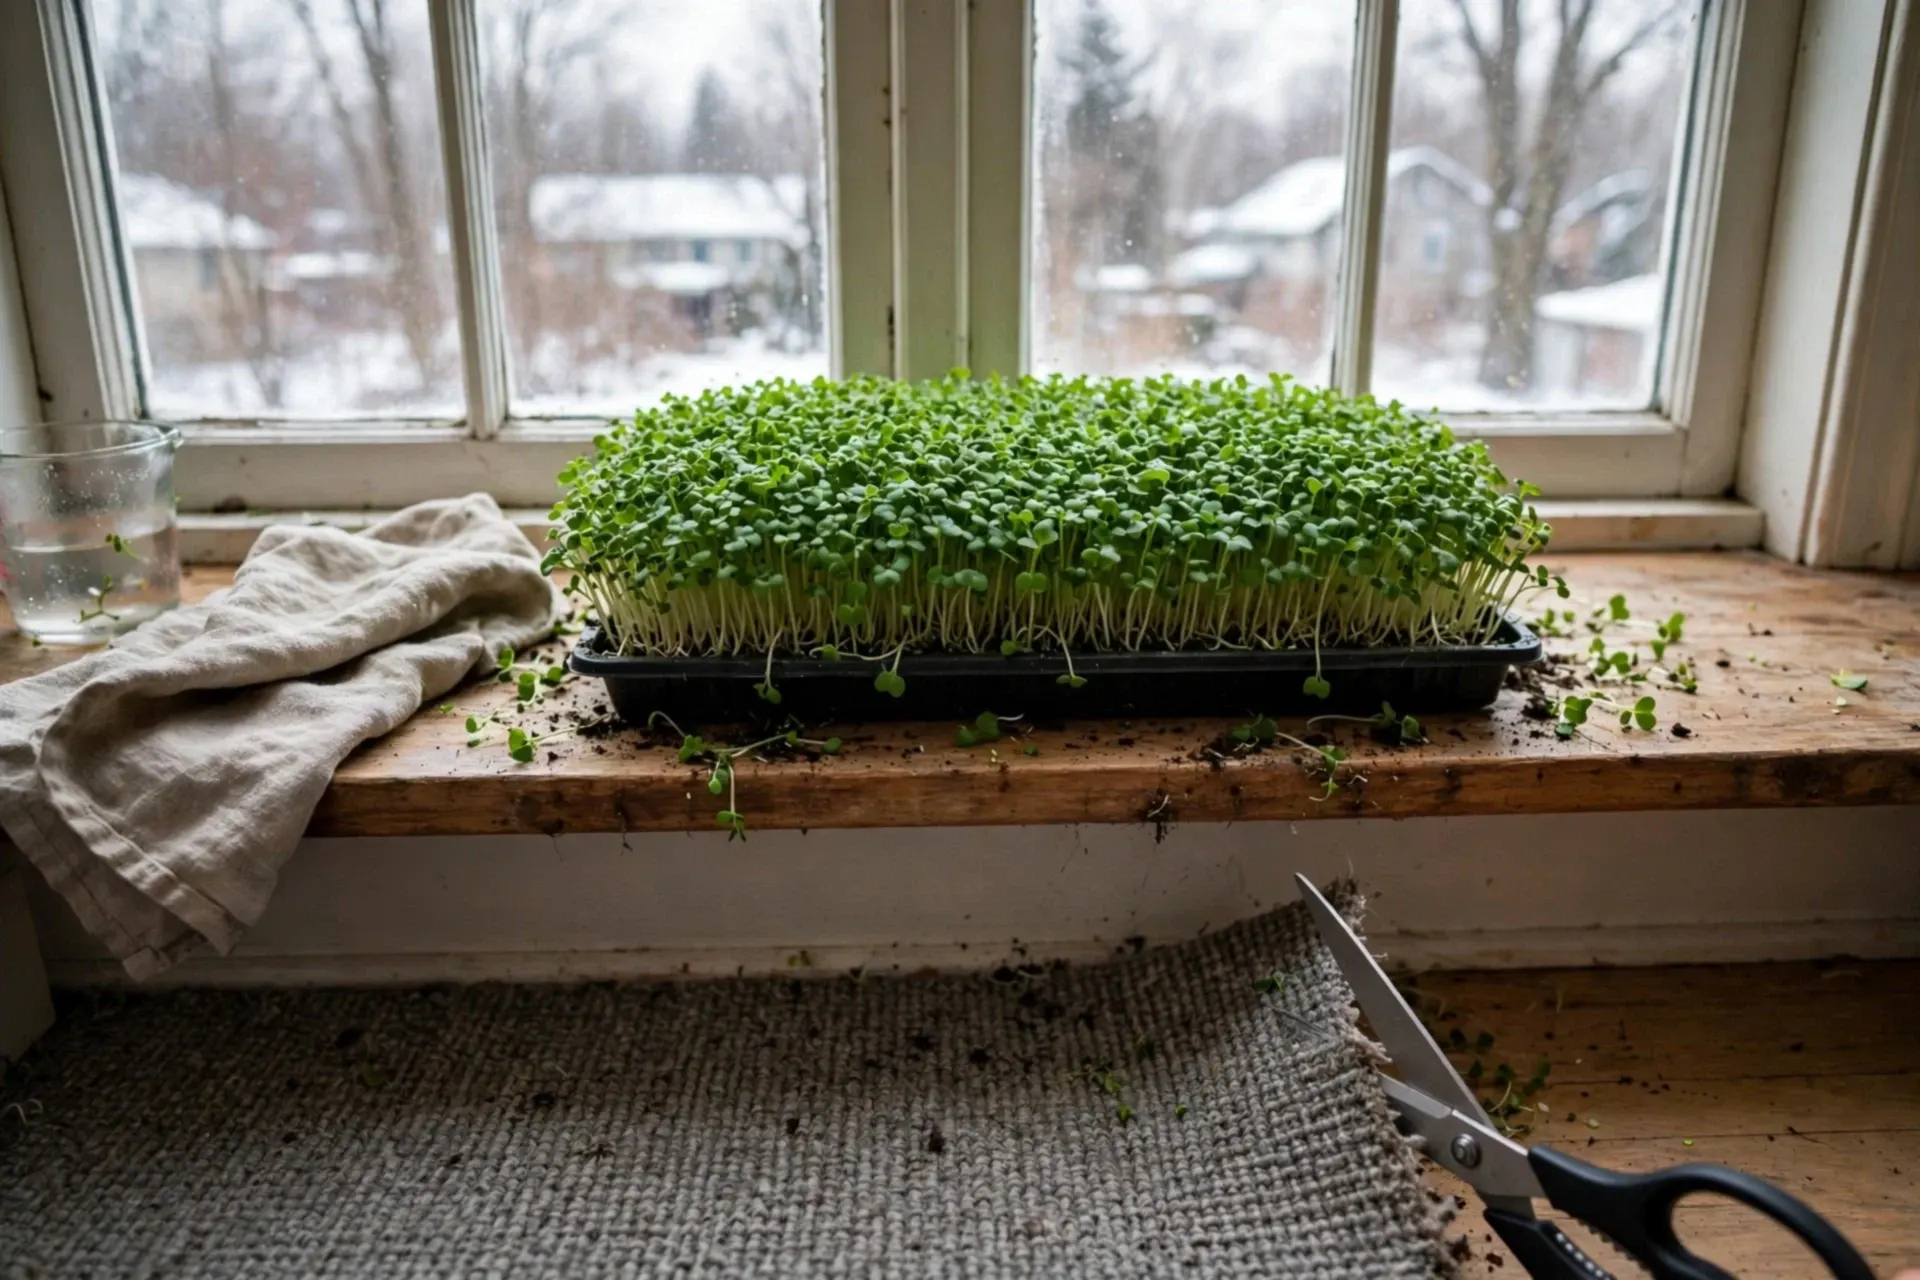
Microgreens are vegetables harvested as babies — a week or two after sowing, at the first true leaves — and they are the most forgiving indoor crop there is: no garden, no season, no patience required. A shallow tray on a bright sill gives you fresh, intensely flavoured greens in the middle of winter. They are not sprouts (those are eaten root and all, grown in water); microgreens grow in a thin layer of mix and are cut above it. Here is the full method.
What you need (it is a short list)
- A shallow tray with drainage, sitting inside a second solid tray — cafeteria trays, seed trays, even takeaway tubs with holes
- Fine seed-starting mix or a coir mat, a few centimetres deep at most
- The right seed, bought in bulk — radish, broccoli, kale, mustard and sunflower are the classic starters; tiny expensive packets are the wrong way to buy them
- A spray bottle and a dark cover (another tray or a board) for the germination days
- Light — the brightest sill you have, or the same close lamp that serves seedlings
Step 1 — Sow thickly and evenly
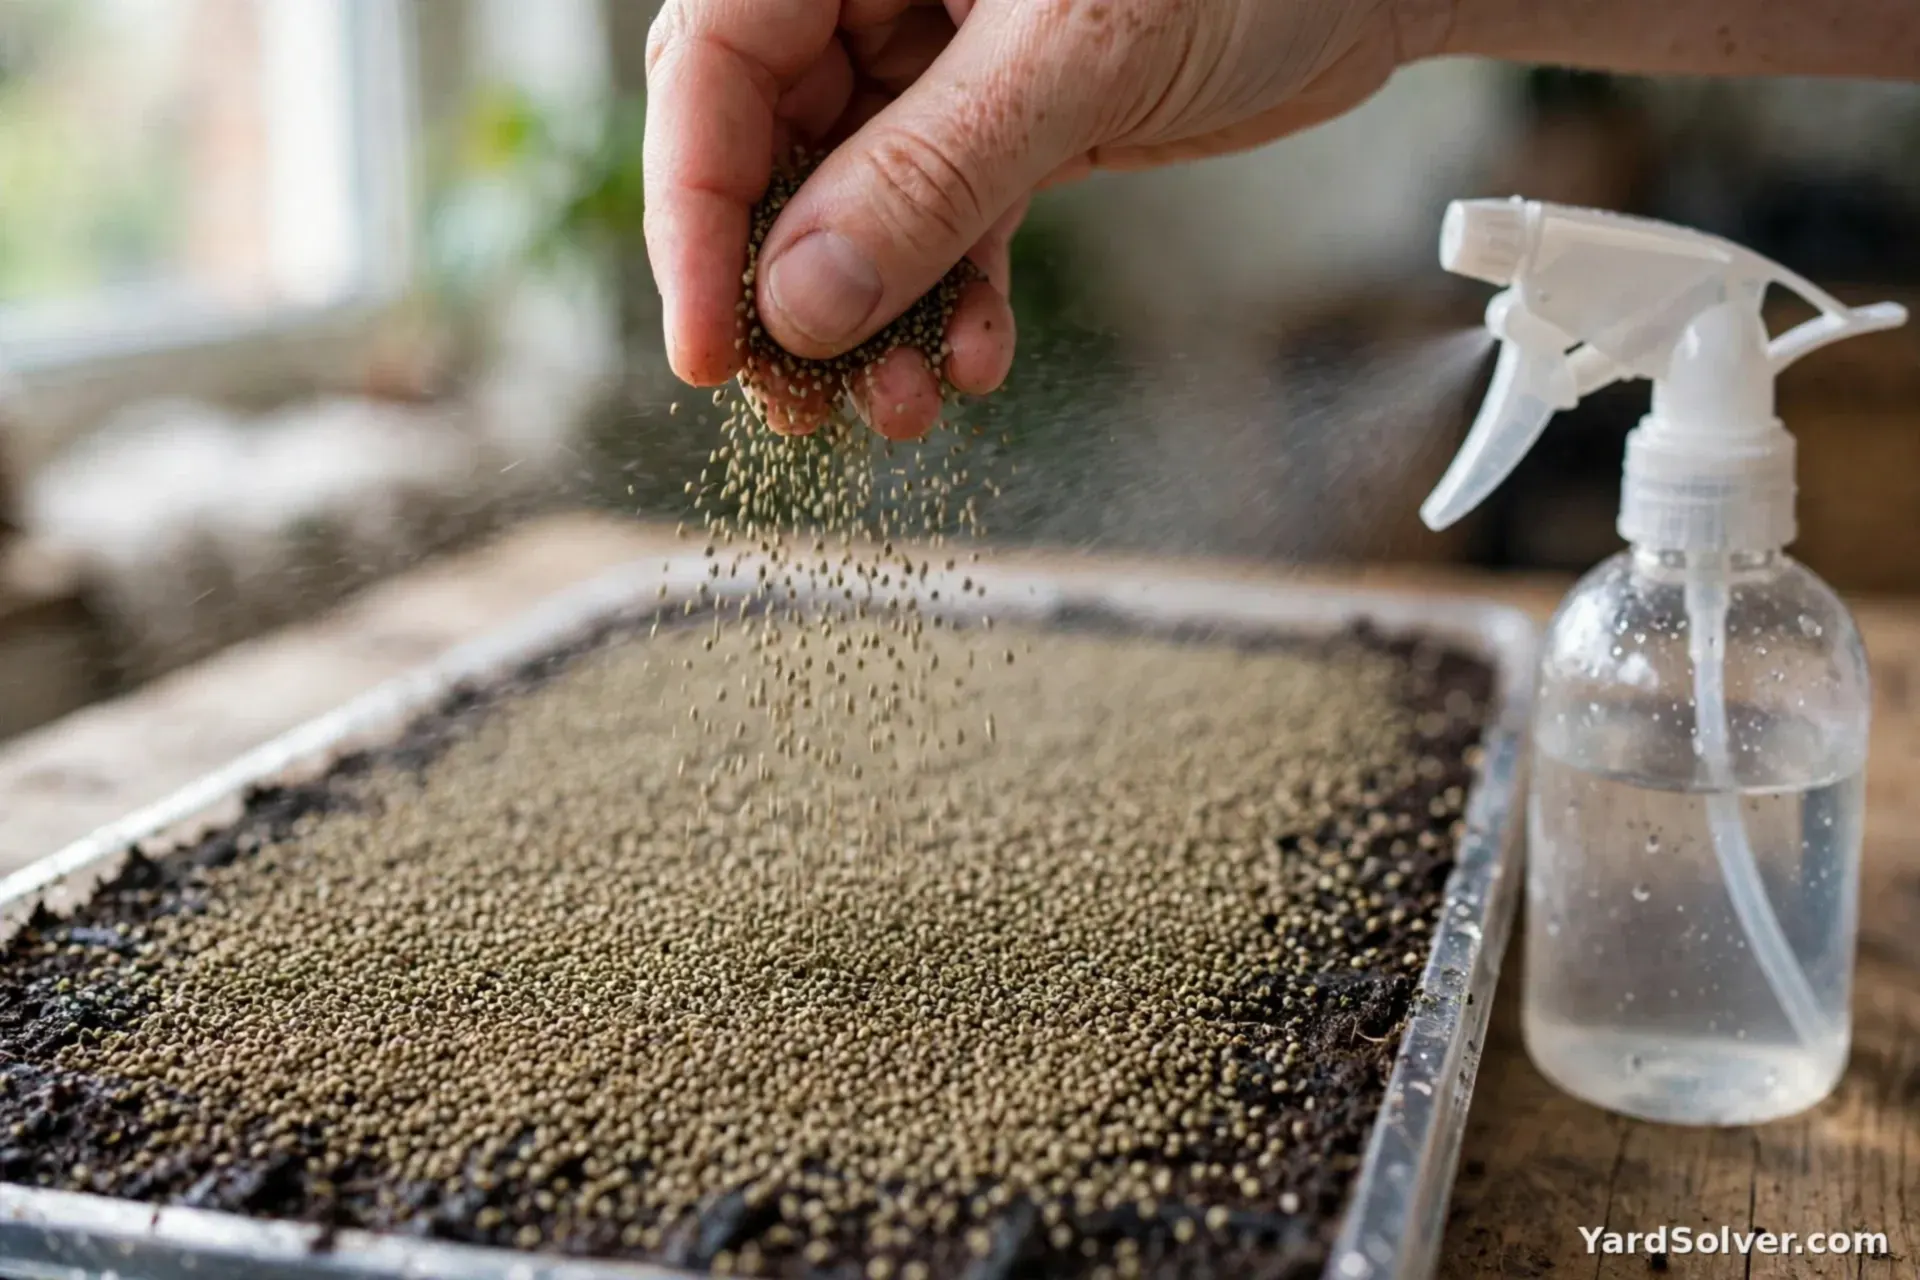
Moisten the mix until it is like a wrung sponge, level it, and scatter seed densely and evenly across the surface — microgreens are grown crowded on purpose, a green carpet rather than rows. Press the seed gently into contact with the mix, mist it, and do not bury it: most microgreen seed germinates best at or near the surface. A gram scale helps repeat success, but even coverage matters more than exact weight; the Seed Calculator gives a feel for seed densities per area.
Step 2 — The dark, weighted start (3–4 days)
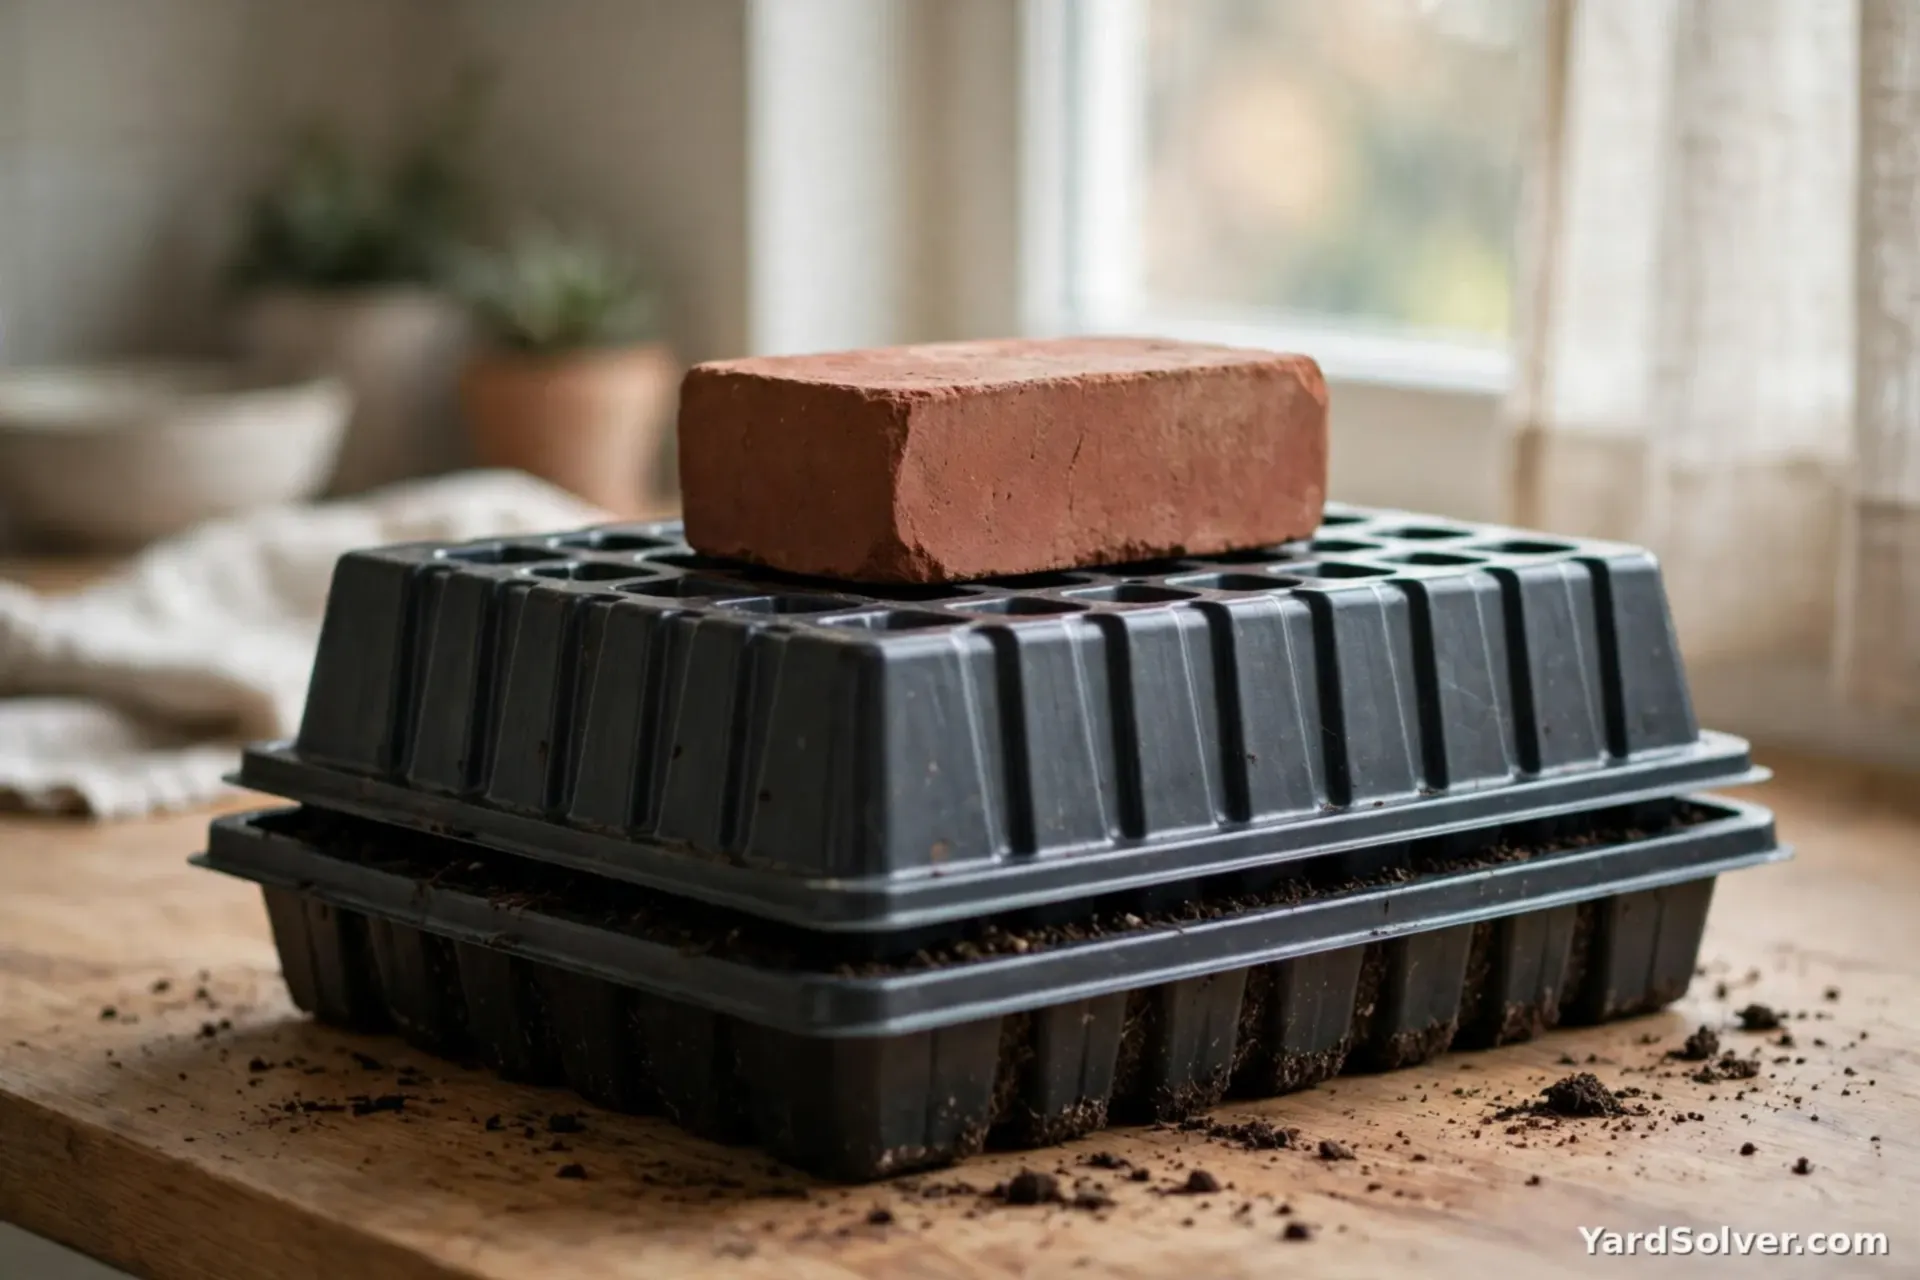
Cover the tray with the second tray or a board, and put a modest weight on top — a book, a brick. Darkness plus gentle pressure makes seeds root down evenly and germinate together instead of pushing the mix up in clumps. Keep the mix misted-moist and check daily: when the carpet of seedlings lifts the cover, the dark days are over. This stacked start is the step beginners skip, and it is the difference between an even carpet and a patchy one.
Step 3 — Light, air, and bottom water
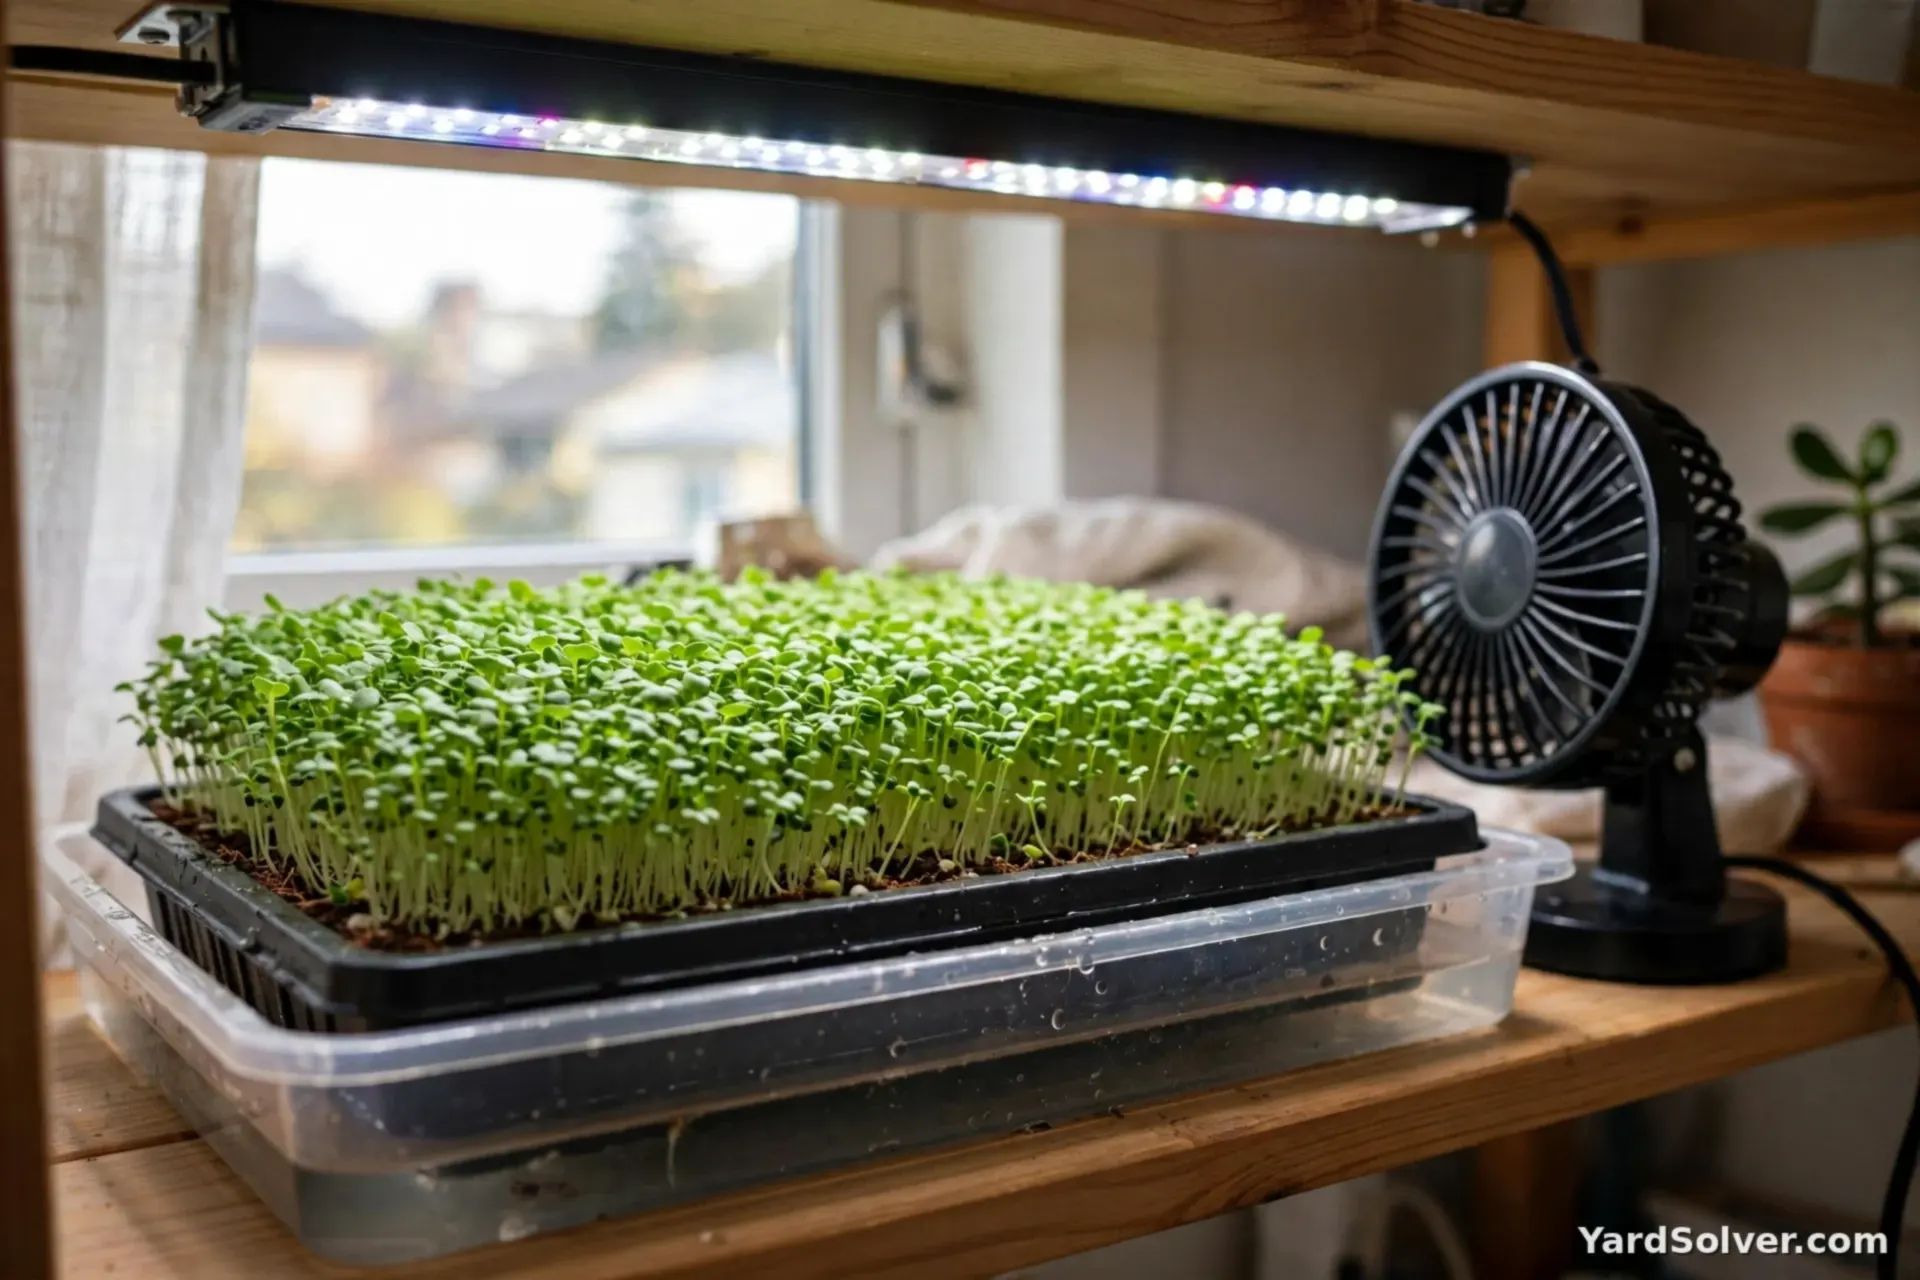
Move the tray to your brightest light, close above the leaves — a dim sill makes pale, leggy microgreens for exactly the reasons in Why Are My Seedlings Leggy?. From here, water only from the bottom tray, keeping the leaves and surface dry — the main defence against mould, helped by the gentle air of a small fan, which also keeps fungus gnats from settling. If white fuzz appears at the roots, check the FAQ before panicking: most of it is not mould.
Step 4 — Harvest at the first true leaves (day 7–14)
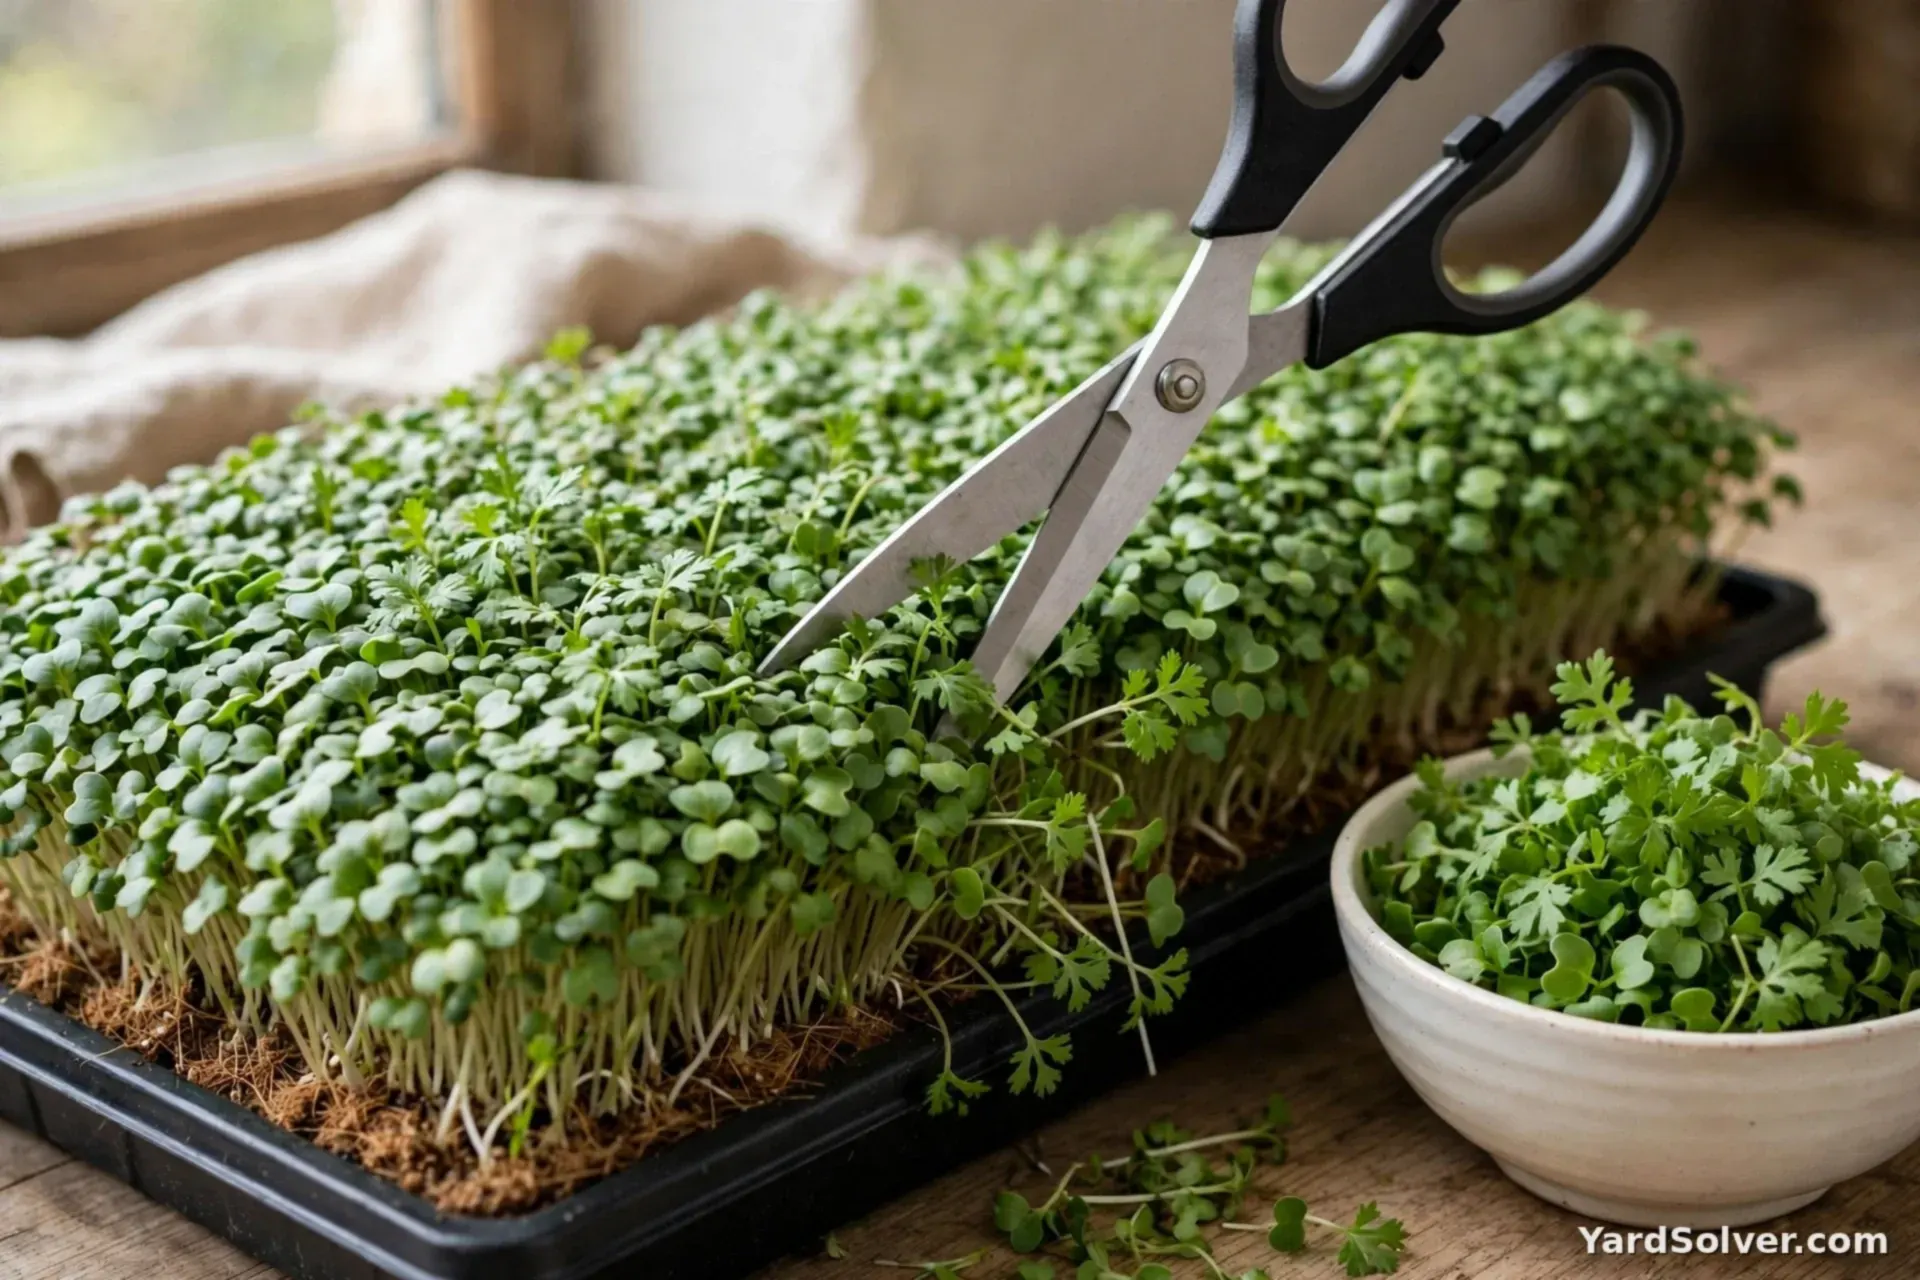
Harvest when the seed leaves are fully open and the first true leaves are appearing — radish races there in a week, sunflower and peas take nearer two. Cut with clean scissors just above the mix, a handful at a time, and eat them the same day for the full snap of flavour. Most trays give one clean cut; pea shoots regrow for a second, smaller harvest. The spent root mat goes to the compost.
Step 5 — Wash, sow again, keep the rhythm
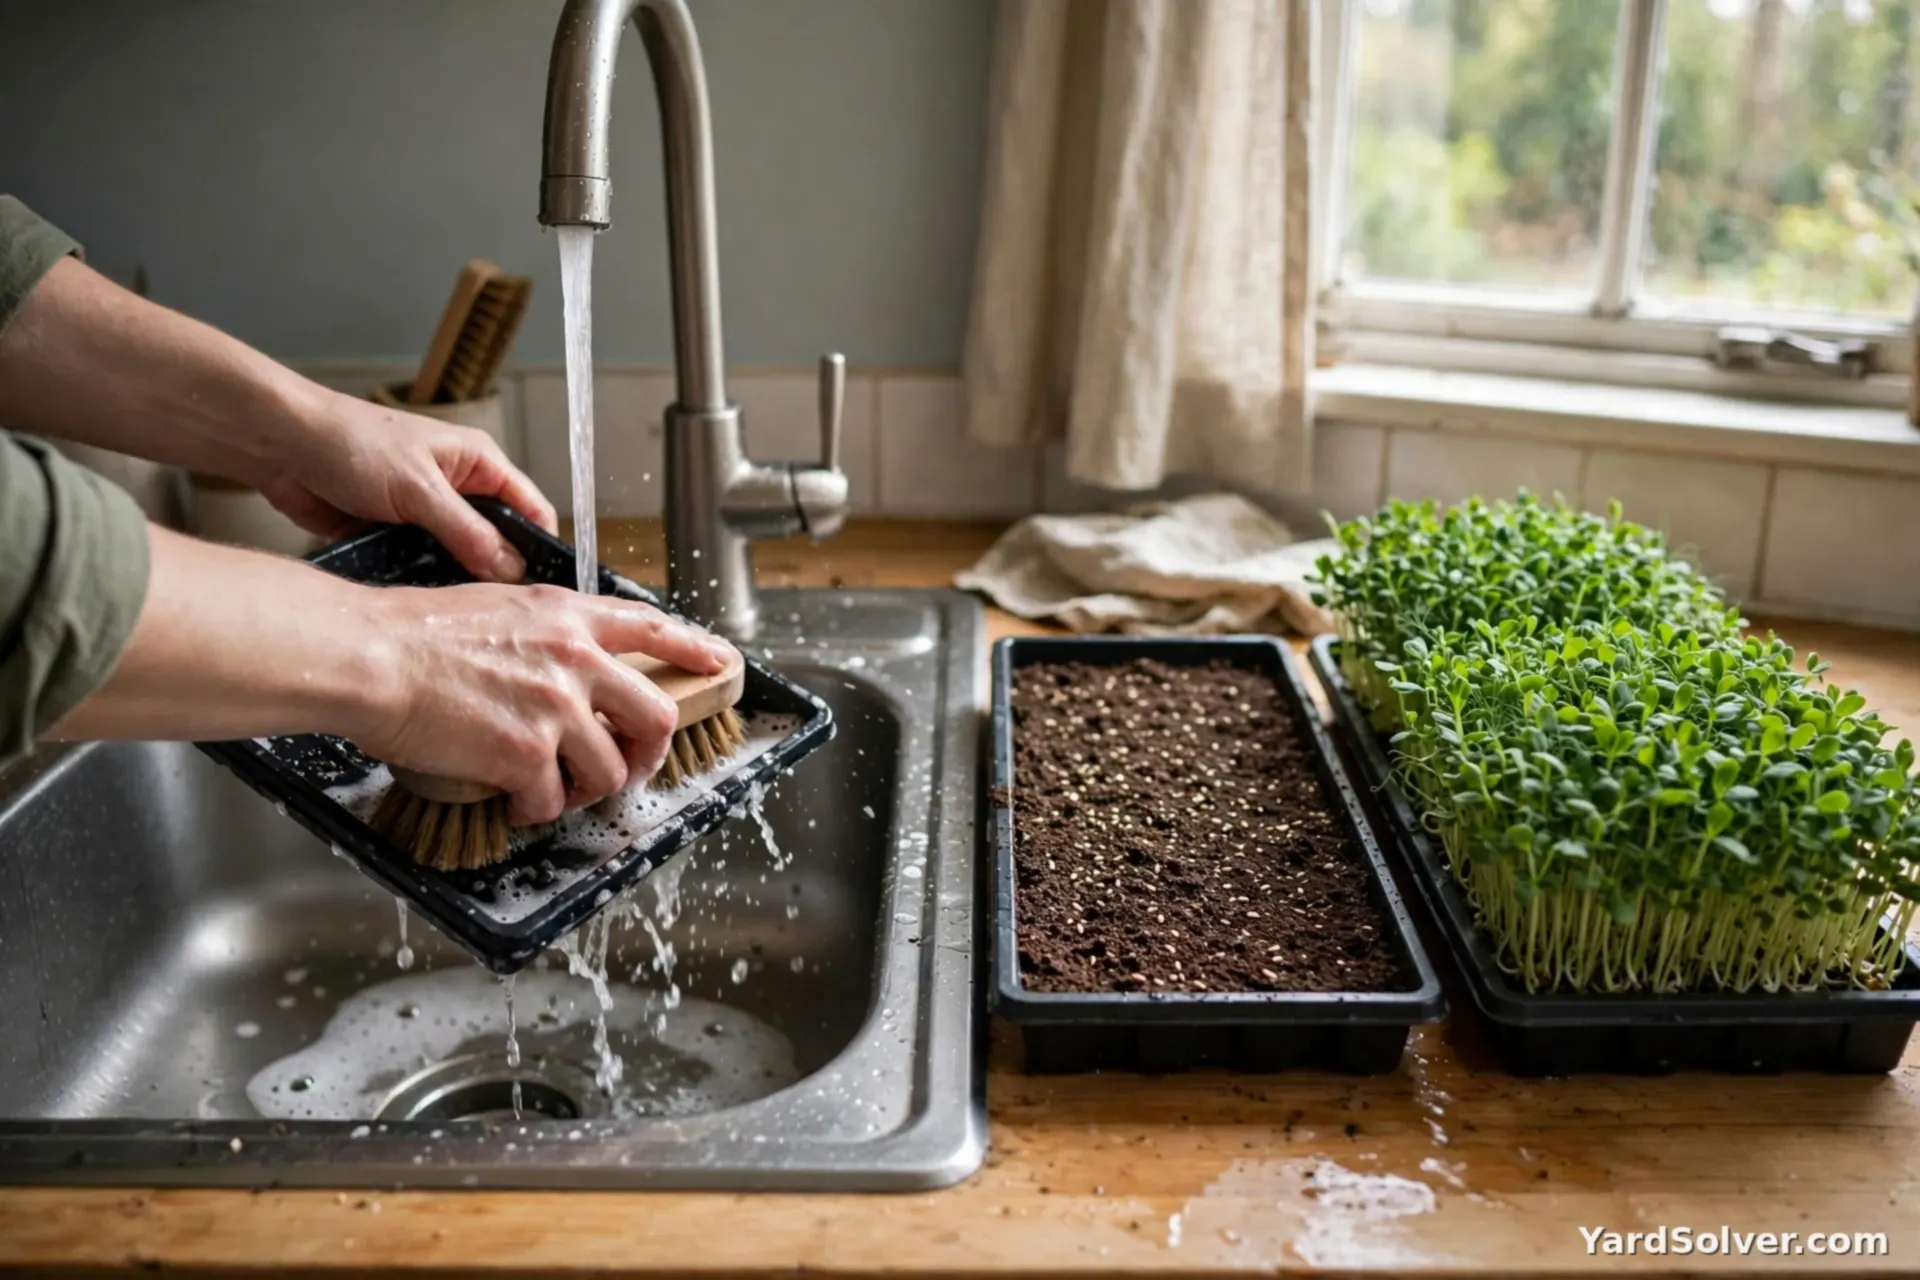
Scrub the trays before the next sowing — old mix residue is where mould problems breed, the same lesson as damping off in seed trays. Growers who sow one tray a week, every week, end up with a continuous winter supply from a windowsill's worth of space, and a rotation of radish (fast, peppery), broccoli (mild), mustard (hot) and sunflower (nutty, substantial) covers most of the flavour map.
Keep going
Winter growing companions: How to Grow Herbs Indoors in Winter · Winter Sowing in Milk Jugs. Most microgreen seeds are the same vegetables profiled in the Plant Library — just harvested very young.
Questions people ask
What is the white fuzz on my microgreens — is it mould?
Usually not. Young roots are covered in fine white root hairs that look fuzzy, especially in the morning — they hug the roots and disappear when misted. True mould grows in patches on the mix surface or stems, often grey, and smells musty. Root hairs are a sign of healthy growth; mould means too wet and too still — increase air movement and water only from below.
What is the difference between microgreens and sprouts?
Sprouts are germinated in water and eaten whole — seed, root and shoot — after a few days. Microgreens grow in mix or on a mat, under light, and are cut above the root at one to two weeks, at the first true leaves. The flavour and texture are quite different: microgreens taste like a concentrated version of the adult vegetable.
Which microgreens are easiest for a first tray?
Radish is the classic first tray: it germinates fast, grows evenly and is ready in about a week, with a clean peppery bite. Broccoli and kale are nearly as easy and milder. Sunflower and pea shoots are delicious but slower and a little fussier about mould, so try them as your second or third tray.
Microgreens are a seven-to-fourteen-day crop — light, not feed, decides their quality
A microgreen is harvested at its first true leaves, living almost entirely on the energy stored in its seed, which is why the crop needs no fertiliser and forgives plain compost or even mats — and why light is its whole quality question. In weak light the stems stretch pale and floppy hunting for brightness; under a bright window or a simple LED bar a hand's breadth above the tray, the same seed grows short, coloured and intensely flavoured. The tray-to-light distance matters more than the tray, the medium or the variety.
Sow thickly and evenly — microgreens are a lawn, not a row — keep the medium moist with a mister rather than a can, and give the tray air: stagnant, soaking conditions invite the mould that ruins more trays than any other cause, and a small fan or a daily lift of the cover prevents it. Harvest with scissors just above the medium the day the first true leaves open, sow a new tray the same day, and the windowsill becomes a production line measured in days, the fastest crop in this entire guide collection.
Sources
Key facts on this page cross-checked against Microgreen — Wikipedia — background on microgreens and how they are grown.
Related page
Read next: Indoor Hydroponics for Beginners (Honest Basics).
Comments & ratings
No comments yet.
Be the first to share your experience.