
Guides · Winter jobs · Published November 20, 2026 · By Faizan Ahmad
How to Protect Outdoor Faucets From Freezing: The 20-Minute Job That Prevents a Burst Pipe
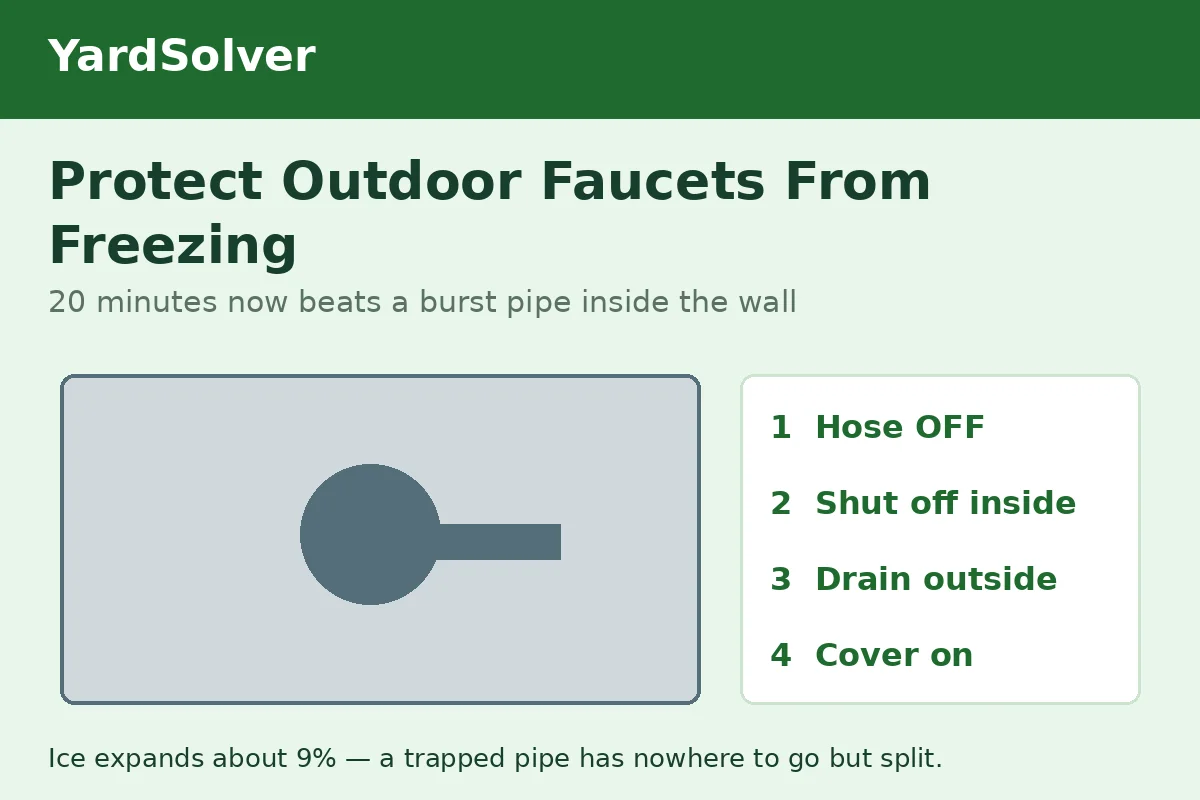
Protect an outdoor faucet from freezing with four moves, done before the first hard freeze: disconnect and drain the hose, close the indoor shut-off valve that feeds the faucet, open the outdoor tap so the trapped water drains out, and fit an insulated cover. The whole job takes about 20 minutes per faucet, and it prevents the classic winter plumbing disaster — a pipe that splits silently inside the wall in January and is only discovered in spring, when the tap is turned on and water pours into the wall cavity. If you do only one thing on this page, make it the first: a hose left connected defeats every other protection, including on modern frost-free faucets.
The short answer, on one card
Hose off — always, on every faucet type. Standard tap: close the indoor shut-off, open the outdoor tap, drain the bleeder cap, leave the tap open all winter, cover on. Frost-free tap: hose off so the long tube can drain itself; that is the whole job. Timing: before the first night well below freezing — in most of Canada and the northern US that means done by mid-November; if you are reading this in December with hoses still on, go out today.
Why outdoor faucets burst (and why you find out in spring)
Water expands by roughly 9% when it freezes. In an open container that is harmless; in a closed pipe it generates pressure no household pipe can withstand, and the pipe splits. The faucet run is the most exposed plumbing in the house: it passes through the exterior wall into unheated air, and a connected hose traps a full column of water in exactly that cold stretch. Two features make the damage treacherous. First, the split usually happens inside the wall, where the pipe is coldest — not at the visible tap. Second, a split pipe with the tap closed may leak almost nothing all winter, because ice plugs the break; the flood starts at the spring thaw, the first time someone opens the tap and pressurised water finds the crack. That is why this guide ends with a spring leak check: prevention is the 20-minute job, and verification is standing beside the wall the first time you run the tap in April.
First, know which faucet you have
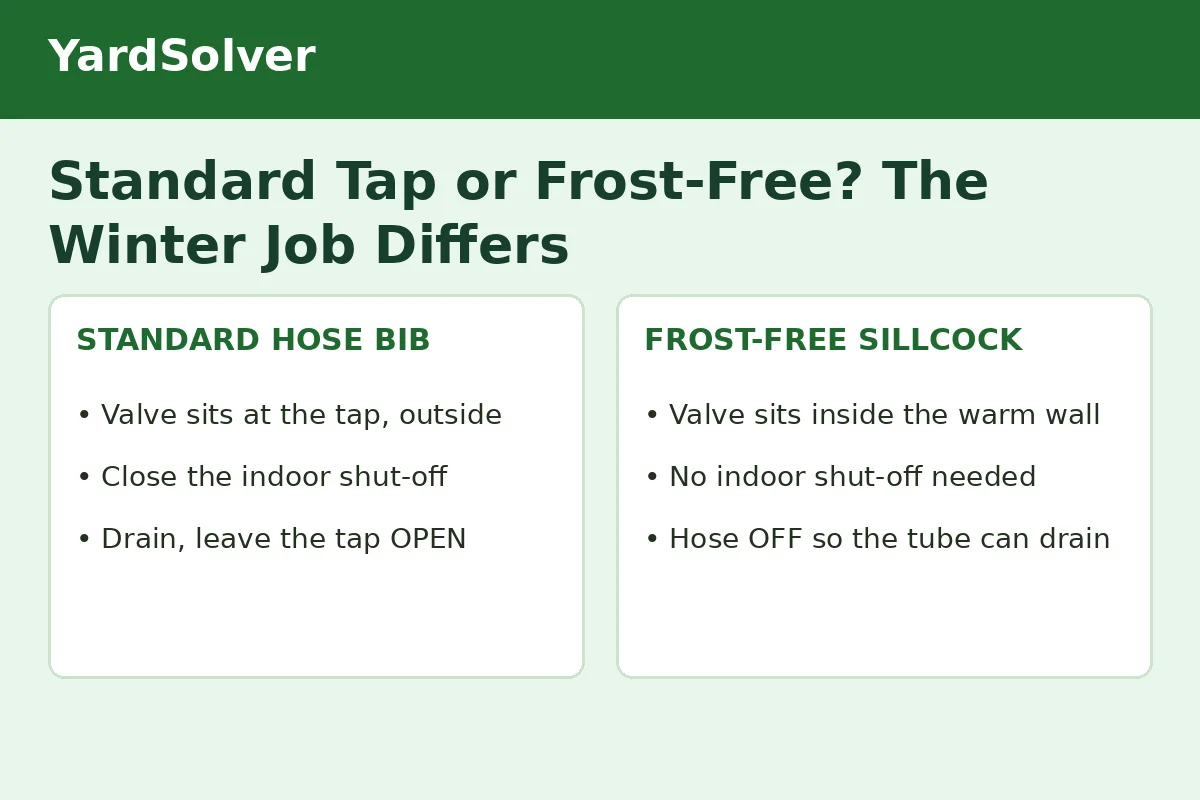
| Standard hose bib | Frost-free sillcock | |
|---|---|---|
| How to recognise it | Short body at the wall; a separate shut-off valve on the pipe inside (basement or crawl space) | Long body extending into the wall; often no indoor shut-off on its line |
| Where the water stops | At the tap itself, outside in the cold | 15–30 cm inside the heated wall, where it stays warm |
| Winter job | Full routine: shut off inside, drain, leave tap open, cover | Remove the hose so the tube drains by gravity; cover optional |
| The trap | Forgetting the indoor valve exists | A hose left on blocks drainage and splits the tube — the number one cause of frost-free failures |
Not sure? Go inside and follow the pipe from the faucet's position. A valve on that pipe a short distance from the wall means a standard tap with its own shut-off. A long metal body running into the wall with no valve usually means frost-free. When in doubt, do the full standard routine anyway — it harms nothing on a frost-free tap.
The standard-tap routine: 6 steps
1. Disconnect everything outside. Unscrew the hose, and remove splitters, timers and quick-connects too — anything that can trap water at the outlet. Drain the hose on a slope, coil it, and store it under cover so it does not crack over winter (cold-stiff hoses split at the coils). 2. Find the indoor shut-off. It sits on the pipe feeding the faucet, usually in the basement ceiling, a crawl space or a utility room, close to the wall the faucet is on. 3. Close it. Clockwise for a round gate valve; a lever ball valve is closed when the handle sits across the pipe. 4. Open the outdoor tap fully and let the trapped water run out until it stops. 5. Drain the bleeder cap. Many shut-off valves have a small metal cap on the side; open it over a bucket to release the last water in the run, then close it. 6. Leave the outdoor tap OPEN all winter and fit an insulated foam cover over it. An open tap gives any residual water room to expand instead of a sealed pipe to split. Never pour antifreeze into a household water line.
If there is no indoor shut-off valve
Some older homes have none. Your defences, in order: disconnect the hose without fail; fit the insulated cover (it now carries more of the load); insulate the exposed pipe run inside where you can reach it; and on the coldest nights, know where your main shut-off is in case of trouble. The permanent fix — having a plumber add a shut-off or swap the tap for a frost-free model — is a one-visit job best booked in the quiet season, and it ends this annual routine for that faucet.
Frost-free faucets: one step, done properly
A frost-free (freezeless) sillcock closes its valve deep inside the warm wall, and its long tube is pitched to drain out of the spout every time you turn it off. It needs no indoor valve and no draining routine — provided the outlet is clear. A connected hose, a closed spray nozzle, a timer or a splitter holds the tube full of water, the water freezes, and the tube splits inside the wall exactly like a standard pipe; manufacturers print the warning on the faucet flange itself. So the frost-free winter job is a single disciplined habit: hose off before freezing nights, every time — including the hose someone reconnects in December to wash the car. A foam cover is harmless extra insurance but is not the protection; the empty tube is.
Do insulated faucet covers actually work?
Yes, within their limits. A foam dome cover traps a pocket of the wall's warmth around the tap body and blocks wind, which is worth real degrees on a cold night, and municipal winter guidance lists covering outdoor taps among its core steps. But a cover over a hose still connected, on a line still full of water, is decoration: covers slow heat loss, they do not remove the water that does the damage. Treat the cover as step 6, never as steps 1–5.
If a pipe freezes anyway — and the spring check
Signs of trouble: a faucet that runs weakly or not at all after a cold snap, frost on the pipe, or a damp patch appearing on the wall or ceiling below the faucet line. If you suspect a freeze, close the indoor shut-off (or the main) before thawing anything — a split pipe leaks the moment it thaws. Gentle warmth (a hair dryer, warm towels) on the exposed pipe is the safe thaw; never an open flame. Then run the spring check that catches the hidden splits: the first time you use each outdoor tap, have someone watch the inside wall and basement ceiling for two minutes while the water runs at full pressure. Dry wall, job done. Any drip, and you have found a split while it is still a repair instead of a renovation. While you are in winterising mode, the rest of the yard water system takes an hour total: drip irrigation, the sprinkler system and the rain barrel each have their own short routine.
Keep going
Finish the whole yard in one pass with the December Garden Checklist and Putting Your Garden to Bed, winterise your garden tools while the shed is open, and if a soggy patch appears where a line ran, see How to Fix a Soggy Yard.
Sources
The shut-off, drain and leave-open sequence and the freeze-expansion figure follow American Red Cross winter pipe guidance as applied at Yard & Grid — How to Winterize Outdoor Faucets, including the U.S. Geological Survey figure that ice takes up about 9% more space than the water it froze from. Canadian municipal steps — disconnect and drain hoses, keep outdoor taps open after shut-off, insulate pipes near outside walls — follow the City of Vaughan's Prep Your Pipes for Winter. Frost-free drainage behaviour and the hose warning reflect standard manufacturer guidance for freezeless wall hydrants.
Questions people ask
When should I disconnect garden hoses in Canada and the northern US?
Before the first hard freeze — as a habit, by mid-November, and earlier if several nights below freezing are forecast. A hose connected during even one deep-freeze night can trap enough water to split a pipe, and the damage typically hides inside the wall until spring, so 'before the freeze' is the only safe deadline.
Should I leave my outdoor tap open or closed for winter?
Open — after you have closed the indoor shut-off valve and drained the line. An open outdoor tap lets any water left in the pipe expand and escape instead of building pressure against a sealed valve. Close the indoor valve, open the outdoor tap, drain the bleeder cap, and leave it that way until spring.
Do foam faucet covers work on their own?
Only as the last step, not the whole job. A cover traps warmth around the tap body and blocks wind, but it cannot remove the water inside the pipe — and it is the trapped water freezing and expanding that splits pipes. With the hose still connected and the line full, a cover is decoration. Shut off, drain, then cover.
Do frost-free faucets need winterizing?
Almost none — with one non-negotiable step. A frost-free sillcock shuts the water off inside the warm wall and drains its tube every time it closes, but only if the outlet is clear. A hose, timer or closed nozzle left attached traps the water, and the tube can freeze and split inside the wall. Hose off is the whole winter job for these faucets.
What if I forgot and it is already well below freezing?
Do it today anyway — a late drain still removes most of the risk for the rest of winter. Disconnect the hose, close the indoor valve, and open the tap to drain. If nothing comes out and the tap will not run, the line may already be frozen: close the shut-off, thaw the exposed pipe gently with a hair dryer (never a flame), and watch the wall for leaks as it thaws.
How do I check for a split pipe in spring?
Have a second person watch the inside wall, basement ceiling or crawl space below the faucet while you run the tap at full pressure for two minutes. A pipe that split over winter often leaks only under pressure, inside the wall, so this first supervised run is how you catch it as a small repair instead of discovering soaked drywall weeks later.
Comments & ratings
No comments yet.
Be the first to share your experience.