
Guides · Winter jobs · Published November 20, 2026 · By Faizan Ahmad
How to Store Garden Hoses in Winter: Drain, Coil and Bring Them Inside
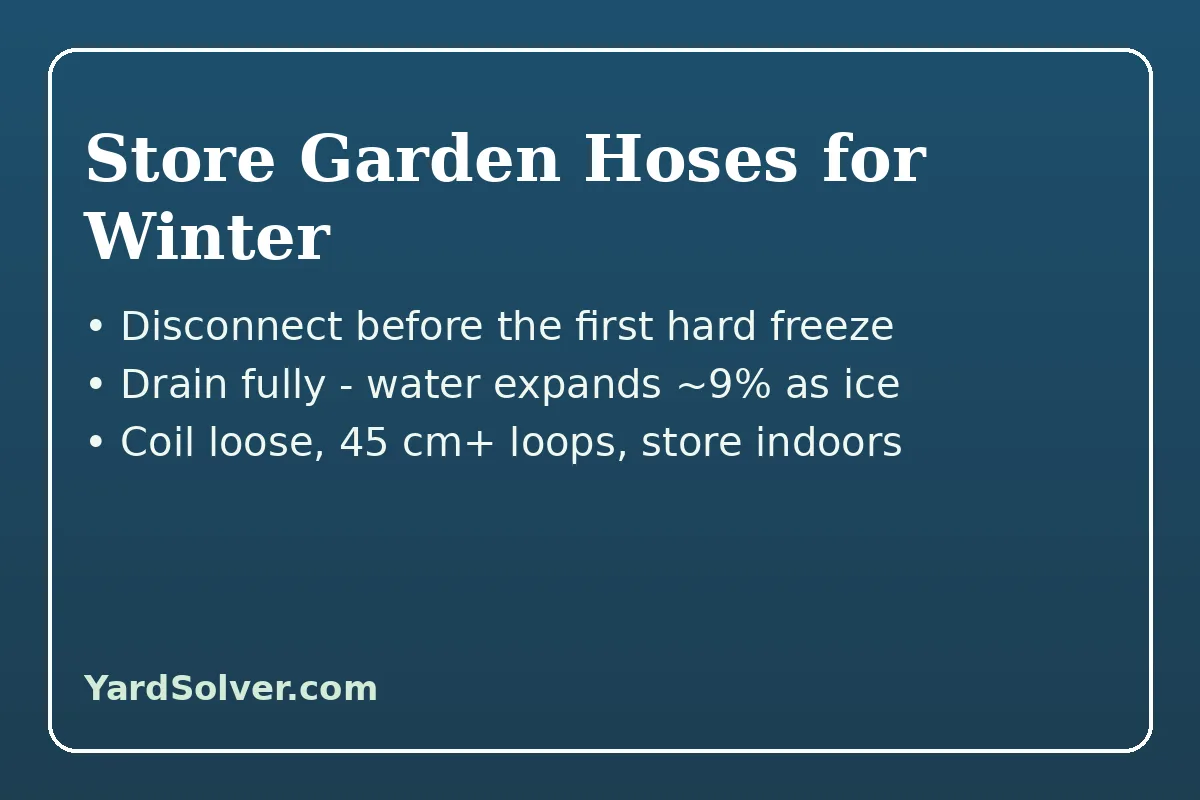
To store a garden hose for winter, disconnect it from the outdoor faucet before the first hard freeze, drain it completely, remove every nozzle, splitter and timer, coil it in wide, loose loops and hang it indoors in a garage, shed or basement. The whole job takes about fifteen minutes, and it protects far more than the hose: water trapped in a connected hose can freeze back into the faucet and split the pipe inside the wall, turning a forgotten November chore into a spring plumbing bill. Water expands by about 9 percent when it turns to ice, and inside a hose, a fitting or a faucet body, that pressure has nowhere to go. This guide gives the exact order of operations, three ways to drain a hose fully, the differences for expandable hoses and hose reels, and the spring checks that tell you whether winter won anyway — for homes across Canada and the northern and central US.
The short answer, on one card
When: before the first hard freeze, on a mild day while the hose is still flexible. Order: shut off the water and release pressure, disconnect the hose and every attachment, drain the hose completely, inspect and clean it, coil it wide and loose, store it indoors off the ground. The rule that matters most: never leave a hose connected to an outdoor faucet over winter — even a frost-free faucet cannot drain with a hose attached. Attachments: nozzles, splitters, timers and sprinklers come off, get drained, and spend winter in a bucket indoors. Expandable hoses and reels: same draining rule, extra care — see below.
What freezing water does to a hose, a fitting and a faucet
| Part | What winter does to it | The prevention |
|---|---|---|
| Hose tube | Trapped water freezes, expands about 9% and splits the inner lining; vinyl turns stiff and cracks if bent cold | Drain fully, coil before deep cold, store indoors |
| Couplings and washers | Ice deforms metal couplings; rubber washers harden, crack and leak in spring | Remove attachments, check washers now, replace any that are brittle |
| Nozzles, splitters, timers | Small trapped volumes crack plastic housings and valves | Disconnect, open, shake dry, store in a bucket indoors |
| Outdoor faucet and pipe | A connected hose traps water in the faucet body; a frozen pipe can burst inside the wall | Disconnect the hose and drain the faucet — the full routine is in our faucet guide |
The hose itself is the cheapest item on that table, which is why the quotable rule here is about the plumbing, not the rubber: a hose left connected all winter is a pipe problem waiting for a thaw. Frost-free faucets are designed to drain themselves through the hose connection — with a hose still attached, they cannot, and the water sitting in the long stem inside the wall is exactly the water that freezes. Do the hose and the faucet as one job on the same afternoon, following How to Protect Outdoor Faucets From Freezing for the shut-off and drain-down order inside the house.
The seven steps, in order
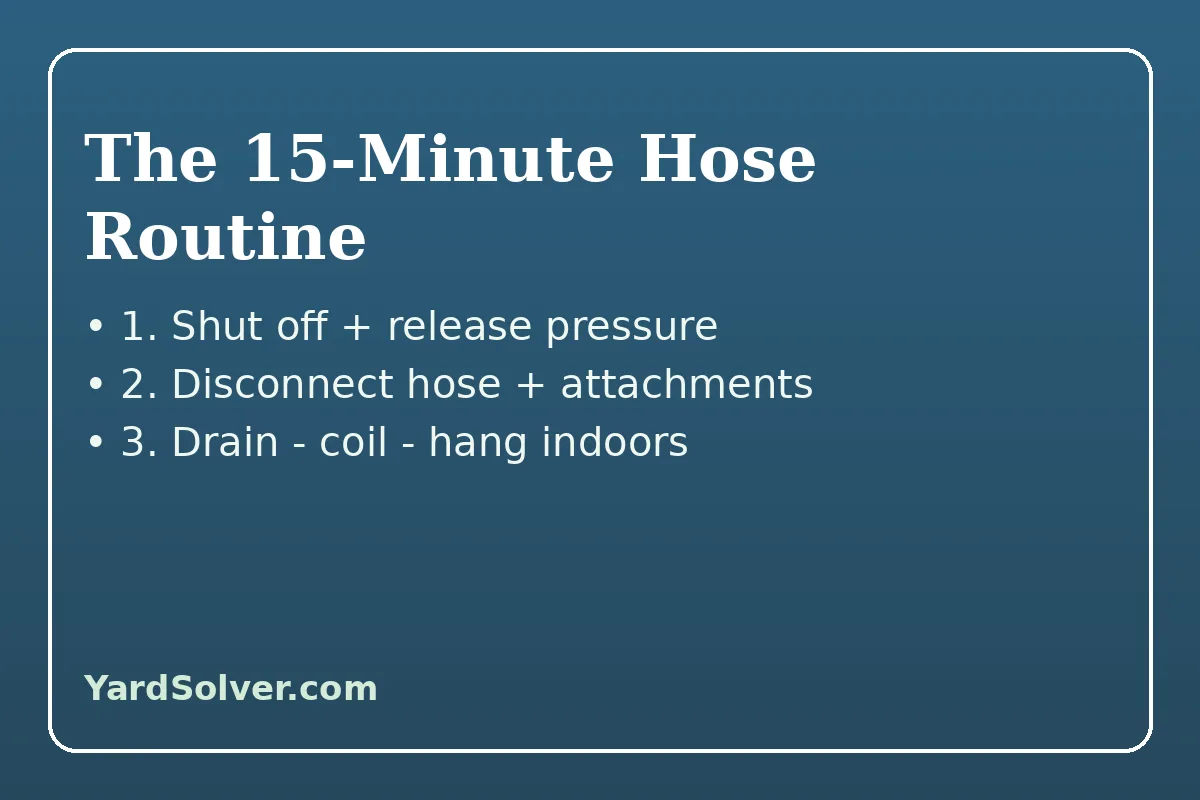
1. Turn off the water and release the pressure. Close the outdoor faucet (and the indoor shut-off for that line, if your home has one and you are draining the faucet too). Then squeeze the nozzle open and let the hose run until it stops: a closed spray nozzle keeps the whole hose pressurised even with the faucet off, and a pressurised hose fights you at the coupling. 2. Disconnect the hose and every attachment. Unscrew the hose from the faucet — hand pressure first, pliers gently on the coupling only if it is seized — then take off the nozzle, splitter, timer and quick-connects. Battery timers come inside for the whole winter; their valves and batteries both hate freezing. 3. Drain the hose completely (three methods, next section). 4. Clean it and check for damage. Wipe mud off with a damp cloth, look for cracks, bulges and worn washers while the hose is straight and dry, and note anything that needs replacing while garden centres still stock parts. 5. Coil it wide and loose. Loops at least 45 cm (18 in) across, following the hose's natural curve — the figure-eight or over-under coil if it twists — never forced into tight bundles while cold. 6. Secure and hang it. A strap or the reel holds the coil; hang it on a broad hook or hanger, not a single nail, which kinks the top loop under the hose's own weight. 7. Store it indoors, off the ground. Garage, shed or basement, out of direct sun and away from sharp tools and anything that will be dragged across it all winter.
Three ways to drain a hose fully
The walk (best for most hoses). Stretch the hose straight, ideally on a slope. Start at the faucet end, lift a section to shoulder height, and walk slowly toward the far end, passing the hose hand over hand so the raised wave travels with you and pushes the water out ahead of it. Oregon State University Extension's method is the same idea: run the hose over an elevated surface and let gravity do the work, working gradually from one end to the other. The slope drain (best for long hoses). Lay the hose down a driveway or bank with both ends open and the far end lowest; give it ten minutes, then lift each low loop in turn — water hides in every sag. The blow-out (for the perfectionist). A compressor with a blow gun at low pressure clears the last of the water; keep pressure modest and the far end open, and never seal your mouth or a high-pressure line to a hose. Whichever method you use, finish by holding the last metre vertical and watching: when nothing drips for a full minute, the hose is empty. An expandable hose drains itself as it contracts — hold the nozzle open while it shrinks, then give it a gentle stretch-and-release twice to clear the folds.
Reels, expandable hoses and the rest of the watering gear
A hose on a reel still has to be drained — wind the water out as you reel in slowly with the far end open and downhill, then disconnect the short leader hose from the faucet; that leader is the piece that freezes first. Portable reels can roll straight into the garage; wall-mounted and retractable reels in cold climates are best drained, disconnected and, if the maker allows, brought in — at minimum, cycle the retraction a few times to empty the casing. The University of Maryland Extension's advice, reported in winter-storage guidance, is the general rule: drain hoses before freezing weather and store them in a garage or shed to make them last longer; Oregon State adds that a fully drained hose can survive outdoors, but indoors is the better long-term home. While you are at it, gather the whole watering family: sprinklers shaken dry, watering wands and nozzles in a bucket, rain gauges emptied (a frozen gauge cracks), and pressure washers drained per their manual. Then close the loop on the fixed systems: drip irrigation, sprinkler systems and the rain barrel each have their own drain-down guides, and the hand tools that share the shed wall are covered in How to Winterize Garden Tools.
Spring: the two-minute check before first use
When the hose comes out in spring, uncoil it in the sun for an hour to relax, connect it, and run water through it on open ground before you trust it on the garden. Watch the full length at pressure: a winter split shows as a fine sideways spray or a bulge, and a hardened washer shows as a drip at the coupling that a quarter-turn will not fix — replace the washer, not the hose. Check the faucet end too: a faucet that drips inside the wall only when the hose is pressurised is the signature of a freeze crack from a winter when the hose stayed on, and it is a plumber's job caught early rather than a flood caught late. Finish the round with the rest of the month's jobs on the December Garden Checklist, and the hose you stored properly in November is simply ready — no spring shopping trip, no split, no surprise.
Mild climates: the in-between rule
Where winters only flirt with freezing — much of the US zone 8 and the mildest coastal pockets of British Columbia — the hose stays in service all winter, and the rule changes from storage to vigilance: disconnect and drain after any use when a freezing night is forecast, and never leave the hose charged and connected through a cold snap, because the one night in three years that drops hard is the night that splits the faucet. A drained hose on its outdoor hanger is acceptable in these climates; a connected, water-filled one is not, in any climate, ever.
Keep going
Do the faucet on the same afternoon with How to Protect Outdoor Faucets From Freezing, drain the fixed systems with How to Winterize Drip Irrigation and How to Winterize a Rain Barrel, put the tools beside the hose away with How to Winterize Garden Tools, and track the month on the December Garden Checklist.
Sources
The five pre-storage steps — disconnect from the faucet, drain every drop, remove nozzles and check for damage, coil loosely, store somewhere protected — and the Oregon State University Extension gravity-draining method and University of Maryland Extension garage-or-shed storage advice follow Don't Put Away Your Garden Hose Until You Do These 5 Things (The Weather Channel / Dengarden). The seven-step sequence, the damage table by part, and the warning that a connected hose can burst the pipe behind the faucet follow How to Store a Garden Hose for Winter: 7 Easy Steps (Exclusive Gardening).
Questions people ask
Should you leave a garden hose connected in winter?
No. Disconnect every hose before the first hard freeze, even from a frost-free faucet: a connected hose traps water in the faucet body, prevents the faucet from draining, and can freeze and split the pipe inside the wall. Drain the hose itself at the same time.
How do you drain a garden hose completely?
Stretch it out, open both ends, then lift one end and walk the length of the hose hand over hand so gravity pushes the water out the far end. On a slope, lay it downhill and lift each low loop in turn. It is drained when nothing drips for a full minute with the last section held vertical.
Can a garden hose stay outside in winter if it is drained?
A fully drained hose can survive outdoors — Oregon State University Extension makes that point — but it ages faster in freeze–thaw cycles and sun, and vinyl hoses turn brittle. Indoor storage in a garage, shed or basement is the better long-term choice, per University of Maryland Extension guidance.
How should you coil a hose for winter storage?
In wide, loose loops at least 45 cm (18 in) across, following the hose's natural curve, secured with a strap and hung on a broad hanger or hook. Tight coils and sharp bends forced into a cold, stiff hose become permanent kinks and cracks by spring.
Do hose reels and expandable hoses need winterizing too?
Yes. Reel hoses must be drained as they are wound in, and the short leader hose disconnected from the faucet — it freezes first. Expandable hoses should be held open while they contract so the folds empty, then stored indoors like any other hose.
What else should come in with the hose?
Everything that holds water: spray nozzles, splitters, watering timers (bring batteries in too), sprinklers, watering wands and rain gauges. Shake each one dry and store them together in a bucket so spring setup takes minutes.
Comments & ratings
No comments yet.
Be the first to share your experience.