
Guides · Winter storage · Published October 31, 2026 · Updated November 17, 2026 · By Faizan Ahmad
How to Store Dahlia Tubers Over Winter
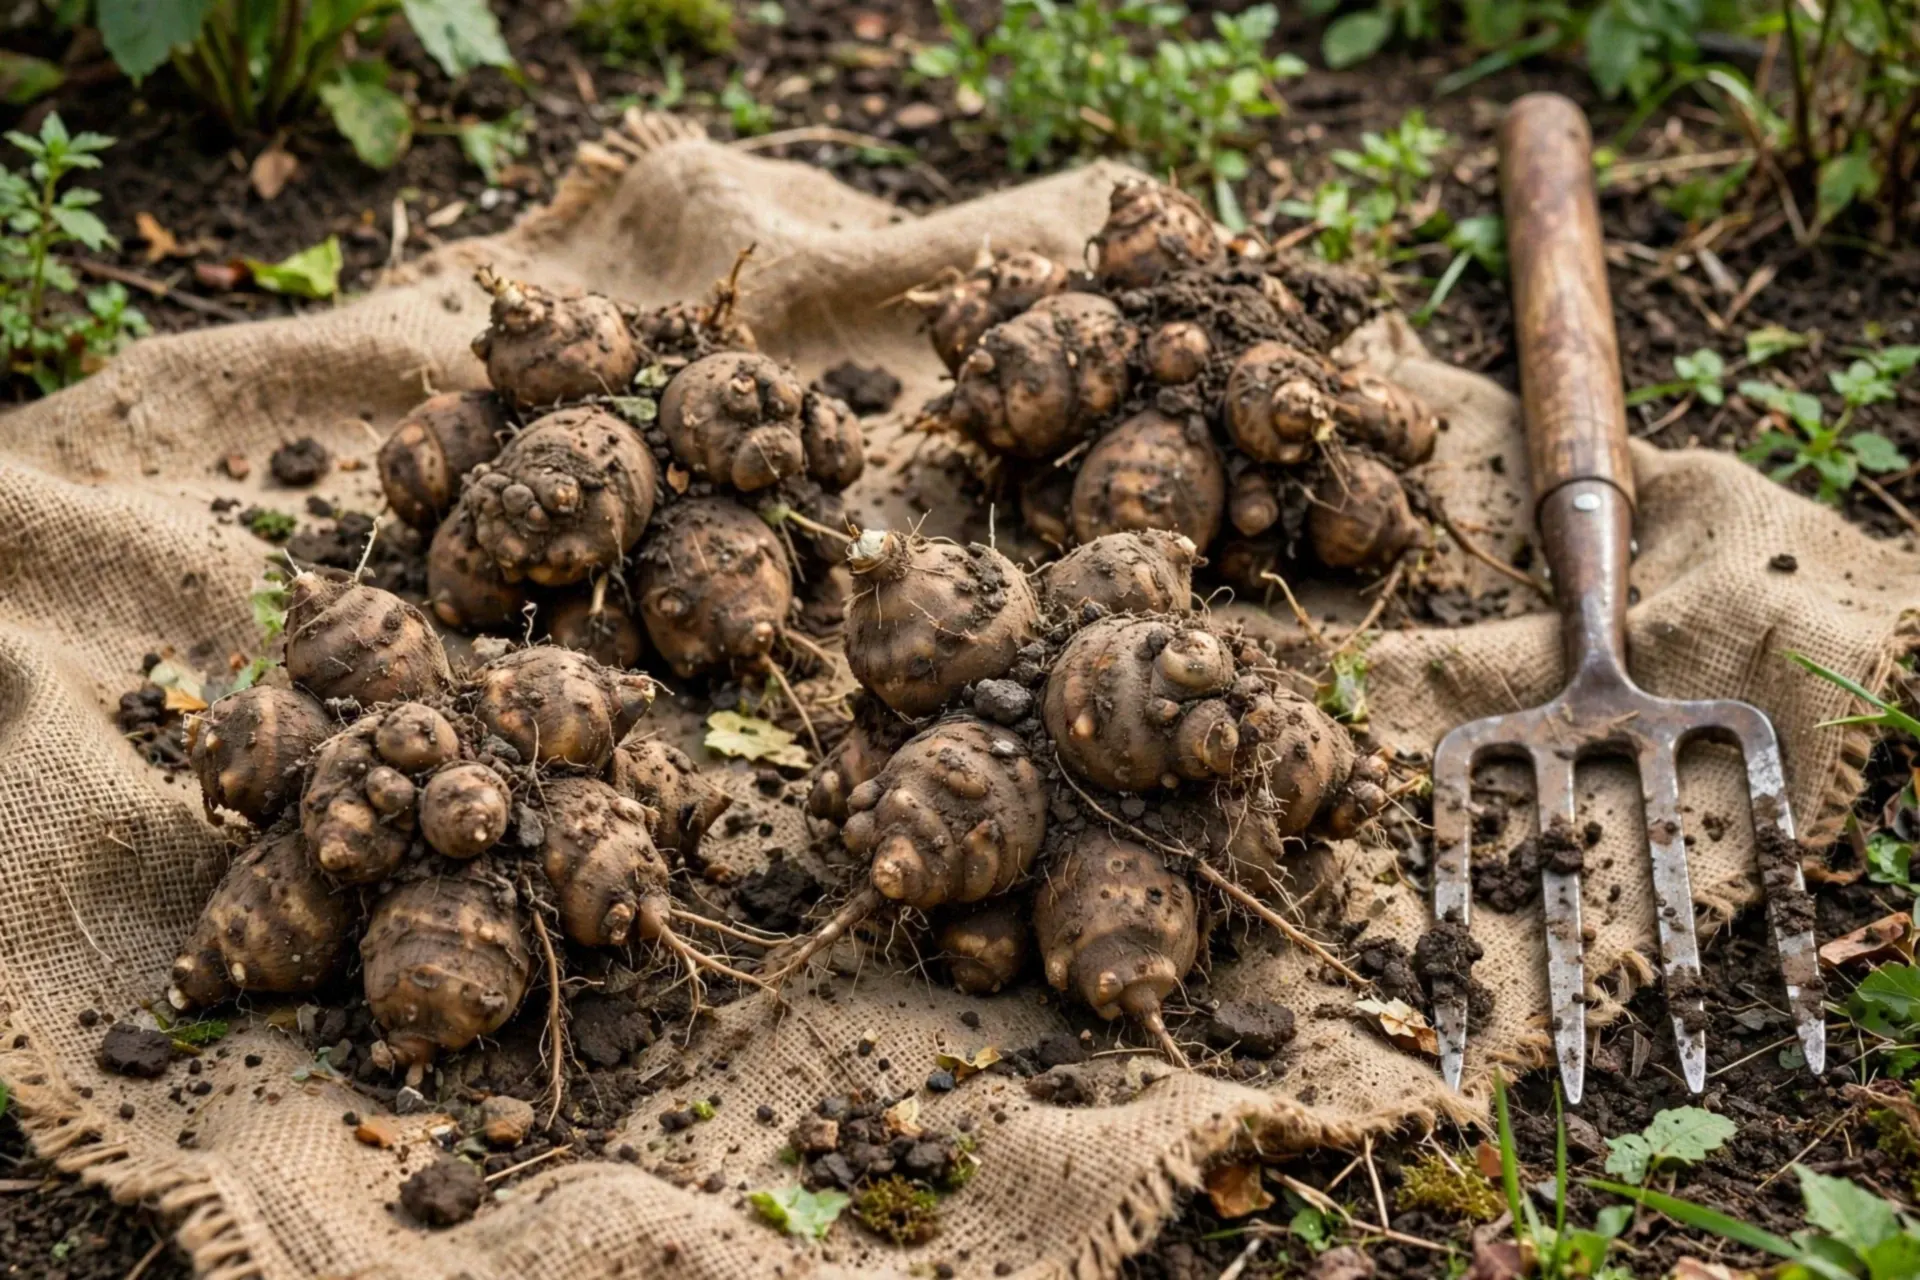
Dahlias give you mountains of flowers — but their tubers cannot survive frozen ground. The autumn ritual of digging and storing them takes an afternoon and pays for itself every spring: stored tubers mean free, bigger plants. The same method works for cannas and gladiolus.
Step 1 — Wait for the first frost to blacken the foliage
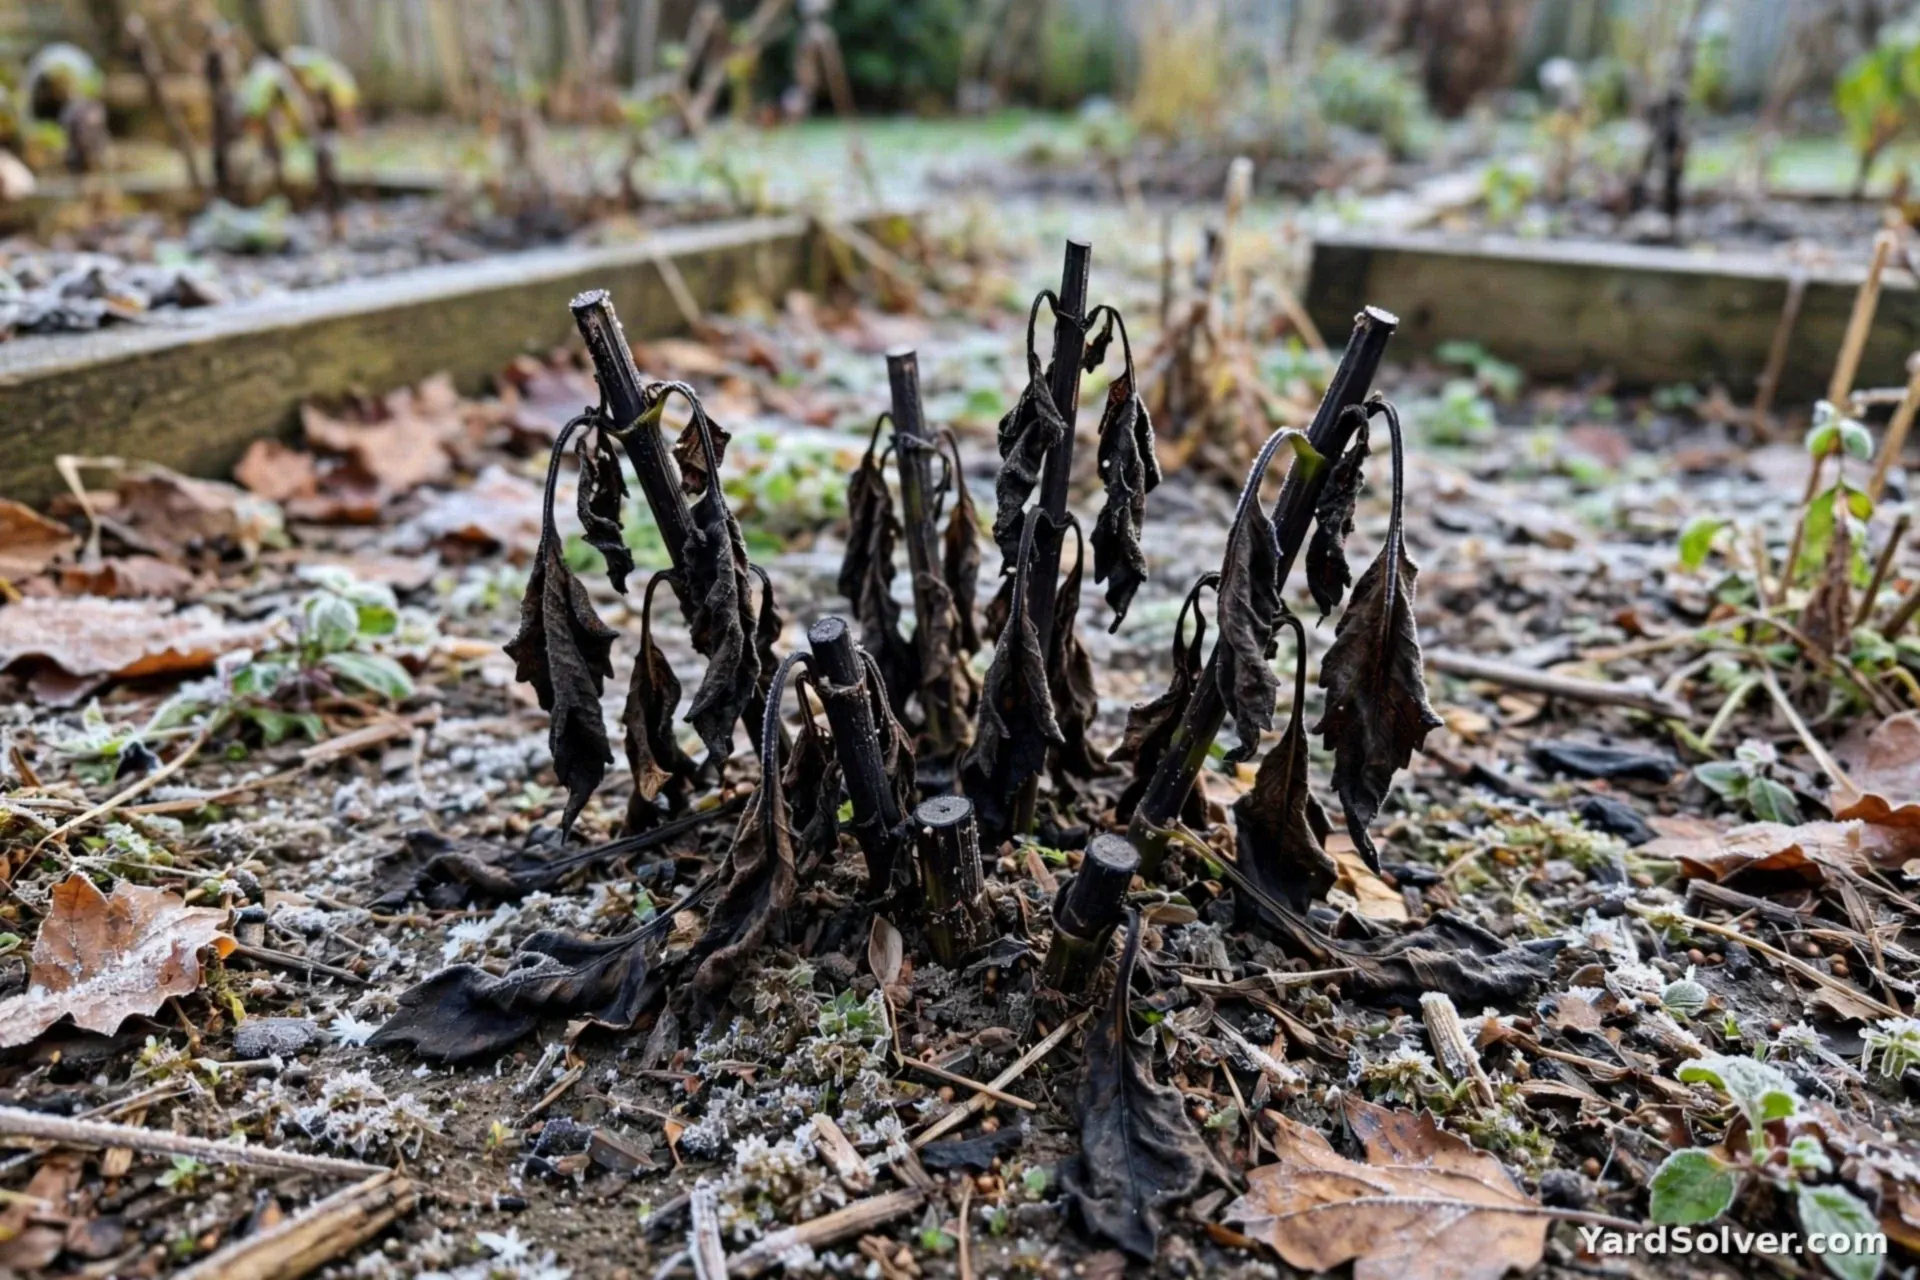
That ugly blackened top is the signal: the plant has pushed its last energy down into the tubers. Cut the stems down to about 4–6 inches, leaving a handle. If no frost has come by late fall, dig anyway before the ground freezes.
Step 2 — Lift gently with a fork
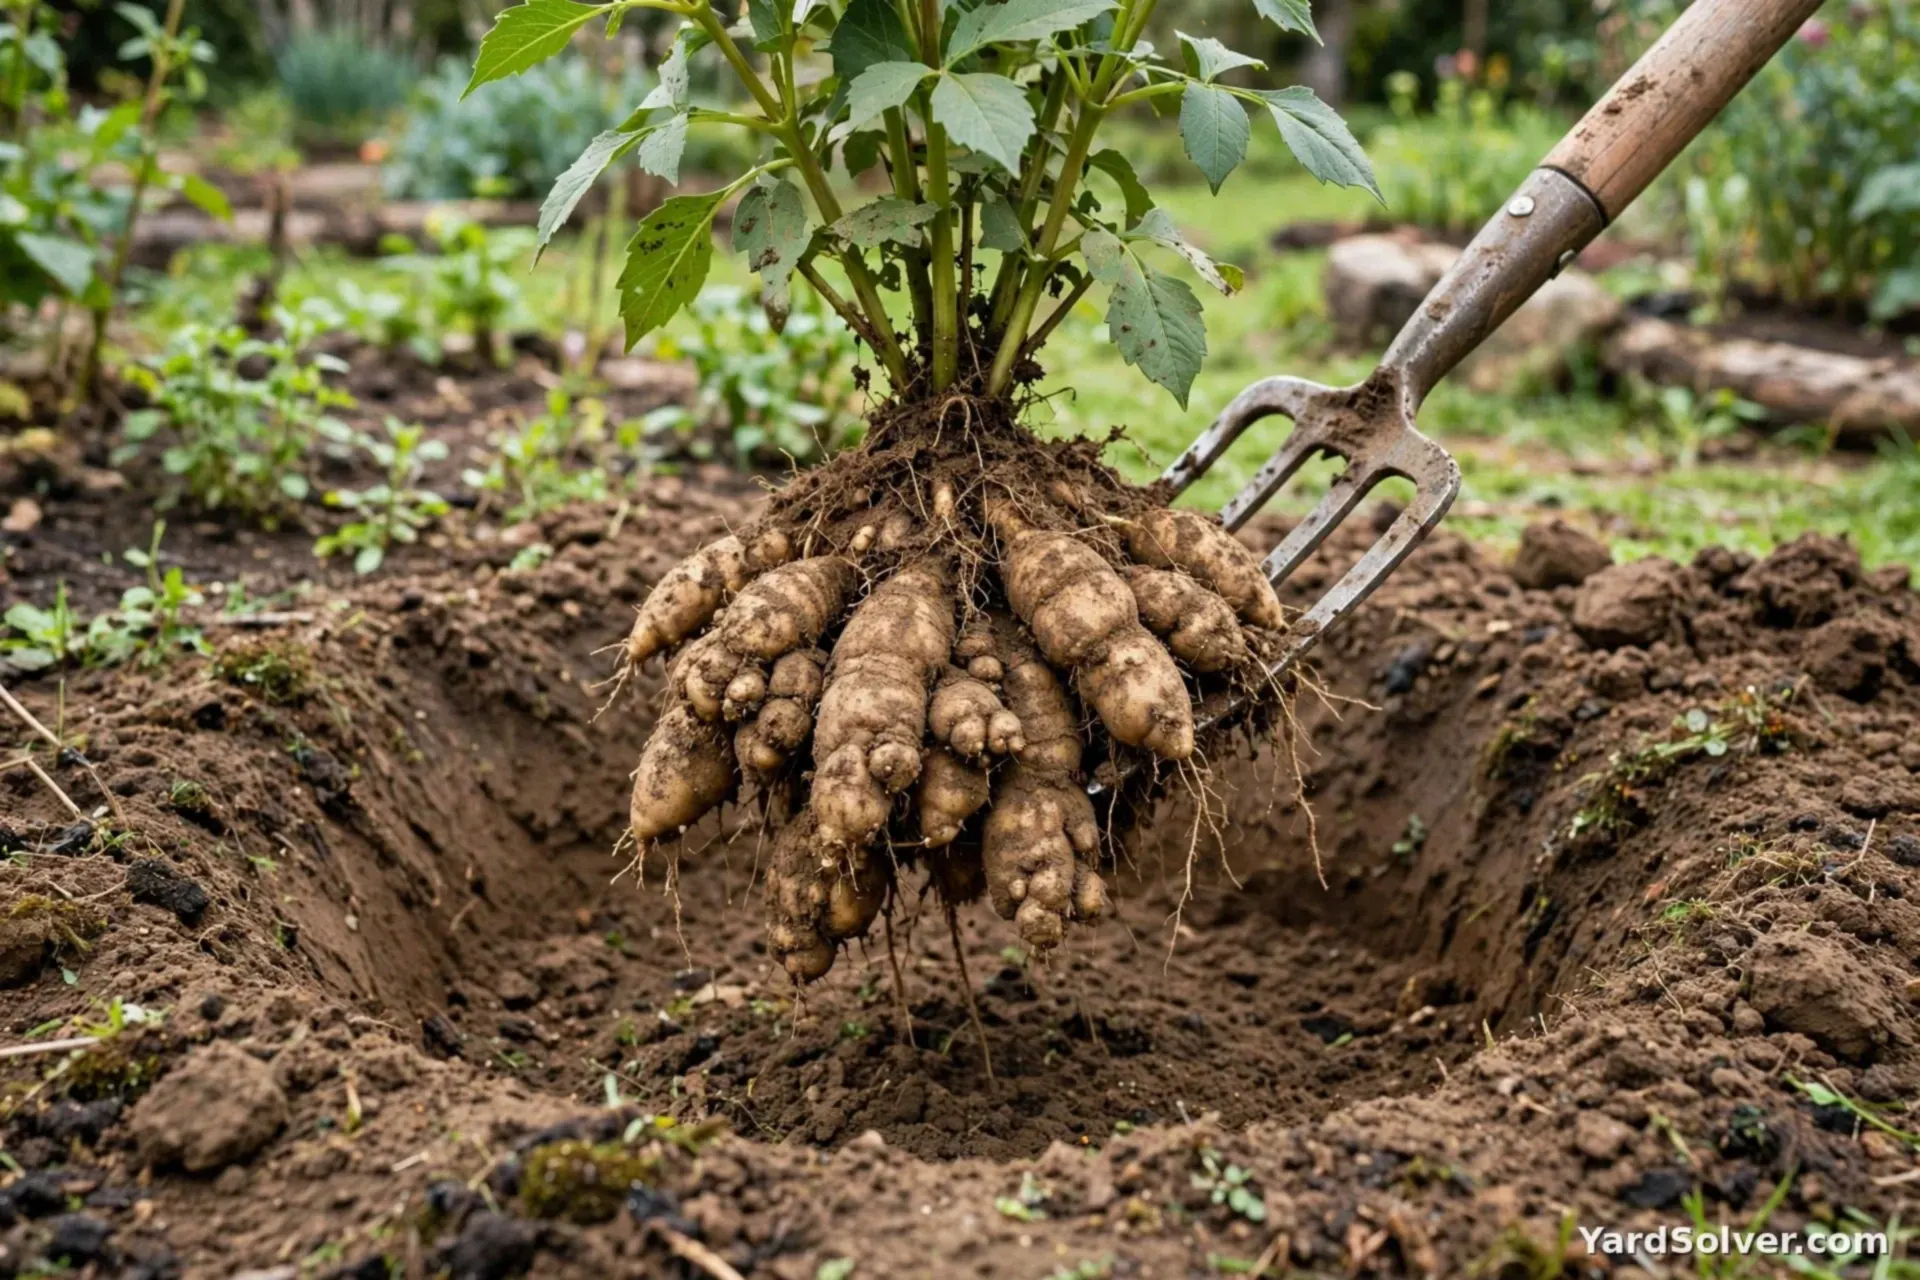
Loosen the soil in a wide circle and lift the whole clump — dahlia tubers snap easily, and a broken neck is a dead tuber. Shake off the loose soil.
Step 3 — Label right now, not later
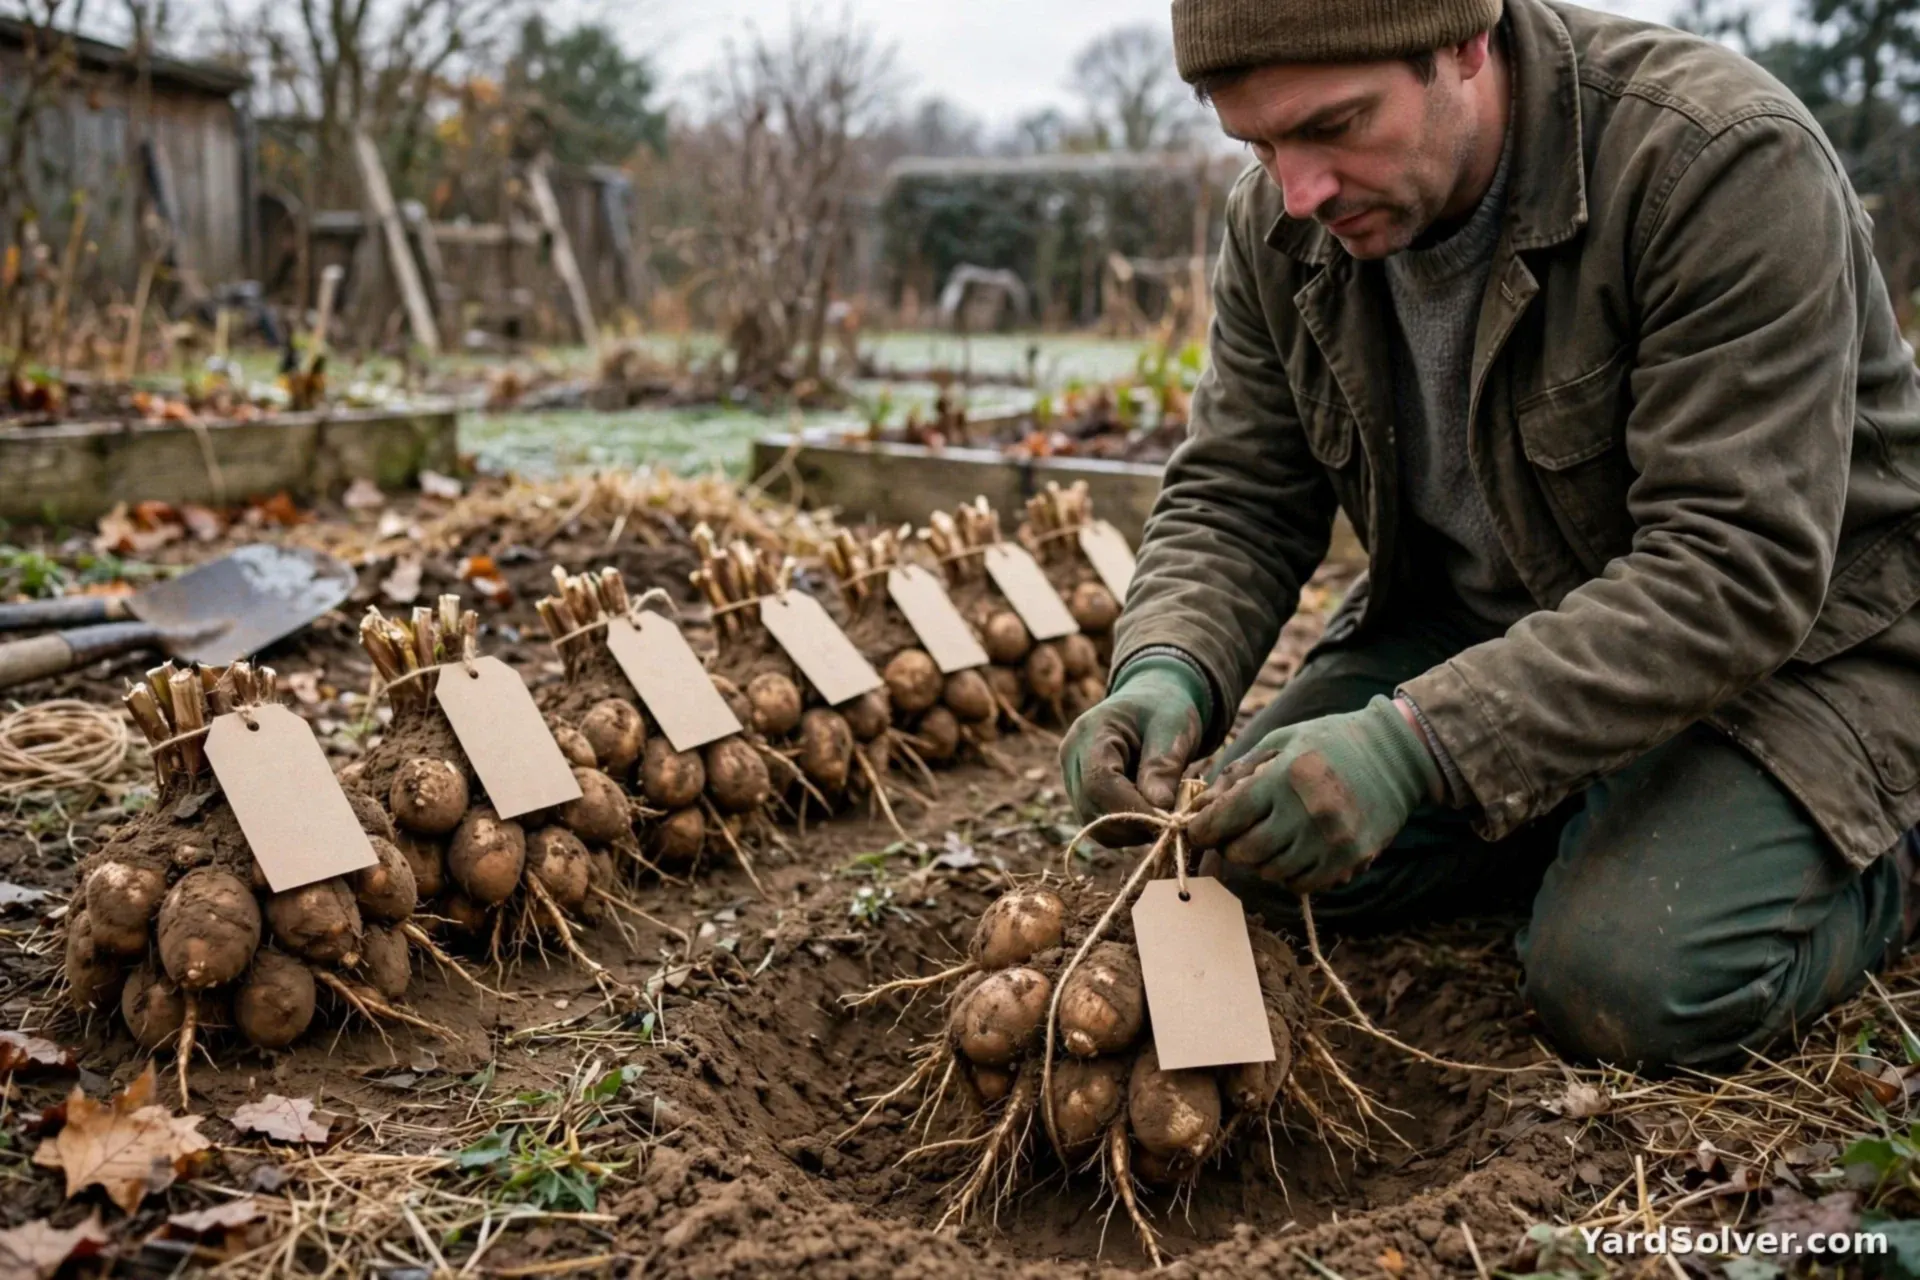
Every clump looks identical by January. Tie a name tag to each clump the day you dig it. Future-you, staring at six brown clumps in March, will be deeply grateful.
Step 4 — Dry and clean
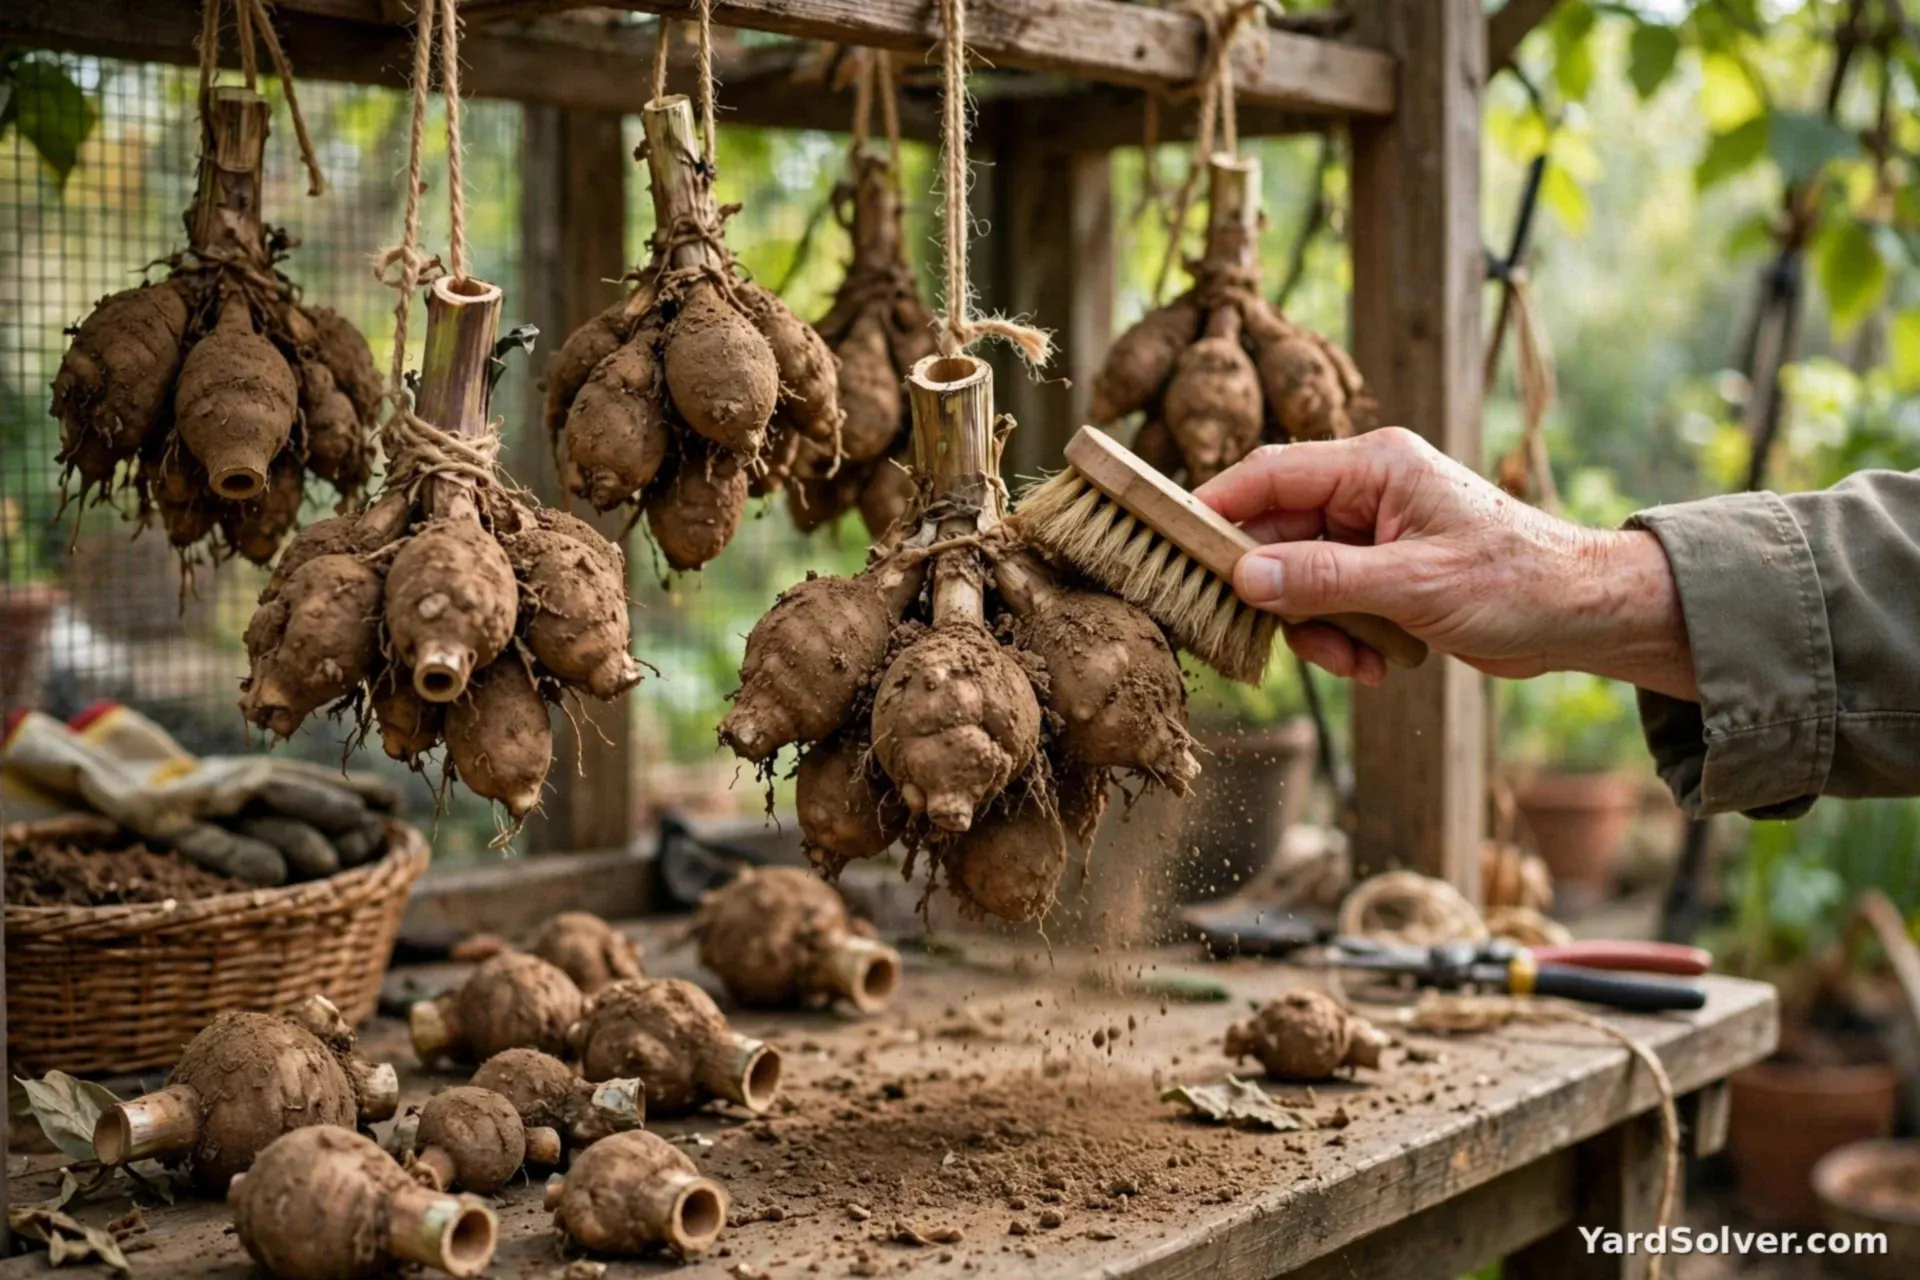
Let clumps dry upside down in a shady, airy spot for a day so moisture drains from the hollow stems. Then brush the soil off gently. (You can rinse them, but they must dry completely afterward — trapped moisture is rot's invitation.)
Step 5 — Pack them in a barely-damp medium
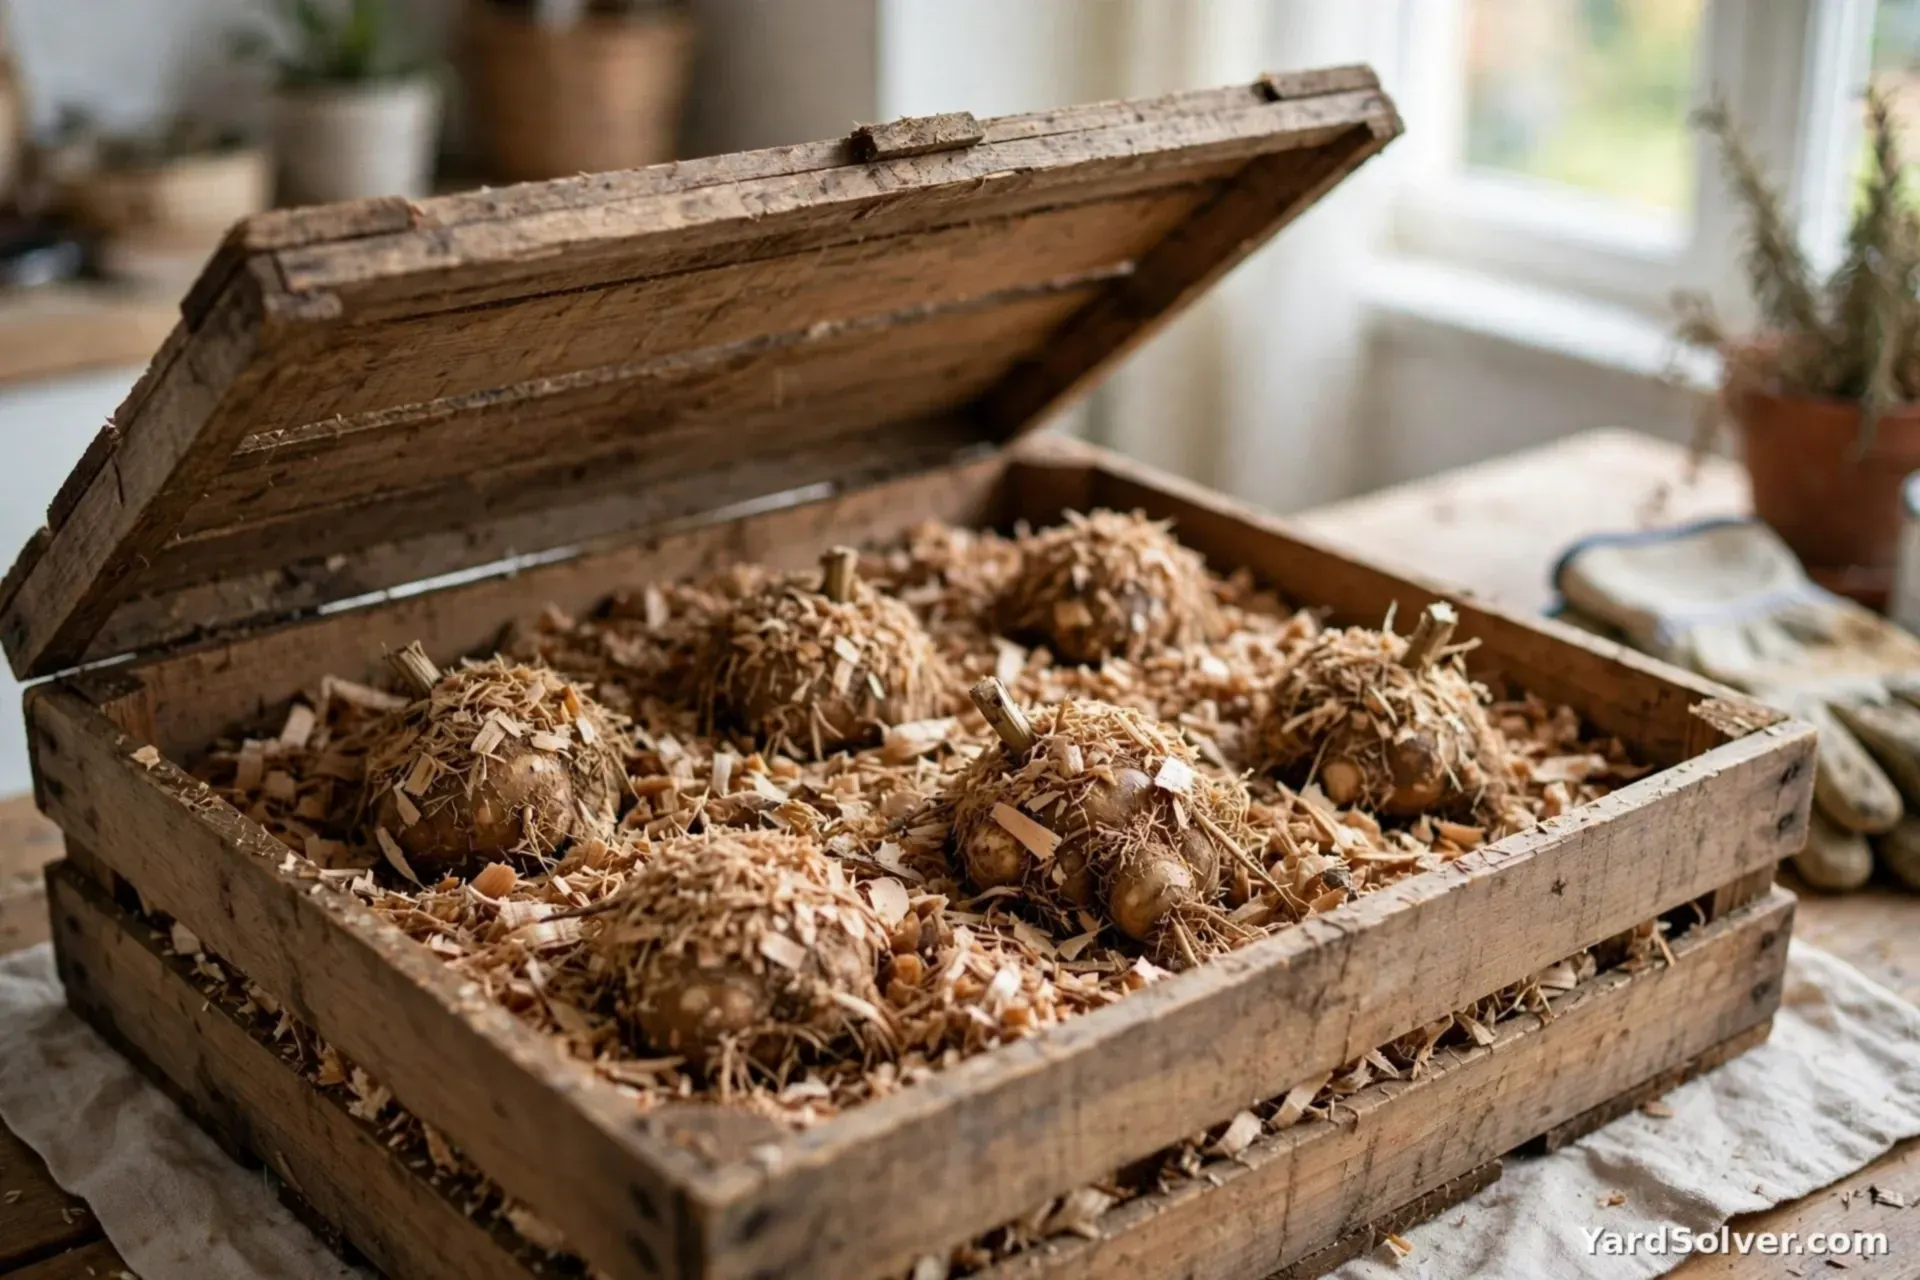
Set clumps in a box or crate with peat, vermiculite, wood shavings or shredded newspaper, barely damp — like a wrung-out sponge. Cover the tubers, keep clumps from pressing hard against each other, and leave the lid ajar for air.
Step 6 — Store cool and dark: 40–50°F (4–10°C)
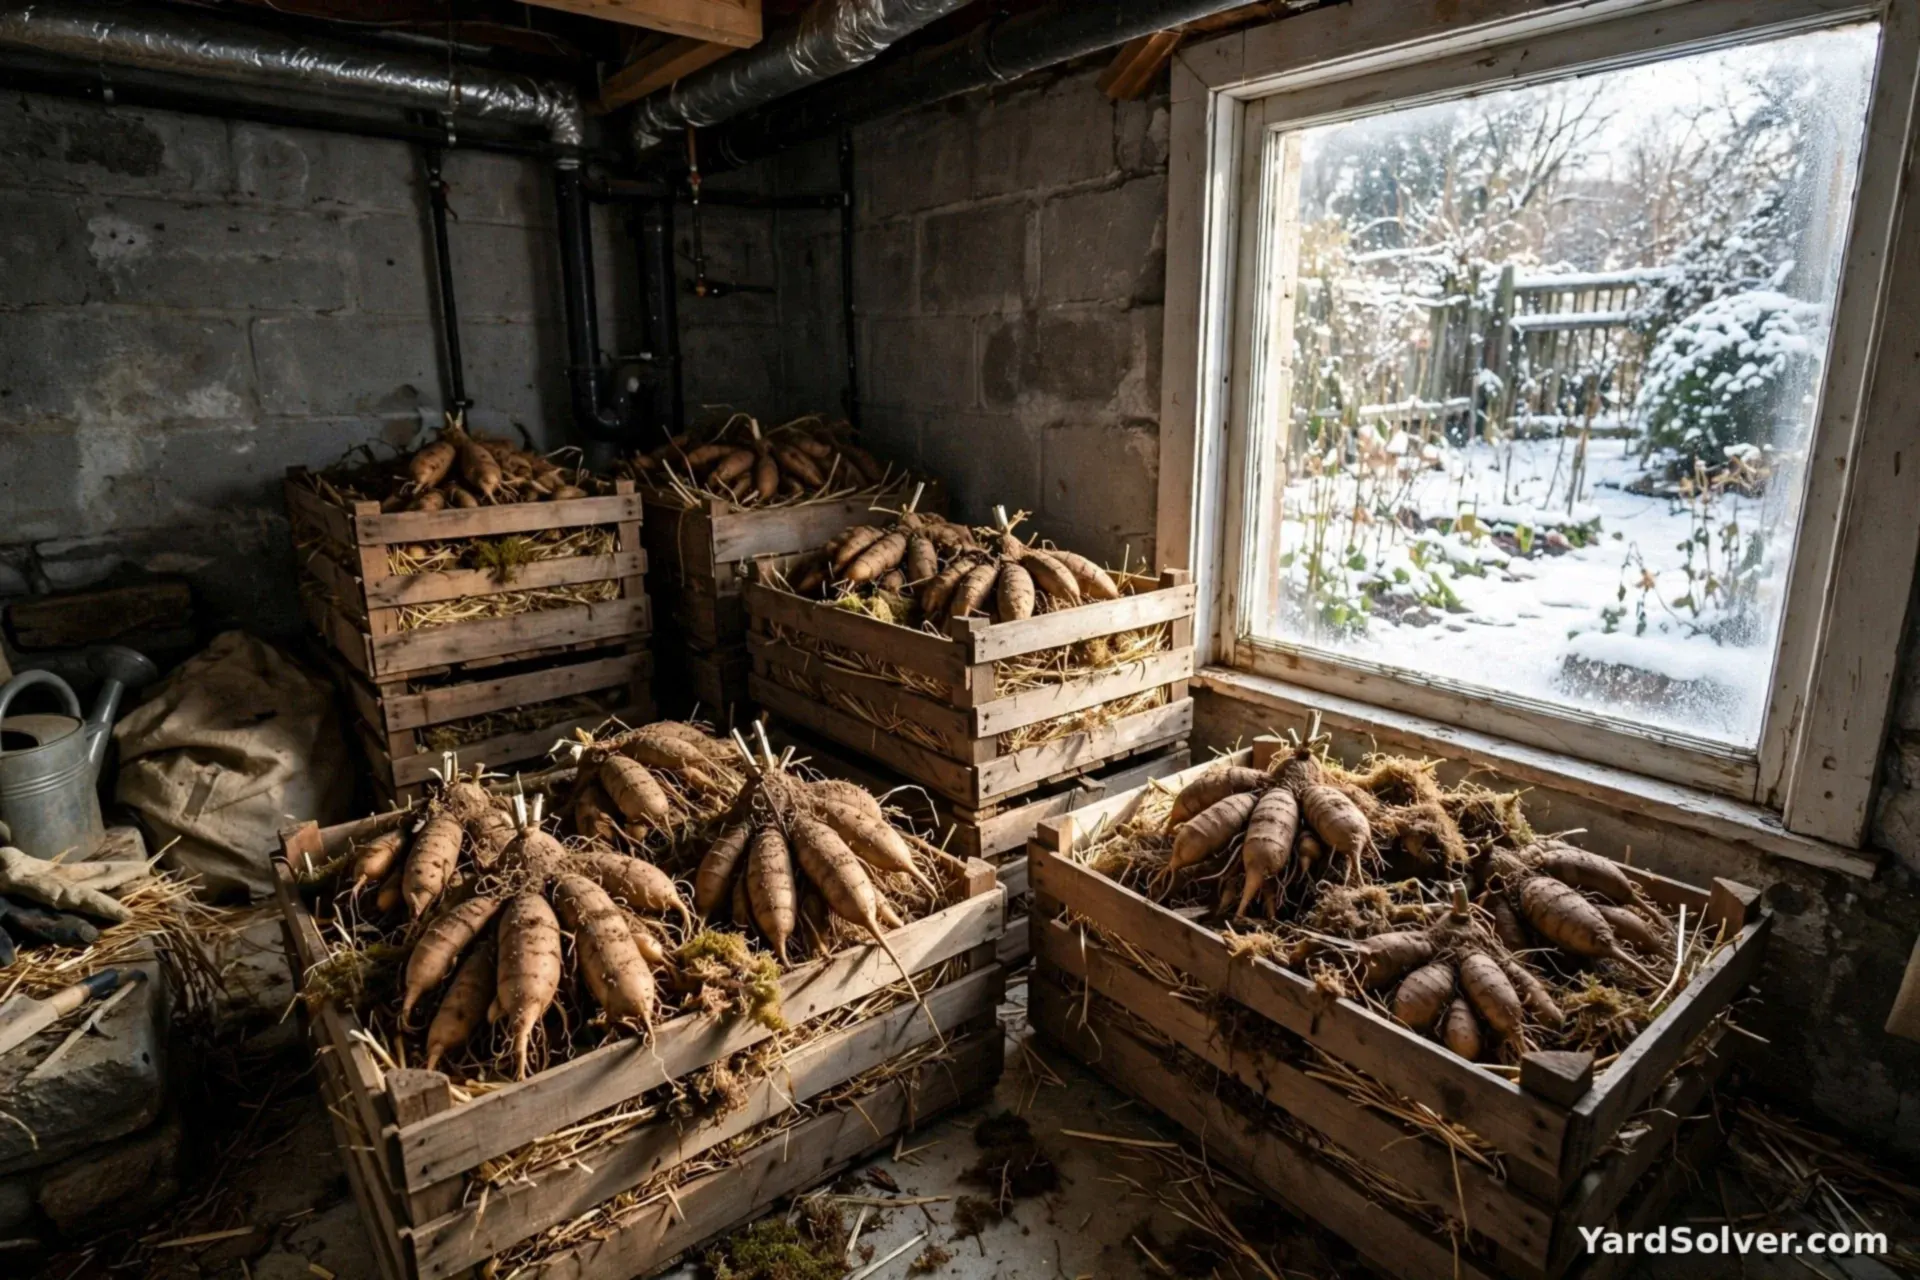
An unheated basement corner, cold cellar or insulated garage is the target zone. Too warm and they sprout early or dry out; freezing kills them outright. Avoid storing beside ripening fruit — the ethylene gas encourages sprouting.
Step 7 — Check monthly, divide in spring
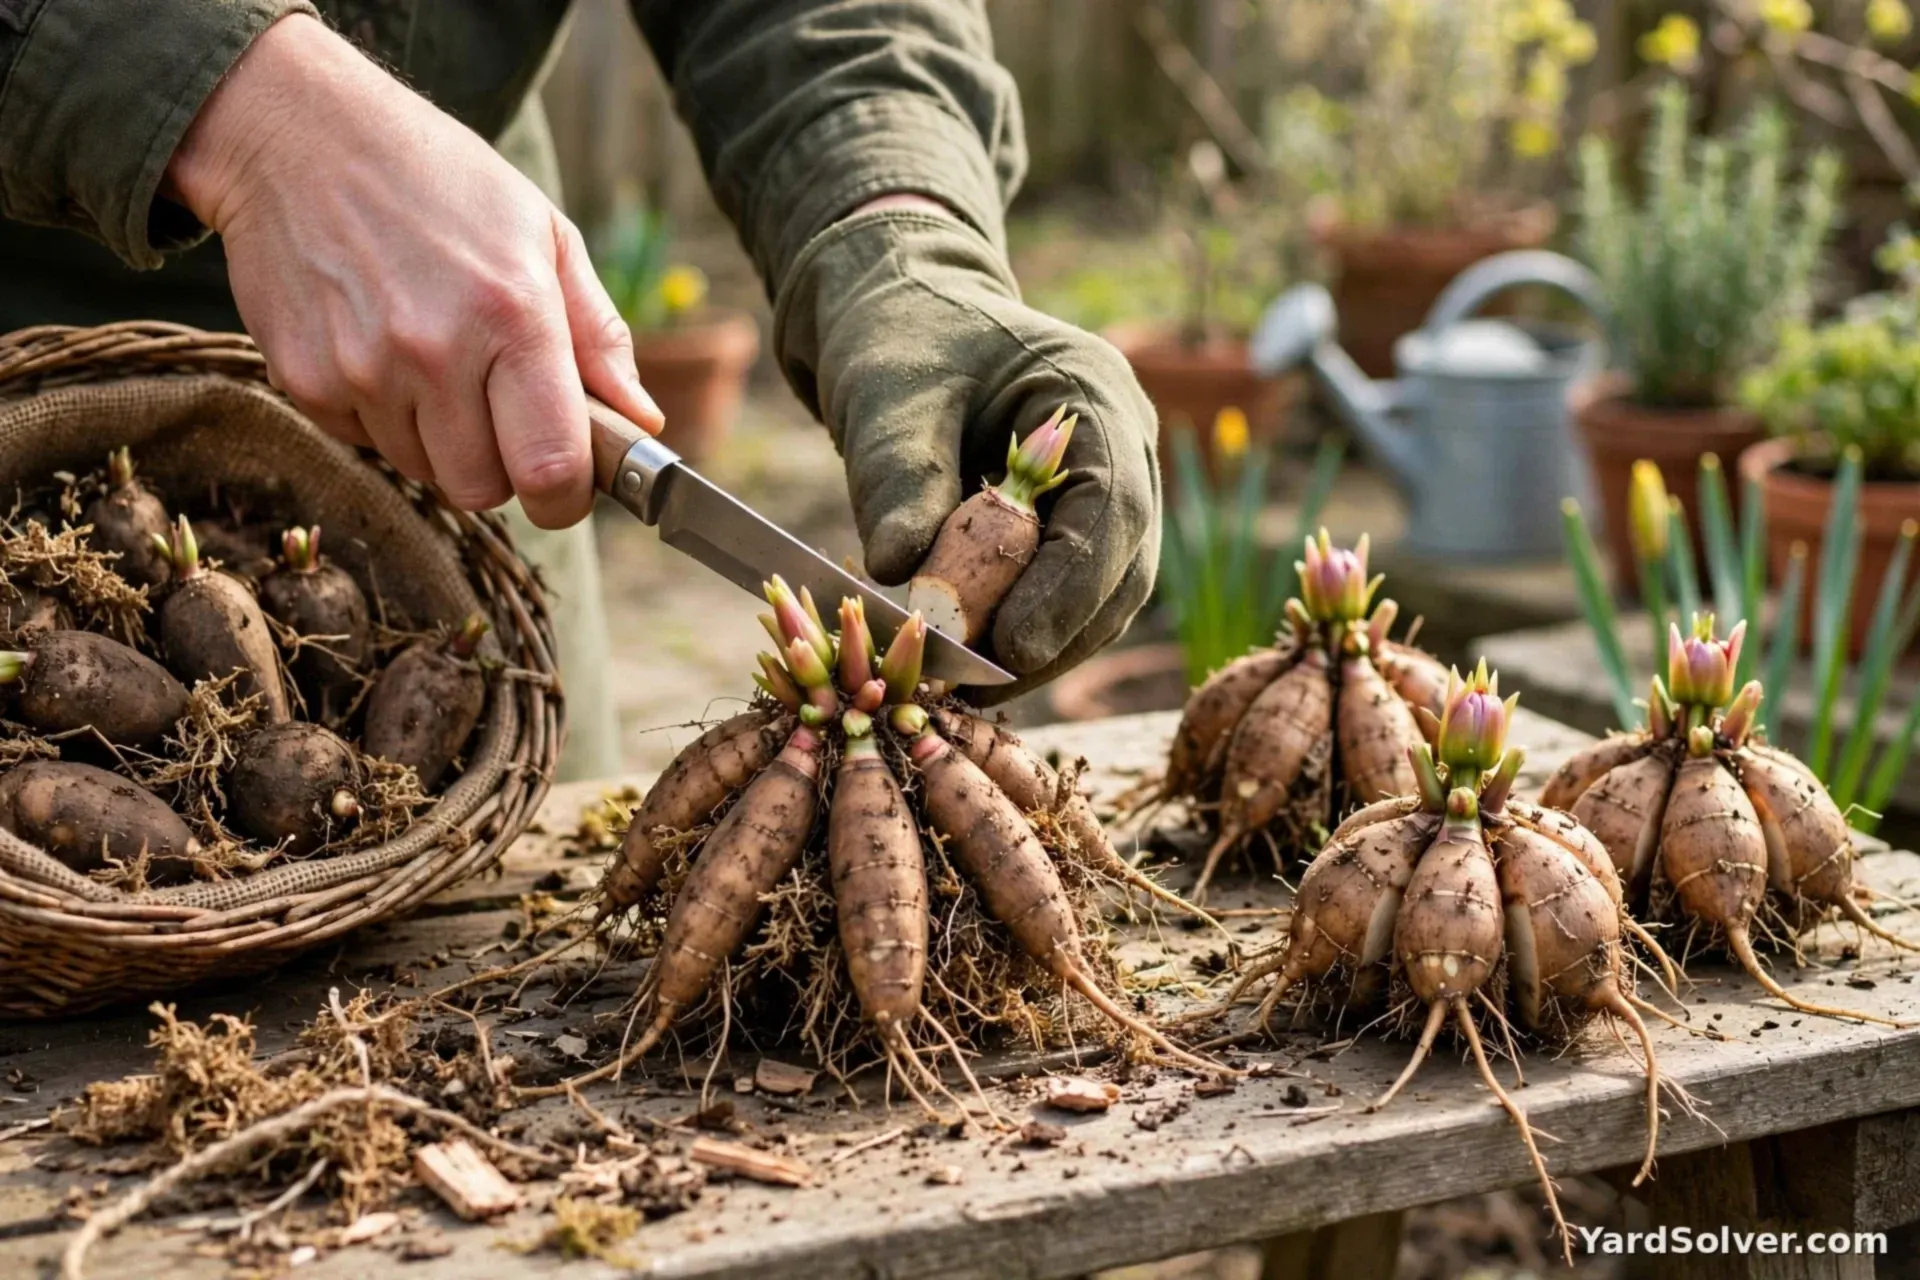
Once a month: mist lightly if tubers are shrivelling, cut away anything soft or rotten before it spreads. Divide in spring when the eyes show at the crown — each piece needs crown, eye and tuber. Timing for replanting is on the Planting Calendar.
Before you store: cull hard, keep only tubers that can grow
Storage space is wasted on tubers that were never going to grow. A dahlia grows from an eye — a small bud on the crown, the thickened stem base the tubers hang from — not from the tuber itself. A fat tuber with no crown attached is just a root: compost it. As you clean each clump, check for three cull signals. First, soft or hollow tubers and any with a broken, withered neck: the neck is the lifeline between crown and tuber, and a snapped neck means that tuber starves. Second, spongy, corky growths around the crown (crown gall) — a bacterial disease that spreads in storage; bag and bin the whole clump rather than risking its neighbours. Third, plants that flowered weakly with streaked or distorted leaves all summer may carry virus; storing them just preserves the problem. What remains — firm tubers on an intact crown — is what the rest of this routine protects.
Rot or shrivel? Reading your stored tubers
Almost every mid-winter problem is one of two failures: too wet (rot) or too dry (shrivel). They look different, they are fixed in opposite ways, and mixing them up — misting a rotting tuber, say — makes things worse. Use the squeeze test first: a healthy tuber feels firm, like a potato. Then match what you find:
| What you see | What it means | What to do |
|---|---|---|
| Soft, mushy patch; sour smell | Rot starting, usually from a wound or damp packing | Cut the patch away back to clean, firm flesh with a clean knife; repack in drier medium and store that clump separately |
| White or grey fuzzy mould on the surface | Air too still and damp; surface mould only | Brush or wipe it off, improve air flow, and check the packing is barely damp, not wet — the tuber underneath is usually fine |
| Wrinkled skin; tuber feels light and bendy | Too dry — shrivelling | Mist the packing lightly, or wrap the clump in barely damp newspaper for a few days; most tubers plump back up |
| Pale, long sprouts growing in storage | Too warm — or spring arriving | Move the box somewhere cooler and darker; short sprouts are fine, snap off only long, weak ones when you pot up |
| Tubers firm but the crown is mushy | Crown rot — the eye is lost | That clump will not grow; bin it before the rot spreads to neighbours in the same box |
The storage check calendar, month by month
“Check monthly” only works if you know what each month is asking. Put a repeating reminder on the first weekend of each month and work through this list — five minutes a box is plenty. Months below assume a late-fall digging; shift them to match yours.
| Month | Check | Action |
|---|---|---|
| Month 1 (right after packing) | Has the packing settled? Are tubers sweating inside a closed lid? | Top up medium so tubers stay covered; leave the lid ajar; confirm the spot holds 40–50°F (4–10°C) |
| Month 2 | First rot check — squeeze a few tubers in each box | Remove anything soft at once; if several are soft, the medium is too wet — swap in drier packing |
| Month 3 | Dryness check — skins wrinkling, boxes feeling light? | Mist the medium lightly; check the storage spot has not dried out near a heat source |
| Month 4 | Full sort — every clump out, eyes and crowns inspected | Bin failures now, while it is painless; note which varieties stored best for next year’s orders |
| Month 5 | Any eyes swelling or sprouting? | Pot up clumps you want early, or move the box to the coolest spot to hold them back |
| Month 6 (spring) | Divide at the visible eyes; pot up or hold for planting out | Plant out only after all frost risk has passed — stored tubers have no frost tolerance at all |
Waking them up in spring
Do not move tubers straight from the cold box to cold garden soil. About 4–6 weeks before your last frost, pot clumps up in barely moist mix, set them somewhere bright and cool (50–60°F / 10–15°C), and water sparingly until shoots appear. This waking-up buys earlier flowers and lets you confirm every clump is alive before it takes garden space. Strong shoots can also be snipped as cuttings once they reach about 3–4 inches, rooted in moist mix, and grown on as extra plants of the same variety — the cheapest way to multiply a favourite. Plant out only when nights are reliably frost-free; a tuber that survived five months of storage can still be killed by one late frost.
Keep going
Part of the full fall routine: Putting Your Garden to Bed · How to Protect Plants From Frost · Winterize Garden Tools.
Questions people ask
Can dahlias stay in the ground over winter?
Only where the ground never freezes hard (roughly zone 8 and warmer), with a thick mulch blanket. In Canada and most of the US the tubers freeze and rot — digging them up is the only reliable route.
My stored tubers look shrivelled. Are they dead?
Usually not — shrivelling means the storage spot is too dry. Move them into slightly damp packing material and mist lightly. A tuber is dead when it is mushy, black or smells rotten, not when it is wrinkled.
When do I divide dahlia tubers?
In spring, when the growing eyes are visible as small bumps at the crown. Each division needs a piece of crown with an eye and at least one healthy tuber attached.
What is the best temperature for storing dahlia tubers?
Aim for 40–50°F (4–10°C), in the dark, with the packing medium barely damp — like a wrung-out sponge. Colder risks freezing damage; warmer and drier shrivels tubers, and warmer and damper rots them.
Can I store dahlia tubers in the fridge?
Only as a last resort: use a fridge that does not hold ripening fruit (its gas encourages sprouting), keep the tubers in a lidded box with ventilation so condensation cannot build up, and check them more often. A cold basement, cellar or insulated garage is steadier and safer for a whole collection.
I found one rotten tuber in the box. Is the whole box lost?
No. Remove the rotten tuber and any that feel soft, squeeze-check the rest, and repack the firm tubers in fresh, barely damp medium. Rot spreads by contact and damp, so one bad tuber caught early rarely costs the box.
Dahlia tubers are stored by drying to a point — too wet rots, too dry shrivels
A dahlia tuber is a living food store with a growing eye, and winter storage is a narrow path between its two deaths: stored damp or in stagnant air it rots, stored warm and dry it shrivels past recovery. The routine that walks the path starts at the first frost, which blackens the foliage and signals the lift: cut the stems, fork the clump up gently (tubers snap like carrots), shake off the soil, and dry the clump upside down for a few days so water drains from the hollow stem — the small step whose omission rots more dahlias than any other.
Label before storage, because every dahlia looks identical in February and the label is the variety. Pack in barely damp compost, vermiculite or shavings in a ventilated box, and keep it frost-free, cool and dark — a garage corner that hovers just above freezing is the classic — then inspect monthly: cut away any rot back to firm tissue, and mist any clump shrivelling. The eye must survive with its neck of old stem attached; a tuber broken off without an eye is food, not a plant, however fat it looks.
Sources
Key facts on this page cross-checked against Dahlia — Wikipedia — background on dahlias and their tubers and Tuber — Wikipedia — background on tubers as storage organs.
Related page
Read next: Planting Spring Bulbs in Fall: Depth Chart & Step-by-Step.
Comments & ratings
No comments yet.
Be the first to share your experience.