
Guides · Garden planning · Published November 18, 2026 · By Faizan Ahmad
Designing a Bed in 3D: How the Garden Designer Works
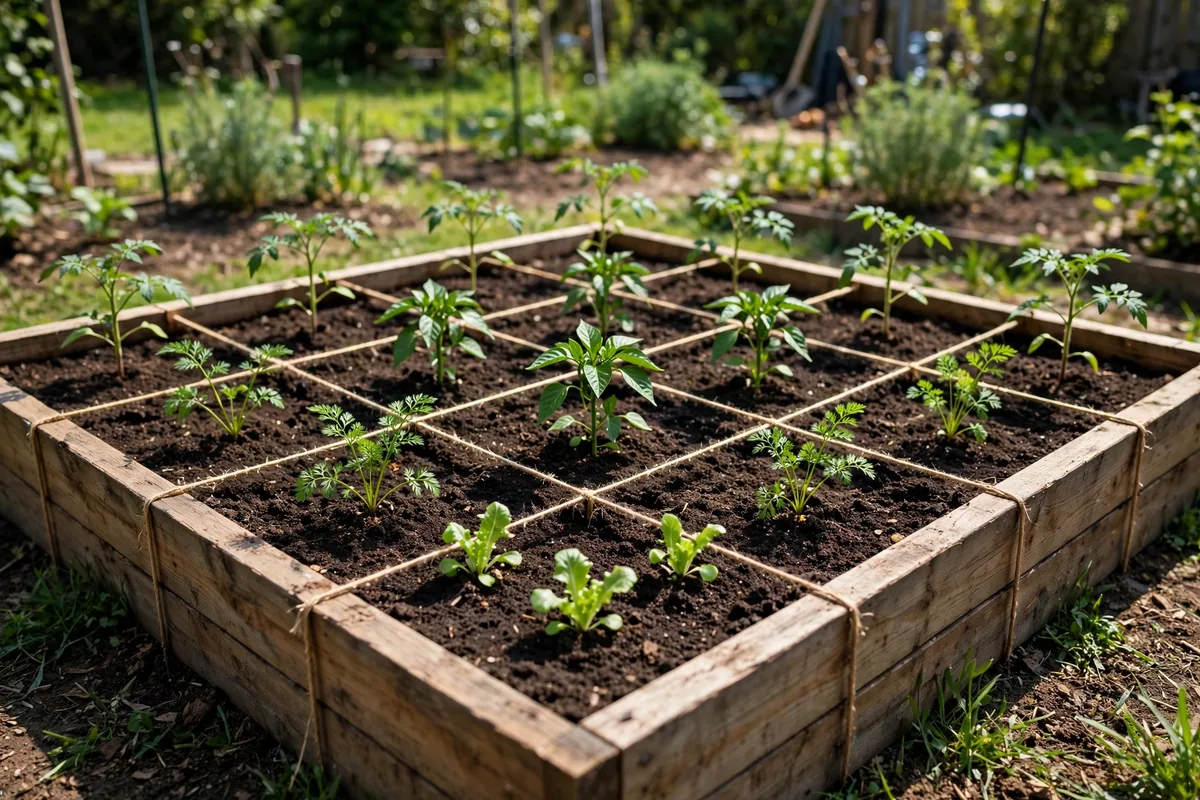
Most garden mistakes are layout mistakes, and they are all made before a single plant goes in the ground: tomatoes squeezed a hand's width apart, a tall crop parked where it shades everything behind it, two plants side by side that should never be neighbours. Paper plans catch some of it; memory catches none of it. The 3D Garden Designer — lay out a square-foot bed plant by plant is built to catch it while you design. One scope note, stated plainly so there is no confusion later: this is a square-foot vegetable bed designer, not a landscape designer. It lays out one vegetable bed at a time on a 1 ft grid — no lawns, no patios, no ornamental borders, no whole-yard master plan. Within that one job, though, it is unusually strict: every plant goes in at its proper spacing, neighbours are checked against the companion-planting chart as you plant, tall plants are steered away from shading short ones, and your shopping list and soil volume build themselves underneath. This guide walks through exactly how it works, then designs one real 4 × 8 ft bed in it, square by square.
The short answer, on one card
- One bed at a time, laid out in 1 ft squares — preset sizes 4 × 8, 4 × 4, 3 × 6 and 2 × 4 ft, or a custom size, up to 128 squares
- Tap to plant: pick a plant, tap the soil, and it goes in at its proper square-foot density from the Plant Library — carrots 16 to a square, lettuce 4, peppers 1, a tomato 1 plant across 2 squares
- Live guardrails: spacing is built in, companion warnings appear as you plant, and a tall plant in the wrong half of the bed triggers a shade note
- The paperwork builds itself: a plant list and shopping list under the bed, plus the soil volume for your chosen fill depth (6, 8, 10 or 12 inches)
- Free, no account: the layout saves in your browser only, and the plan prints as a labelled grid plus list. The 3D view needs WebGL; everything else works without it
Step 1 — Choose the bed: one bed, on a 1 ft grid
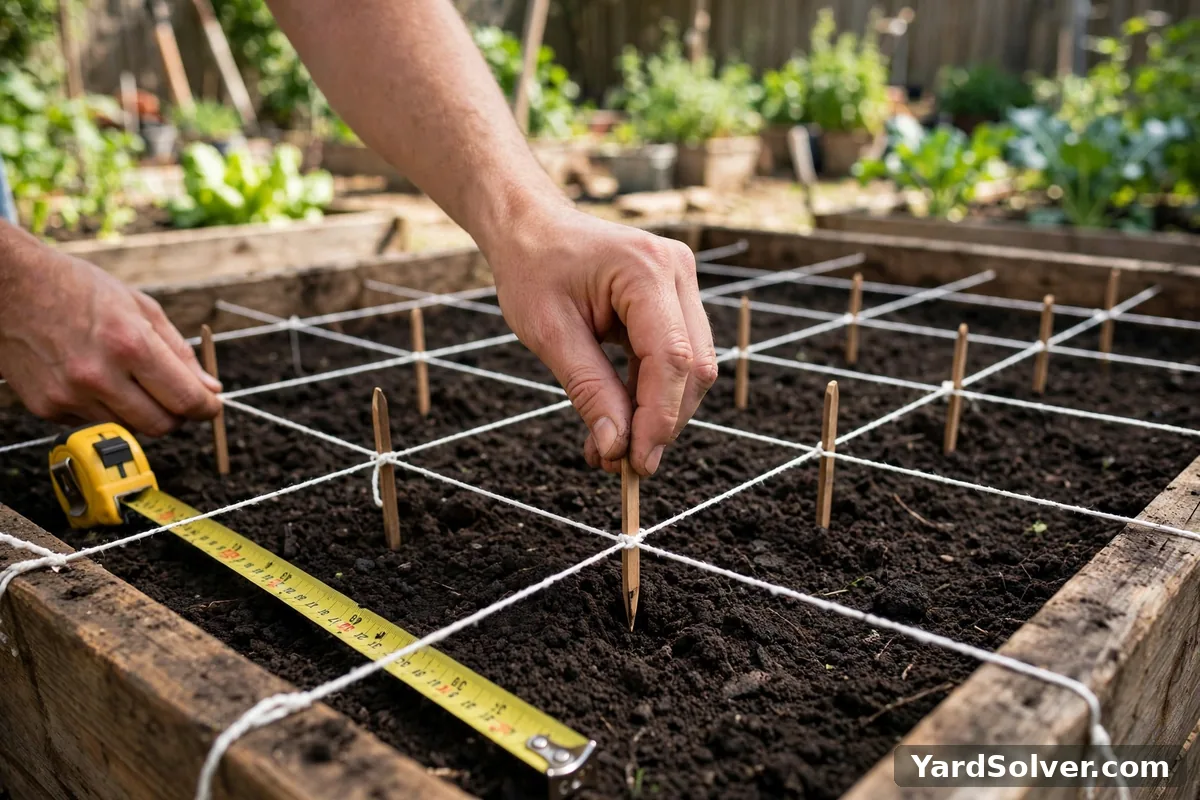
The designer opens on the classic raised-bed size, 4 × 8 ft, and offers the other common sizes as one-tap presets: 4 × 4, 3 × 6 and 2 × 4 ft. Need something else — a long 4 × 12 along a fence, a wide 6 × 8? Type a custom width and length instead. Either way the bed is drawn as a grid of 1 ft squares, because that grid is the square-foot gardening method itself: instead of rows with wasted path between them, the whole bed surface is growing space, divided into squares you plant one at a time. One bed holds up to 128 squares, which is generous for a single bed — a 8 × 16 ft bed, bigger than most people build. A whole garden is simply several beds designed one after another, which is how most gardeners actually think: this bed is the tomato bed, that one is the salad bed. The top of the grid is marked north — the far side of the bed — and that label matters more than it looks, as Step 3 shows. While you are in this first card you also pick the soil fill depth — 6, 8, 10 or 12 inches — because the designer tracks soil volume from the start, not as an afterthought (Step 5 does that maths in full).
Step 2 — Pick a plant, tap the soil
Planting is deliberately as simple as the real thing is not. Search the plant list or browse it by category, tap a plant to pick it up, then tap a square of soil to plant it. Tap a planted square to clear it; tap Start over to empty the bed. What makes this more than a drawing toy is what each plant carries with it. Every plant in the palette comes from the YardSolver Plant Library with its real spacing already converted into a square-foot density, and that density is printed right on the plant's button: small crops pack in — carrots and radishes at 16 per square, beans and spinach at 9, lettuce and cilantro at 4 — medium crops take 2 or 1 per square, and the giants — tomatoes, potatoes, zucchini, squash, pumpkin and melons — take 1 plant spread across 2 or even 4 squares. So when you tap a tomato onto the bed, it does not squeeze into one square and pretend: it claims the two squares a tomato honestly needs, and the bed fills up at real-world speed. A square can never be overfilled, which means the most common beginner error — overcrowding — is impossible by construction rather than by willpower. The counts carry one honest assumption, stated on the tool itself: each square is planted at the full density shown on the plant's button. If in the real bed you plant a square of lettuce at half density for cut-and-come-again leaves, your real count will be lower than the list — the designer plans the full square, and you thin to taste. For the spacing maths behind every density — and for laying out rows and in-ground beds the grid does not cover — the companion piece is the Plant Spacing Calculator guide: how far apart to plant, and why.
Step 3 — The guardrails: companions and shade, checked live
Here is the part no paper plan and no plain drawing tool does. As each plant lands, the designer checks it against the plants already in the neighbouring squares, using the same data as YardSolver's companion-planting chart — the good neighbours and the pairs to keep apart. Put a plant beside a good companion and the designer confirms the pairing. Put one beside a keep-apart plant and a warning appears immediately, while moving it costs one tap — not after the plants are bought, not after they are in the ground. The warnings only ever appear where the chart itself lists the pair; where there is no data for a combination, the designer stays silent instead of inventing advice. The second guardrail is light. The far side of the bed is north, and a tall plant standing in the southern half of the bed throws its shadow northwards, across whatever is planted behind it. So when a tall crop — corn, tomatoes, okra — ends up where it would shade shorter plants, the designer speaks up and suggests the north edge instead. Neither guardrail blocks you: they are warnings, not locks, and an experienced gardener who wants a flagged pairing for their own reasons can plant straight past them. But the mistake has to be a decision, not an accident — that is the entire design philosophy of the tool, and it is what the walk-through below leans on.
Step 4 — One real bed, designed start to finish: 4 × 8 ft, 32 squares
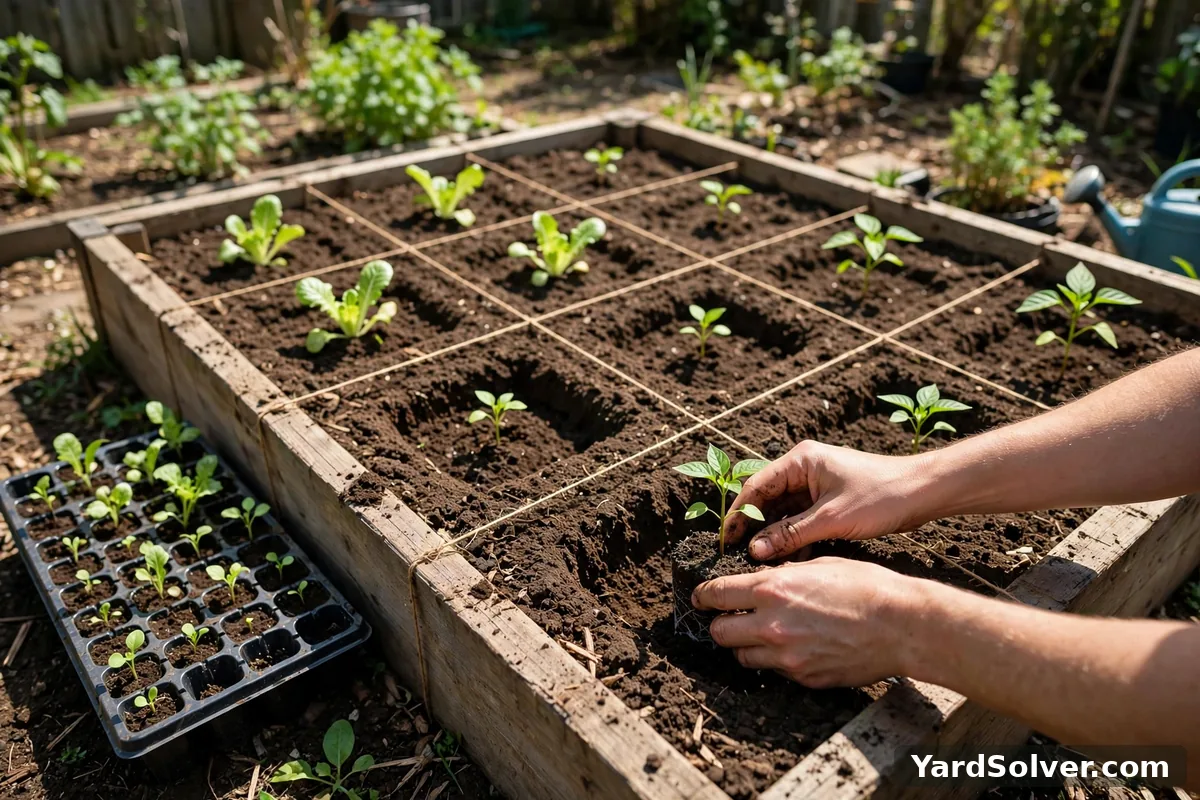
Enough description — here is one complete bed designed in the tool, a classic first raised bed: 4 × 8 ft, four rows of eight squares, 32 squares in total, filled at the standard 12-inch depth. The north row first, because it decides the light for everything else. Tomatoes are tall, so they go along the far (north) edge where their shadow falls outside the bed. A tomato takes 1 plant across 2 squares, so the 8-square north row holds 4 tomato plants — and the designer raises no shade note, because tall-on-the-north-edge is exactly the placement it recommends. The second row is the sun row: peppers, medium height and full-sun, at 1 plant per square — 8 pepper plants across the row, close enough to benefit from the tomatoes' wind shelter, far enough south to get their own light. The third row is salad: 4 squares of lettuce at 4 per square is 16 lettuce plants, beside 4 squares of carrots at 16 per square — 64 carrots. The front (south) row repeats the salad pattern where it is easiest to reach for picking: another 4 squares of carrots (64 more) and 4 of lettuce (16 more). The finished bed: 4 tomatoes, 8 peppers, 32 lettuce and 128 carrots across 32 squares — a serious amount of food from 32 square feet, and every count is just the density on the plant's button multiplied by the squares it was given.
Now the guardrails, earning their keep on this very bed. Every pairing in it is a listed good neighbour — the chart pairs tomatoes happily with both carrots and lettuce, and peppers likewise — so the designer confirms the bed as planted. Change one decision and watch what happens: tap a potato in beside the tomatoes, in a square the peppers were going to take. The warning appears at once, because tomatoes and potatoes are a keep-apart pair in the chart — they share blight and other diseases, so one infected plant can hand the disease straight to its neighbour. On paper, that pairing looks harmless and is planted by beginners every spring; here it is flagged in the second it happens, while the fix is still free. The same live check covers the chart's other clear-mechanism pairs, such as onions beside beans, whose growth the chart lists as stunted. And had the tomatoes been planted along the front edge instead — the natural instinct, putting the star crop nearest the path — the shade note would have spoken up before the peppers behind them were ever shaded.
Step 5 — The soil builds itself: volume by bed size and depth
A designed bed still has to be filled, and the designer keeps that number in front of you the whole time. The maths is the plain volume formula — length × width × fill depth — updated live as you change the bed or the depth. Our 4 × 8 bed is 32 sq ft of surface; at the 12-inch fill chosen above that is 32 × 1 ft = 32 cubic feet of soil, about 1.2 cubic yards. Drop the fill to 8 inches and the same bed needs about 21 cubic feet; the designer shows the new figure the moment the depth changes, so the shallower-bed saving is a decision you make with the number visible. At a 12-inch fill the arithmetic has a memorable quirk: the cubic feet equal the square count exactly, because the depth is precisely one foot. The table runs the standard sizes at that depth.
| Bed size | Squares | Soil at 12 in deep |
|---|---|---|
| 2 × 4 ft | 8 squares | 8 cu ft |
| 4 × 4 ft | 16 squares | 16 cu ft |
| 3 × 6 ft | 18 squares | 18 cu ft |
| 4 × 8 ft | 32 squares | 32 cu ft (about 1.2 cu yd) |
| 4 × 12 ft | 48 squares | 48 cu ft |
Shallower fills scale straight down from the table: at 6 inches, halve the figure; at 8 inches, take two thirds; at 10 inches, five sixths. When you are ready to turn a volume into bags and a cost — and to see the mix ratios for filling a new bed — that is the job of the raised-bed soil guide: how much soil a raised bed needs, in bags and bulk, which runs the same volume maths through the soil calculator in full.
Step 6 — The list, the printout, and where the plan lives
Underneath the bed, the paperwork assembles itself as you plant. The plant list totals every crop by count — for the walk-through bed, the 4 tomatoes, 8 peppers, 32 lettuce and 128 carrots — and becomes the shopping list: what to buy as transplants, what to sow as seed. One packet per variety is plenty for a home bed in almost every case, as the tool itself notes; the list's job is the plant counts, and it is honest about that rather than inventing packet maths. When the bed looks right, drag sideways on the 3D view to turn it and check it from the angles you will actually see it from — top view for the grid, tilt view for the garden view — then print. The printout is the bed as a labelled grid plus the shopping list, in YardSolver's branded print style: the sheet you tape inside the shed door and carry to the garden centre. And the plan does not vanish when the tab closes: the layout saves automatically in your browser, on this device only. No account, nothing uploaded, nothing shared — come back tomorrow on the same phone or computer and the bed is as you left it. The flip side of browser-only saving is worth knowing: clear that browser's site data, or open the designer on a different device, and the saved bed is not there — which is exactly what the printout is insurance against.
What the designer can't do
The honest edges, so the tool's confidence elsewhere is believable. It designs one vegetable bed: not a whole yard, not paths and patios between beds, not flower borders, shrubs or trees — if a search for an "online garden designer" brought you here hoping to restyle a whole garden with hard landscaping, this is not that tool, and it will not pretend to be. It plans where plants go, not when: sowing, transplanting and harvest dates come from your frost dates, which is the Planner's job (below). Its companion warnings cover the pairs the YardSolver chart actually lists — a pairing with no chart data gets silence, not a verdict. Its counts assume every square planted at the full density on the plant's button, as Step 2 said. And the 3D view itself needs WebGL: on a browser or device with WebGL switched off, the designer says so plainly and everything except the spinning bed — counts, warnings, soil, print — keeps working.
Keep going
Design your own bed in the 3D Garden Designer — start from a 4 × 8, plant the north row first, and let the warnings argue with you. Then check the distances behind the densities with the Plant Spacing Calculator guide and size the fill with How Much Soil Do I Need for a Raised Bed?.
A layout is only half a plan — it needs dates. The Garden Planner turns the same plants into a dated season: what to sow, transplant and harvest, week by week, from your own frost dates.
Questions people ask
Is the garden designer free?
Yes — completely free, with no account and no sign-up. Open the designer, lay out your bed, and print the plan; nothing is charged and nothing is uploaded. Your layout saves automatically in your own browser on this device only, so you can close the page and come back to the same bed later.
What does square-foot gardening mean here?
The bed is divided into a grid of 1 ft × 1 ft squares, and each square is planted at the density that crop needs: small crops such as carrots fit 16 plants in a square, lettuce fits 4, peppers fit 1, and the biggest plants — a tomato, for example — take 1 plant spread across 2 squares. The count on each plant's button is the count that goes into the square, so the spacing is decided before you plant, not guessed in the soil.
Does it check companion planting?
Yes, as you plant. Every new plant is checked against its neighbours using YardSolver's companion-planting chart, and a warning appears the moment a keep-apart pair lands side by side — plant a potato next to a tomato, for example, and the designer flags it because the two share blight and other diseases. Good neighbours are confirmed too. Where the chart has no data for a pairing, the designer says nothing rather than guessing.
Where does my layout save?
In your browser, on this device only. There is no account and nothing is sent to a server, so the layout is private — but it also means the plan lives in that one browser: clear the browser's site data or switch devices and the saved bed goes with it. Print the layout and shopping list if you want a copy that cannot be cleared.
What if the 3D view does not load?
The 3D bed needs WebGL, a browser feature most modern browsers have switched on. If it is off or unavailable, the designer tells you and everything else still works — plant counts, neighbour warnings, soil volume and the print sheet all stay live; only the spinning 3D bed itself is missing. A recent Chrome, Edge, Firefox or Safari will almost always show it.
Can it design my whole yard or a flower border?
No — and it does not pretend to. This designer lays out one square-foot vegetable bed at a time: no lawns, paths, patios, trees or ornamental borders. For a whole garden, design bed by bed — most vegetable gardens are a handful of beds — and use the Garden Planner to put the beds on a dated calendar.
A garden design is a set of decisions on paper — levels, lines and planting, in that order
Good design starts with what does not grow: where water sits, where sun falls at breakfast and evening, where the wind funnels, and where you actually walk. Draw those facts first, then place the hard lines — paths, beds, a sitting place that catches the light you want at the hour you will use it — because moving a path on paper costs an eraser and moving it in soil costs a weekend.
Planting comes last and is planned in drifts and layers, not single specimens: one plant repeated beats ten plants once each, and a backbone of evergreen structure carries the garden through winter when the flowers have gone. A designer, if you hire one, is really selling that order of decisions and the plant knowledge to finish it; the guide above lets you test your own plan against the same sequence before a spade is lifted.
Sources
Key facts on this page cross-checked against Garden design — Wikipedia — background on garden design and its principles and Landscape design — Wikipedia — background on landscape design and site planning.
Related page
Read next: How to Plan a Vegetable Garden: Layout for Beginners.
Comments & ratings
No comments yet.
Be the first to share your experience.