
Guides · Winter jobs · Published November 20, 2026 · By Faizan Ahmad
How to Winterize a Lawn Mower: Gas, Battery and Riding Models Done Right
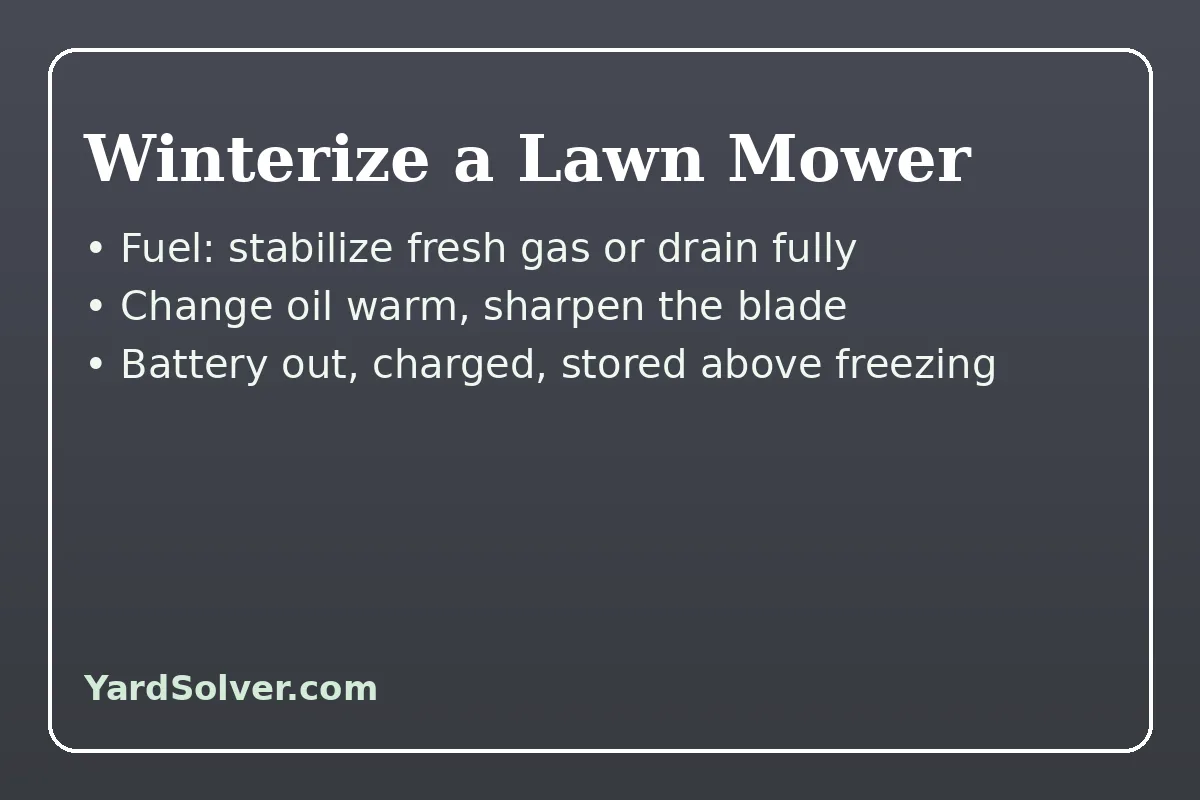
To winterize a lawn mower, disconnect the spark plug (or remove the battery) for safety, then deal with the fuel — either fill the tank with fresh fuel treated with stabilizer and run the engine five to ten minutes to circulate it, or drain the tank and carburetor completely — change the oil while the engine is warm, scrape the deck clean, remove and sharpen the blade, inspect the spark plug and air filter, and store the machine dry with its battery removed, charged and kept above freezing. The whole job takes 30 to 60 minutes depending on the model, and it decides, almost completely, whether the mower starts on the first pull in spring or spends April at the repair shop. Untreated ethanol-blended fuel begins separating and gumming carburetor passages in as little as 30 days, which is why the fuel step — skipped more than all the others combined — is the single most common cause of spring no-starts. This guide works through gas push mowers first, then the extra steps riding mowers need, then the genuinely different rules for cordless and robotic models, for garages and sheds across Canada and the US.
The short answer, on one card
Order: safety disconnect → fuel decision → oil change → deck and blade → plug and filter → battery and storage. Fuel: stabilizer only works in fresh fuel — it cannot revive old gas — and a full tank of stabilized fuel also resists the condensation that rusts an empty one; draining fully is the equally valid alternative your owner's manual may prefer. Oil: change it now, warm, not in spring: used oil holds acids, soot and moisture against the engine's internals all winter. Blade: sharpen and balance it during this job and spring's first mow is already done. Batteries: riding-mower batteries come off and go on a maintainer or get charged monthly indoors; cordless packs store at roughly 40–60 percent charge, above freezing. Storage: dry, covered, off bare concrete if you can — moisture is the enemy of everything the fuel step did not already threaten.
Match the job to the mower you own
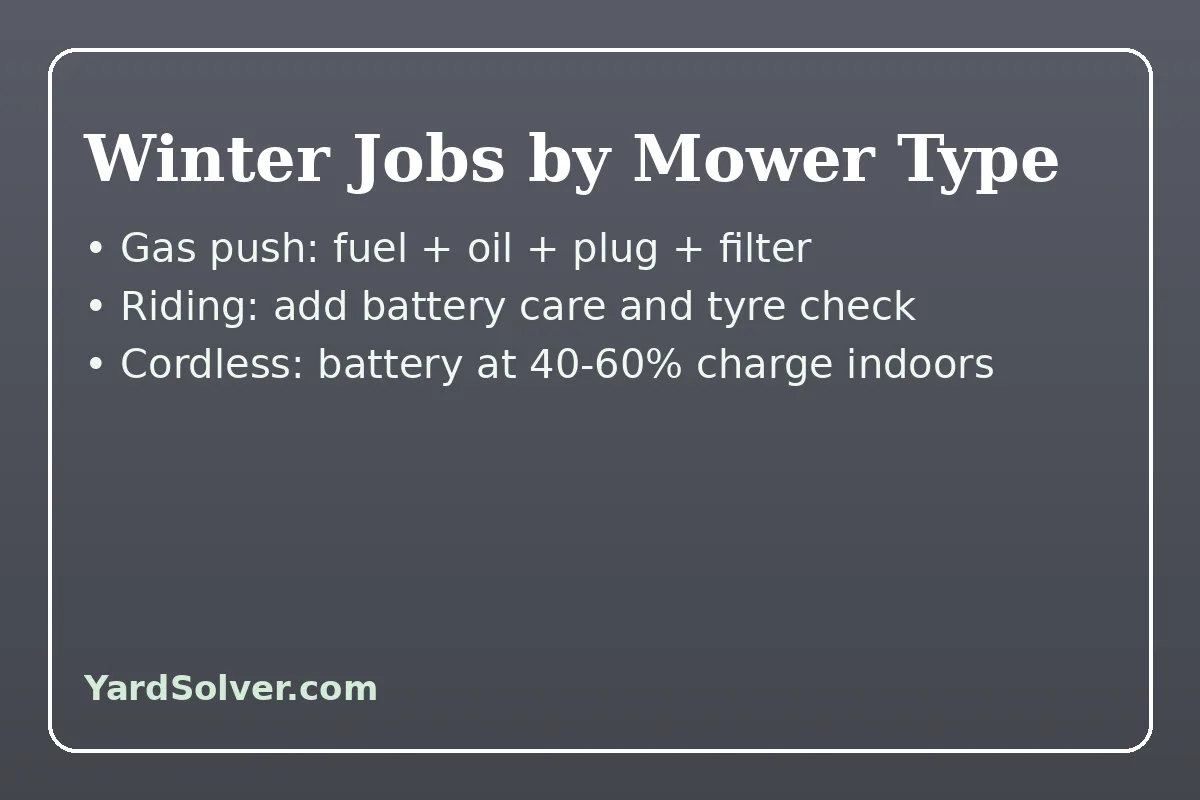
| Mower type | Main winter risk | Time | What it needs most |
|---|---|---|---|
| Gas push mower | Stale fuel gumming the carburetor | 30–45 minutes | Fuel stabilizer or full drain, oil change, plug check |
| Gas riding mower / tractor | Fuel, plus battery drain and tyre neglect | About an hour | All push-mower steps, plus battery removal and tyre pressure |
| Corded electric | Very little — no fuel, no oil, no battery | About 10 minutes | Clean deck, dry storage, cord inspection |
| Cordless battery mower | Battery ageing at full charge, empty, or frozen | About 15 minutes | Battery out, partial charge, stored above freezing |
| Robotic mower | Battery ageing, plus dock and boundary wire outdoors | 20–30 minutes | Battery out, dock protected, wire checked in spring |
The table exists because the most common winterizing error after skipping the fuel step is doing the wrong machine's job: draining nothing on a gas mower because the neighbour's electric needed nothing, or hunting for a carburetor on a cordless model while its expensive battery sits in a freezing garage at full charge, quietly ageing. Briggs & Stratton's own winterizing sequence — battery, stabilized fuel, oil, blade, filter, protected storage — is written for gas engines, and it remains the backbone of this guide; the electric sections below are shorter because the machines genuinely ask less, not because their one critical item, the battery, matters less. Work your own row of the table, in order, and the job is complete. The quotable rule: a mower does not fail in spring — it fails in November, and spring is merely when the failure is discovered. That is also why this job belongs on the same late-fall round as How to Winterize Garden Tools and How to Store Garden Hoses in Winter: one afternoon, every engine and hose in the shed put to bed properly.
Step 1: safety, then the fuel decision
Before anything else, make the machine incapable of starting: pull the spark plug lead off and tuck it clear of the plug on a gas mower, remove the battery or safety key on an electric one. A blade turned forcefully by hand during cleaning can, on some engines, turn the engine over — the disconnect is what makes the rest of the job safe, and every manufacturer's guide, Briggs & Stratton's included, puts it first. Then decide the fuel, and decide it as a genuine either/or. Option A — stabilize: add stabilizer to fresh fuel in the can at the label ratio, fill the tank full, and run the engine five to ten minutes so treated fuel fills the carburetor bowl, then top the tank off. The full tank is deliberate: it leaves little air space for moisture to condense, which is the rust-and-clog route an empty, unsealed tank invites. Stabilized fuel keeps 12 months and, for many products, up to 24. Option B — drain: siphon or tip the tank into an approved container, drain the carburetor bowl via its valve or bolt where one exists, then start the engine repeatedly until it will no longer run, so the system is genuinely dry. Take drained fuel to your municipal hazardous-waste or recycling point; never store the mower's winter beside an open can of old gas. The one forbidden option is the default: untreated fuel left sitting. The Family Handyman's storage guidance underlines the point manufacturers make in their manuals — Honda, John Deere and others each specify one of the two routes for their engines, so check the manual, pick its route, and execute it fully. Half-measures, like stabilizer stirred into three-month-old fuel, combine the costs of both options with the benefits of neither.
Steps 2 and 3: oil while warm, then blade and deck
Run the engine briefly — the fuel circulation in step 1 has already done this — so the oil is warm and thin, then drain it completely and refill with fresh oil of the grade the manual specifies. The reasoning is chemical, not ceremonial: used oil carries gasoline, moisture, soot and acids that corrode bearings and internal surfaces through months of contact, while fresh oil coats those same surfaces protectively for the whole storage period. Changing oil in spring instead means the engine marinated in the old oil all winter and the new oil arrives after the damage — the order is the entire point. With the oil done and the plug still disconnected, turn to the underside. Tip a push mower with the air filter and carburetor side up, so oil and fuel stay out of both, and scrape the deck thoroughly with a putty knife or dull chisel; caked grass holds moisture against the steel all winter and is a leading cause of rusted-through decks, as well as harbouring the season's weed seeds. Remove the blade, note its orientation, and sharpen it — file or grinder, even strokes on each end to keep it balanced, checking balance on a nail or balancer and removing a little more metal from the heavy end — or replace it if it is bent, cracked or worn thin. A bent blade is never straightened; it is replaced. Refit it snugly, and the mower goes into storage with its spring sharpening already done, which anyone who has queued at a sharpening shop in May will recognise as the real prize.
Steps 4 and 5: plug, filter, and the cylinder's winter coat
Remove the spark plug and read it like a report card: a tan, dry electrode is a healthy engine; black soot suggests rich running or a clogged filter; oil fouling suggests a deeper conversation with a mechanic — better held in November than April. Clean or, cheaply and usually wisely, replace the plug, check its gap against the manual, and before refitting it, put a small spoonful of engine oil into the cylinder through the plug hole and pull the starter slowly a few times with the lead still off, to spread a protective film over the cylinder bore. That film is the difference between a bore that sat in damp shed air for five months and one that sat under oil. Then the air filter: foam elements wash in soapy water, dry fully and take a light oiling if the manual calls for it; paper elements are tapped clean or replaced if they are dark and clogged — a choked filter is the other half of most hard-starting stories. Finish the engine with a minute's inspection: fuel lines for cracking, the recoil starter rope for fraying, cables and the blade-brake for free movement, and a drop of oil on pivot points and wheel height adjusters. None of this is glamorous, and all of it is cheaper in November, at leisure, with parts available, than in the first warm week of spring when every mower owner in the province has the same idea on the same Saturday.
Riding mowers and cordless models: the battery rules
A riding mower adds three jobs to the gas sequence. First, its battery: disconnect the negative cable first, then the positive, in the order Briggs & Stratton specifies, clean the terminals, protect them, and store the battery in a cool, dry place away from fuel cans and furnaces — then keep it alive, on a battery maintainer or with a monthly charge, because a lead-acid battery left flat through winter sulfates and is a replacement, not a recharge, by spring. Second, tyres: inflate to the manual's pressure before storage so they do not sit flat-spotted under the machine's weight, and park on boards or mats rather than bare cold concrete where the space allows. Third, the deck and belt: clean it as thoroughly as a push mower's, and note the belt's condition in the journal from How to Start a Garden Journal if it is near the end of its life, so the part is ordered in February instead of discovered in May. Cordless mowers invert the whole guide: no fuel, no oil, no plug — clean the deck, check the blade, inspect the housing and handles, and then give the battery the attention a gas engine gives its fuel system. Remove the pack, clean its contacts, charge it to roughly 40 to 60 percent — neither full nor empty, the two states that age lithium cells fastest in storage — and keep it indoors above freezing, checking its charge monthly and topping it back to that middle range if it drifts. Robotic mowers follow the cordless rules and add their own: clean the unit and its charging dock, bring the dock's power supply in where the design allows, protect or lift the dock as the manufacturer directs, and walk the boundary wire in spring before the first run, when winter heaving and garden work will have had five months to move it. In every case the principle is one: whatever stores the energy — a fuel tank or a battery — is the part winter attacks, and it is the part the winterizing must serve first.
Storage, and the spring morning you are buying
Store the mower in the driest place you have — shed or garage — under a breathable mower cover or an old blanket that keeps dust and drips off without trapping condensation the way a sealed plastic sheet can. Keep it away from pool chemicals, fertilizer piles and pilot-light appliances, store it level so oil and fuel sit where they belong, and never store a gas mower in a living space or beside an ignition source. Fold or hang push mowers only as their manuals allow; some engines leak oil into the cylinder or filter when stored on end, and a winter of slow leaking undoes the oil change entirely. Then write one line somewhere you will see it in spring: what was done, which fuel route was chosen, and anything ordered or owed — a strip of tape on the handle is the traditional medium, and it works. The payoff arrives on the first mowing day: tank treated or system clean, fresh oil already in, blade already sharp, plug already sound, battery already charged. The mower starts, and the season begins with mowing instead of diagnosis. Fold the job into the late-fall round with How to Winterize a Sprinkler System and the rest of the December Garden Checklist, and November's hour quietly becomes the cheapest repair you never had to buy.
Keep going
Put the whole shed to bed together: How to Winterize Garden Tools, How to Store Garden Hoses in Winter, How to Winterize a Sprinkler System and the December Garden Checklist.
Sources
The winterizing sequence — disconnect and remove the battery (negative cable first), clean and protect the terminals, store it cool and dry away from fuel and furnaces; add stabilizer to the fuel can, store with a full tank of treated fuel to prevent condensation and rust, and run the engine to circulate it; change the oil warm; sharpen and inspect the blades; check the air filter; and cover the mower in dry storage — follows Briggs & Stratton, How To Properly Winterize Your Mower. The carburetor-drain procedure, the rule that stabilizer must be added to fresh fuel and cannot revive old fuel, the run-ten-minutes circulation step, the warning that old oil's acids and moisture corrode internals over winter, and the note that manufacturers such as Honda and John Deere each specify drain-or-stabilize for their engines follow How to Winterize a Lawn Mower (The Family Handyman). The safety disconnect before any work, the deck-cleaning method and the battery-removal-and-indoor-storage closing step follow How to Winterize Your Lawn Mower (Bob Vila).
Questions people ask
Should you drain the gas or stabilize it for winter mower storage?
Either, done fully — check your owner's manual, since manufacturers specify one route for their engines. Stabilizing means adding stabilizer to fresh fuel (it cannot revive old gas), filling the tank full to resist condensation, and running the engine 5 to 10 minutes to circulate it. Draining means emptying the tank and carburetor bowl and running the engine dry. The only wrong answer is untreated fuel left sitting.
How long before gasoline goes bad in a mower?
Ethanol-blended fuel left untreated can begin separating and gumming carburetor passages in as little as 30 days, which is why stale fuel is the most common cause of mowers that will not start in spring. Fuel treated with stabilizer keeps about 12 months, and many stabilizer products rate their protection up to 24 months.
Why change the mower oil before winter instead of in spring?
Used oil contains gasoline, moisture, soot and acids that corrode the engine's internal surfaces during months of storage. Changing it warm in fall means fresh, protective oil coats those surfaces all winter. A spring change arrives after the old oil has had the whole storage period to do its damage.
How should a cordless mower battery be stored for winter?
Remove it from the mower, clean the contacts, charge it to roughly 40 to 60 percent — lithium packs age fastest stored fully charged or fully empty — and keep it indoors in a space that stays above freezing. Check it monthly and top it back toward that middle range if it drifts down.
What should you do with a riding mower battery over winter?
Disconnect the negative cable first, then the positive, remove the battery, clean and protect the terminals, and store it in a cool, dry place away from fuel cans and heat sources. Keep it charged with a maintainer or a monthly charge — a lead-acid battery left flat all winter sulfates and usually needs replacing, not recharging.
Can you store a lawn mower outside under a cover?
It is a last resort, not a plan. Choose the driest, most sheltered spot available, use a proper mower cover, raise the machine on pavers or boards off the wet ground, and complete every winterizing step first — outdoor storage multiplies the moisture exposure that the cleaning, oil and fuel steps are designed to resist. A dry shed or garage is always preferred.
Comments & ratings
No comments yet.
Be the first to share your experience.