
Guides · Home projects · Published November 18, 2026 · By Faizan Ahmad
How Many Drywall Sheets Do I Need?
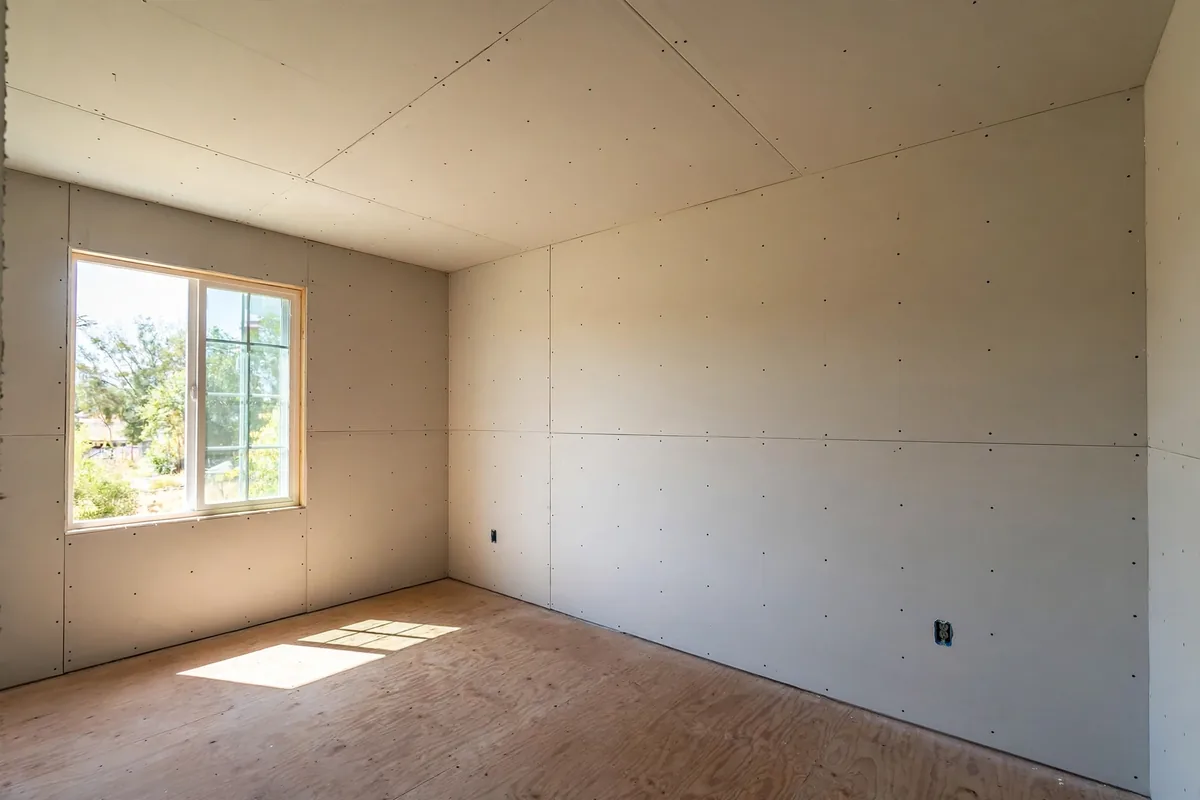
Drywall looks like the simplest order in a renovation — until you are standing in the aisle doing perimeter maths in your head, or worse, one sheet short on a Sunday afternoon with a half-boarded ceiling. Sheets are cheap; the second trip, the delivery fee and the stalled job are not. The count itself is three short steps — wall area, ceiling area, divide by the sheet — and it is exactly what our Drywall Calculator — sheets, compound and screws for a whole room runs for you, waste included. This guide shows how the calculator works, the maths underneath it, and the two judgement calls the maths cannot make for you: whether to board in 4×8 or 4×12 sheets, and why the honest estimate deliberately does not subtract your doors and windows. By the end you will be able to check any store's sheet count against your own numbers — for a bedroom, a basement, or the 12×24 shed people keep asking about.
The short answer, on one card
- The formula: wall area = perimeter × wall height; ceiling = length × width; sheets = total area ÷ sheet area, plus 10%, rounded up
- One 4×8 sheet covers 32 sq ft; one 4×12 covers 48 sq ft — half as much again, with fewer joints but a two-person lift
- A 12×12 ft room, 8 ft walls plus ceiling: 528 sq ft → 19 sheets of 4×8, or 13 sheets of 4×12
- Finishing, as estimates: joint compound ≈ 0.6 buckets per sheet; screws ≈ 1 lb per 250 sq ft
- Doors and windows are NOT subtracted — the 10% allowance covers openings, cuts and breakage in one number
Step 1 — Measure the room: three numbers only
The calculator needs the room's length, its width, and the wall height — nothing else. Run a tape along the floor for length and width, and from floor to ceiling for the height; 8 ft is the common case, but measure rather than assume, because a 9 ft wall quietly adds an eighth more board to every wall in the room. If the room is not a clean rectangle — an L-shaped basement, a jog for a closet — split it into two rectangles, measure each, and run each through the calculator, adding the sheet counts at the end. (The same split-the-shape habit sizes any floor or plot: How to Measure Square Footage walks through it step by step.) One decision belongs in this step, not at the store: are you boarding the ceiling? The calculator has a tick box for it, and on a square room the ceiling is roughly a quarter of the whole order, so "we'll see" is an expensive answer. Decide now, while the tape is still out.
Step 2 — Run the calculator: what each input does
Open the Drywall Calculator and type in the three measurements from Step 1, in feet or in metres — the unit switch converts everything behind the scenes. Choose the sheet size, 4×8 or 4×12; Step 4 below is devoted to that choice, because it changes the handling of the whole job, not just the count. Tick the ceiling box if you are boarding it. Then pick your country, Canada or the USA — that toggle prices the answer with typical store ranges for your country instead of a number in a currency you do not use. The answer comes back as a complete shopping list, not just a sheet count: sheets with the 10% waste allowance already included, joint compound in buckets (about 0.6 per sheet, labelled an estimate), screws by weight (about 1 lb per 250 sq ft, also an estimate), and an estimated sheet cost. Press the print button and the list is ready to take to the store — sheets, compound and screws on one page, so the finishing materials do not become the second trip the sheets were supposed to prevent.
Step 3 — The maths the calculator is doing
There is no hidden model here — the calculator runs the same estimating maths a contractor runs, and you can check every line on paper. Wall area = room perimeter × wall height. The perimeter of a rectangular room is 2 × (length + width), so the walls of a 12×12 ft room are 2 × 24 = 48 ft around, and 48 × 8 ft high = 384 sq ft. Ceiling area = length × width — 12 × 12 = 144 sq ft. Add them: total board area = 528 sq ft. Then sheets = total area ÷ sheet area, plus 10% for cuts and breakage, rounded up — because you cannot buy 16.5 sheets, and the half sheet is exactly the one the cuts will eat. A 4×8 sheet covers 4 × 8 = 32 sq ft; a 4×12 covers 48 sq ft. The two finishing numbers scale off the same total: compound at roughly 0.6 buckets per sheet, screws at roughly 1 lb per 250 sq ft of board. Both are labelled estimates on the calculator, honestly — how heavily you coat the joints and how tight your screw pattern is will move them — but they land close enough that one store trip covers the job.
Step 4 — The sheet-size decision: 4×8 or 4×12?
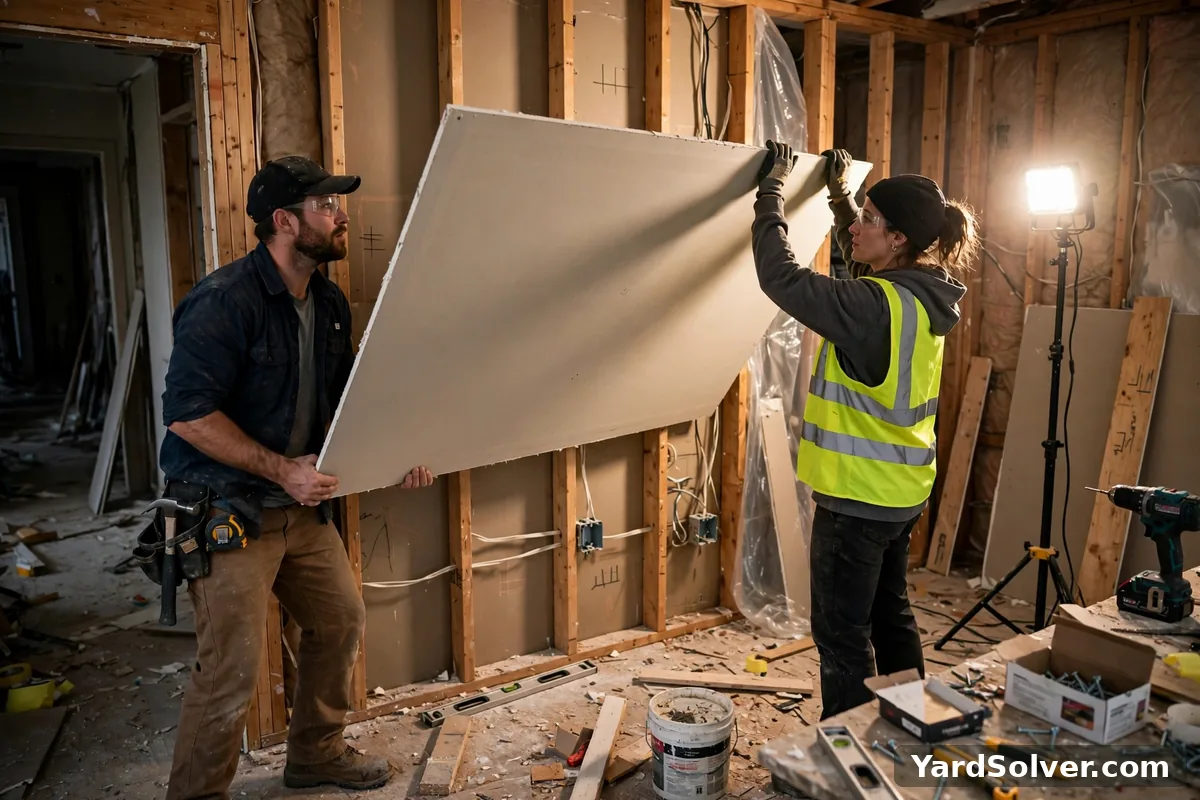
This is the decision the calculator leaves to you, and it deserves more thought than the count itself. A 4×12 sheet covers half as much again as a 4×8, so a room boarded in 4×12 has roughly a third fewer sheets — and, more importantly, fewer joints. Every joint is a seam to tape, mud in three widening coats, sand and inspect; butt joints in particular are where amateur walls show their lumps under paint. Fewer joints means a flatter wall and a faster finish, which is why professionals reach for the longest sheet the room allows. The cost is handling. A 4×12 sheet is heavy, flexible in the worst way, and genuinely awkward: it needs two people for every lift, it will not turn a tight hallway corner or climb a narrow stairwell, and a sheet that folds or snaps on the way in is waste you already paid for. So the honest rule is about access, not preference. Long, straight walls, a ground-floor room, a wide doorway and a helper on hand? Take the 4×12 and enjoy the shorter taping list. Stairs, corners, a small room, or boarding alone? The 4×8 exists for you — one person can carry it, it fits through every door in the house, and the extra joints are simply the price of a sheet you can actually get into the room. Many real jobs mix them: 4×12 on the long open walls, 4×8 everywhere the path gets tight.
Step 5 — A whole room, worked start to finish
Here is the calculator's own example, done the way the calculator does it. The room: 12 ft × 12 ft, 8 ft walls, ceiling boarded. Walls: perimeter 48 ft × 8 ft = 384 sq ft. Ceiling: 12 × 12 = 144 sq ft. Total: 528 sq ft. In 4×8 sheets: 528 ÷ 32 = 16.5 sheets; add 10% for cuts and breakage → 18.15; round up → 19 sheets. Finishing, by the calculator's estimates: compound 19 × 0.6 ≈ 12 buckets, screws 528 ÷ 250 ≈ 3 lb. Now the same room in 4×12: 528 ÷ 48 = 11 sheets; plus 10% → 12.1; round up → 13 sheets — six fewer sheets to hang, and a noticeably shorter list of joints to tape, at the price of the two-person lift on every one of them. Drop the ceiling and the walls alone are 384 sq ft → 14 sheets of 4×8, which is why the ceiling decision in Step 1 matters more than any rounding choice. The table below runs the same method over the room sizes people search for most — a 10×12 bedroom, a 12×24 shed — all at 8 ft walls with the ceiling boarded.
| Room (8 ft walls + ceiling) | Total board area | 4×8 sheets | 4×12 sheets | Compound (est.) | Screws (est.) |
|---|---|---|---|---|---|
| 10 × 10 ft | 420 sq ft | 15 | 10 | 9 buckets | 2 lb |
| 10 × 12 ft | 472 sq ft | 17 | 11 | 11 buckets | 2 lb |
| 12 × 12 ft | 528 sq ft | 19 | 13 | 12 buckets | 3 lb |
| 12 × 16 ft | 640 sq ft | 22 | 15 | 14 buckets | 3 lb |
| 12 × 24 ft shed | 864 sq ft | 30 | 20 | 18 buckets | 4 lb |
| 16 × 20 ft | 896 sq ft | 31 | 21 | 19 buckets | 4 lb |
Read the table the way the calculator thinks: the compound column follows the 4×8 sheet count (0.6 buckets per sheet, rounded up), and the screw column follows the area, not the sheets — board is board, whichever size it arrived in. Every row already includes the 10% allowance, so the number in the table is the number you order.
Step 6 — Compound and screws: the estimates, honestly labelled
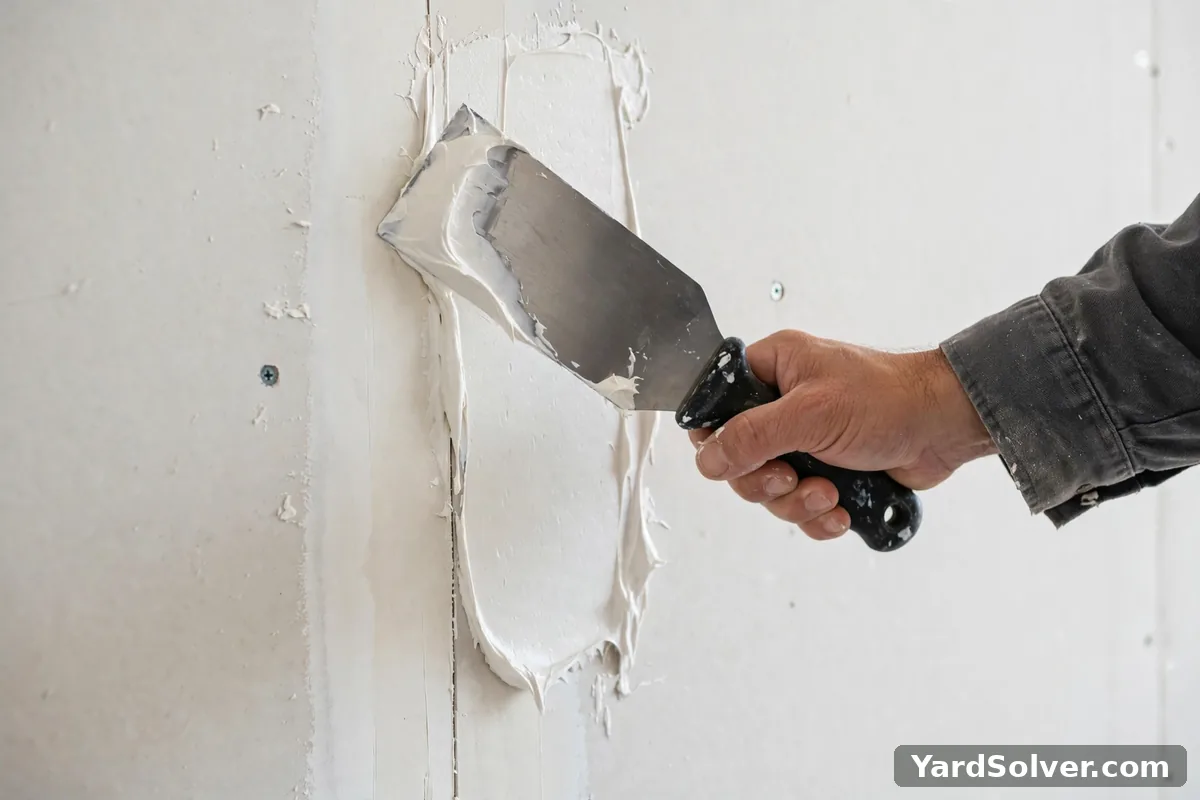
Sheets are the easy part of the order; the finishing materials are where second trips are born. The calculator estimates joint compound at about 0.6 buckets per sheet — enough for the tape coat that beds the paper tape into each joint, the fill coat that levels it, and the finish coat that feathers it out, each wider than the last. It is an estimate and the calculator says so: a first-time finisher spreads thicker, sands more off, and uses more, while a practiced hand uses less. The practical defence is simple — buy from a store that takes back unopened buckets, and let the estimate run slightly generous rather than stopping mid-coat on a drying wall. Screws run about 1 lb per 250 sq ft of board. The pattern behind that number is the standard one — screws every 12 inches along sheet edges and every 16 inches in the field — but your local code and the board maker's instructions rule here, not this guide; ceilings and fire-rated assemblies often call for tighter spacing, which is another reason the screw figure is labelled an estimate. Tape and corner bead are not in the calculator's list at all: budget a roll of paper tape per room as a starting point, and measure outside corners for bead separately.
Step 7 — Why doors and windows are not subtracted
Every first-time estimator asks this, usually while carefully measuring a doorway to deduct it. The calculator's answer is the trade's answer: openings are not subtracted, on purpose. Three reasons, in order of importance. First, the board you cut out of a doorway or window opening is mostly waste — an offcut with a notch in it rarely fits anywhere useful, so the opening does not truly save you a sheet's worth of board. Second, the cuts around openings are exactly where breakage and mis-cuts happen; the allowance has to live somewhere, and openings are where it gets spent. Third, the arithmetic stays honest: measure the openings precisely, subtract them, then add a waste percentage back for the cutting around those same openings, and you land within a sheet of the unsubtracted number — after three extra chances to make a measuring mistake. So the calculator folds all of it into the single 10%: openings, cuts, breakage and the odd damaged sheet, in one number you can trust. The exception worth knowing: a wall that is mostly glass, or a garage-door-sized opening, is not a "typical room" — if an opening eats a full sheet or more on its own, subtract that one and keep the 10% for everything else.
What the calculator can't do
Honesty about the edges, so the number earns your trust. The calculator assumes a rectangular room boarded in a single layer: double-layer assemblies for sound or fire ratings double the sheet count by hand, and angled or vaulted ceilings need their true sloped area, not the floor plan's. It does not choose the board type — standard board for living spaces, moisture-resistant board where plumbing and steam live, and the thickness and fire rating your local code requires are specification decisions that come before any counting. Its compound and screw figures are estimates, as Step 6 explains, and its cost figures are typical store-price ranges for your country, not quotes. And it cannot carry the sheets in for you — the access check in Step 4, walking the path from driveway to room with the sheet size in mind, is yours to do before the order, not after the delivery truck leaves. What it does guarantee is the count maths, checked above: get the three measurements and the ceiling decision right, and the sheet count follows.
Boarding done, the room's next job is colour — How Much Paint Do I Need? sizes the paint for the same walls, primer first, once the mud is sanded smooth.
Keep going
Run your own room through the Drywall Calculator, then size the finish with How Much Paint Do I Need? and check your measuring with How to Measure Square Footage.
Renovating room by room across the season? The Garden Planner lays out indoor projects and outdoor work in one calendar, so the boarding weekend and the planting weekend stop colliding.
Questions people ask
How much drywall do I need for a 12×12 room?
With 8 ft walls and the ceiling boarded, a 12 × 12 ft room has 384 sq ft of wall plus 144 sq ft of ceiling — 528 sq ft in total. In 4 × 8 sheets that is 528 ÷ 32 = 16.5, plus 10% for cuts and breakage, rounded up to 19 sheets, with about 12 buckets of joint compound and about 3 lb of screws. In 4 × 12 sheets the same room takes 13 sheets. Walls only, without the ceiling, it is 14 sheets of 4 × 8.
Should I use 4x8 or 4x12 sheets?
4 × 12 sheets cover half as much again per sheet — 48 sq ft against 32 — so they mean fewer joints to tape and a flatter wall, but they are heavy, awkward on stairs and in hallways, and need two people and a clear path in. Most DIY rooms are boarded in 4 × 8 for a reason: one person can manage a sheet, and it fits through doors and up stairs. Choose 4 × 12 for long, straight walls and ceilings you have help for; choose 4 × 8 everywhere else.
Why don't you subtract doors and windows?
Standard estimating practice: the cut-out pieces are mostly waste anyway, and the 10% allowance covers openings, cuts and the odd damaged sheet in one honest number. Subtracting a door and two windows precisely, then adding waste back for the cuts around them, lands in almost the same place — with more chances to get the arithmetic wrong along the way.
How much joint compound do I need per sheet?
About 0.6 of a standard bucket per sheet for tape, fill and finish coats — an estimate. The calculator rounds that up to whole buckets, so the 19 sheets in this guide's worked room come out at about 12 buckets. Beginners use more; buy from a store that takes back unopened buckets.
How many screws go into drywall?
Roughly 1 lb of screws per 250 sq ft of board — about 3 lb for the 528 sq ft worked room in this guide. Walls are typically screwed every 12 in on edges and 16 in in the field — always follow your local code and the board maker's pattern.
Do I need to board the ceiling too?
Only if the job calls for it — a new ceiling, a basement finish, or a ceiling too damaged to skim. The calculator has a tick box for it: leave it ticked and the ceiling area (length × width) is added; untick it for walls only. In the 12 × 12 ft example, the ceiling is the difference between 19 sheets and 14, so it is worth deciding before you order, not at the store.
Drywall counts are ceiling-plus-walls area divided by sheet area — then rounded up, always
Sheet goods punish optimism: measure each wall's length times height, add the ceiling if it is boarded, subtract only the large openings (small ones are cut from the sheet anyway and their offcut rarely lands usefully), divide by the area of your sheet size, and round up to whole sheets — then add a sheet or two for the cuts that go wrong, because they will.
Sheet size is a logistics choice before it is an arithmetic one: larger sheets mean fewer joints to tape but need two people and a stairwell they can turn in; standard sheets cost a little more in joints and a lot less in temper. Hang ceilings first, walls after, stagger the joints, and keep the count's waste sheets dry and flat — a stored spare sheet is next year's repair already paid for.
Sources
Key facts on this page cross-checked against Drywall — Wikipedia — background on drywall — plasterboard — and its installation.
Related page
Read next: How Many Tiles Do I Need? Waste by Layout & How the Calculator Works.
Comments & ratings
No comments yet.
Be the first to share your experience.