
Guides · Indoor gardening · Published November 20, 2026 · By Faizan Ahmad
How to Grow Ginger Indoors: Start in Winter, Harvest Your Own Rhizomes
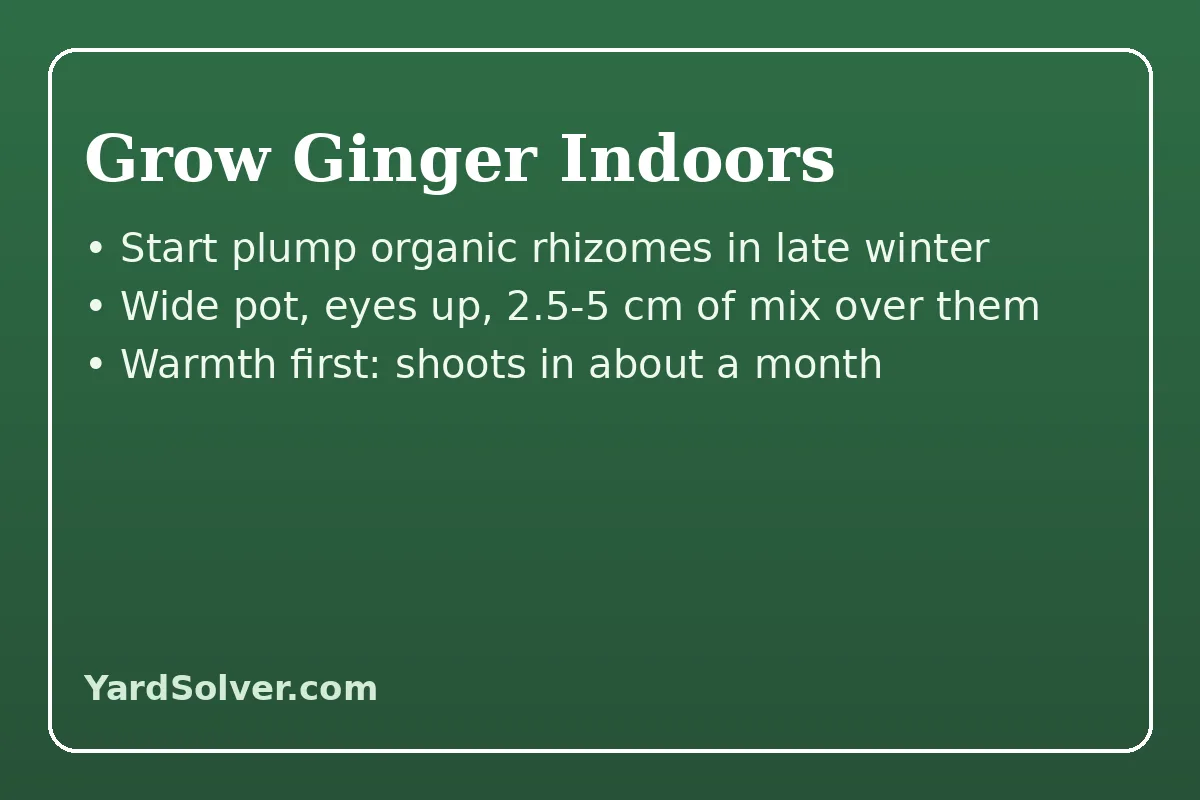
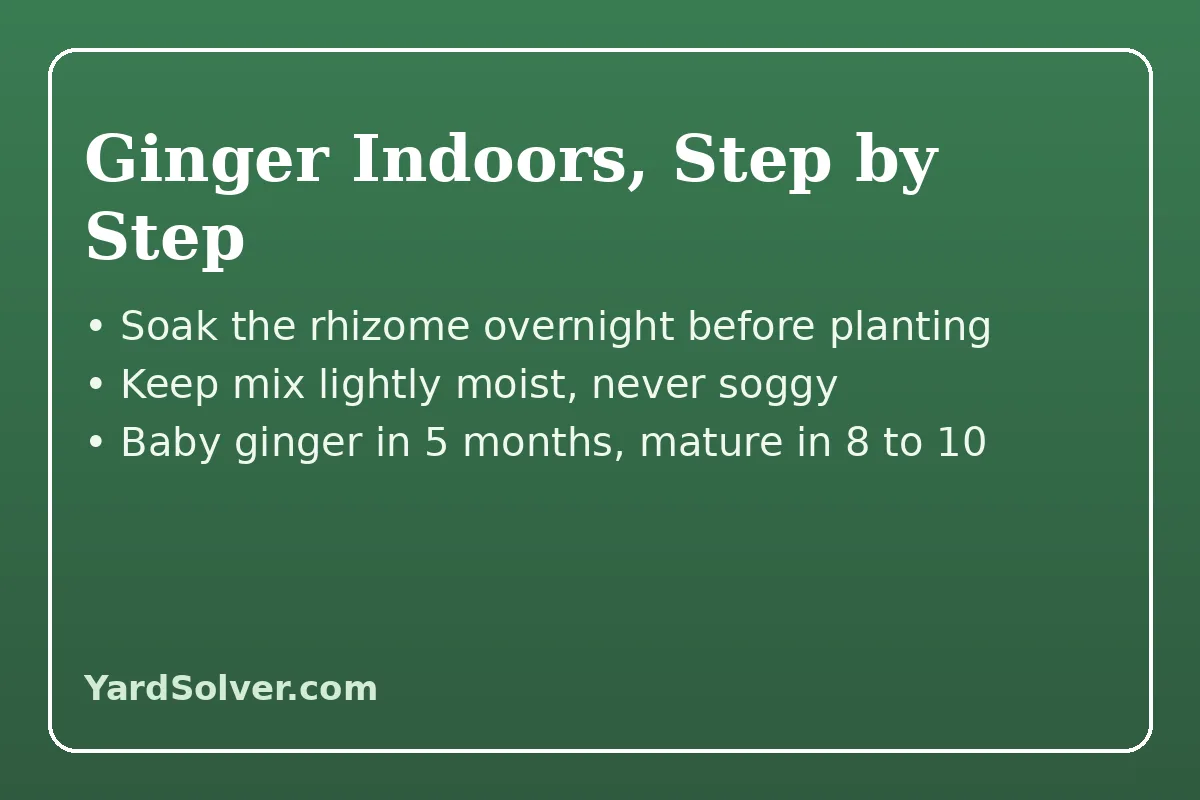
To grow ginger indoors, start with a fresh, plump rhizome with visible eyes — organic or nursery seed stock sprouts most reliably — soak it overnight, plant pieces with at least two eyes in a wide pot of rich, well-drained potting mix with the eyes pointing up under 2.5–5 cm (1–2 in) of mix, and keep the pot warm and the soil lightly moist in bright light out of direct sun; shoots appear in about a month, tender baby ginger can be lifted from about five months, and mature rhizomes are ready in eight to ten months. Ginger is the winter-start crop that fits northern gardening perfectly, because its calendar is the reverse of the garden's. Zingiber officinale is a tropical perennial that cannot survive a Canadian or northern-US winter outdoors and grows slowly even in warmth, needing the better part of a year from planting to a full harvest. Started on a windowsill in January or February, it spends the cold months becoming a handsome, reed-stemmed houseplant, can move outside for the summer if you wish, and delivers its harvest in the fall — precisely when the outdoor garden is winding down. The University of Vermont Extension, writing for cold-climate gardeners, frames the whole project exactly this way: a grocery-store rhizome, a 30 cm (12 in) pot, and a winter start, with the option of planting the established pot outdoors once the soil is reliably warm. This guide gives the full method — choosing stock that will actually sprout, the wide-pot logic, warmth and watering discipline, the two harvests (baby and mature), and carrying a pot from one year into the next. It is the long-game entry in the winter indoor programme alongside growing herbs indoors, and the perfect January project to plan in the garden journal.
The short answer, on one card
Stock: firm, heavy, smooth-skinned rhizomes with several plump eyes; organic grocery ginger or nursery seed ginger, because conventional stock is often treated with sprout inhibitor. Prep: soak overnight to rehydrate; cut into pieces each carrying at least two eyes; let cuts callus a day. Pot: wide rather than deep — 30 cm (12 in) across or more, drainage holes, rich well-drained mix. Plant: eyes up, covered with 2.5–5 cm (1–2 in) of mix. Conditions: warm (a heated room, ideally 21–29 °C / 70–85 °F), bright indirect light, mix lightly moist and never soggy; nothing below about 4 °C (40 °F), ever. Harvest: baby ginger at about 5 months, mature rhizomes at 8–10 months, lifted piecemeal from the pot's edge.
Why winter is the right time to start a tropical crop
The reasoning is arithmetic, not romance. A ginger rhizome planted in May in a cold climate gets perhaps five warm months before the fall cold calls it in — enough for foliage, not enough for a worthwhile harvest, because the plant spends its first month merely waking up and its rhizome-building happens late in its season. The same rhizome planted in February gets those same five summer months plus a three-month head start under glass, and reaches fall with eight months of growth behind it: a full pot. Vermont Extension makes the cold-climate version of the point directly, noting that rhizomes germinated in February or March can even be planted out in the ground once frost danger has passed and the soil is reliably warm, turning the indoor start into the opening move of an outdoor crop. There is a second, quieter benefit: ginger asks for almost nothing during its slow first months — a warm corner, occasional water, patience — which makes it the ideal companion project for the seed-starting season it precedes. It goes onto the windowsill weeks before the first trays in the earliest seeds to start indoors, asks less than any of them, and is still there, tall and green, when the last of them has gone out to the garden. The quotable fact: ginger indoors is not a way of cheating the northern climate — it is a way of giving a ten-month tropical crop the ten months it actually needs, using the winter you were going to waste.
Choosing and preparing stock that will sprout
| Choice | Look for | Avoid |
|---|---|---|
| Source | Nursery seed ginger, or organic grocery ginger | Conventional grocery ginger if sprouting matters most — it is commonly treated with growth inhibitor to stop it sprouting on the shelf |
| Condition | Plump, firm, heavy for its size, smooth tan skin | Shrivelled, soft, mouldy or dried-out pieces |
| Eyes | Several visible buds — the pale, pointed eyes at the knuckle ends | Smooth pieces with no eyes: no eye, no shoot |
| Piece size | Chunks of 5–7 cm (2–3 in) carrying at least two eyes each | Tiny single-eye fragments, which start weakly and rot easily |
| Prep | Soak overnight in water; cut if needed; dry cut surfaces a day to callus | Planting freshly cut, wet surfaces straight into moist mix — an open door to rot |
The eye is the whole plant in waiting: rhizomes are underground stems, and each eye is a bud from which roots and the leafy pseudostems — the false stems that can reach about 90 cm (3 ft) — will grow. Epic Gardening's indoor method specifies a two-to-three-inch portion of a knobby finger containing at least two nodes or eyes, and notes that a piece without them is simply not capable of growing. The soak that both Vermont and Epic recommend does two jobs: it rehydrates grocery stock that has dried in storage, and it helps wash away surface sprout inhibitor from any treated piece. Organic stock skips the second problem entirely, which is why it is the reliable recommendation even though plenty of conventional pieces do eventually sprout — eventually being the operative word in a crop where the calendar is the constraint. Break or cut the hand into pieces with a clean knife rather than snapping it where it chooses, so each piece keeps its eyes intact, and give the cut faces their day of air. This is the same callusing discipline used for seed potatoes in chitting potatoes, and for the same reason: a sealed surface resists the rot that a raw cut invites in warm, moist mix.
The wide pot, the planting, and the warm corner
Ginger's shape underground dictates its container: rhizomes grow horizontally, spreading sideways and pushing new hands outward near the surface, so the pot should be wide and only moderately deep. Vermont's specification is a pot at least 30 cm (12 in) in diameter with a drainage hole; Epic Gardening's is 20–30 cm (8–12 in) deep with a 30 cm (12 in) diameter for a single rhizome, and a 35 cm (14 in) pot if you plant a few fingers together for a bigger yield. Fill with a rich, well-draining potting mix made for indoor plants — ginger wants fertility and moisture-holding capacity with drainage, the combination that waterlogged clay soils and pure peat both fail to give. Vermont's planting is the template: a layer of gravel or shards over the drainage hole if your mix tends to wash out, the pot filled two-thirds, the rhizome laid on the surface with its eyes pointing up, then 2.5–5 cm (1–2 in) of mix over the top, keeping the finished soil level about 2.5 cm (1 in) below the rim to make watering tidy. Water lightly to settle it. Placement is warmth first and light second at this stage: a warm, humid spot near a window but out of direct sun, because the buried rhizome needs heat, not light, and a cold windowsill in January is the commonest reason a pot sits silent until April. A heat mat under the pot, or the top of a refrigerator or a spot near (not on) a heat source, can cut weeks off the wait in a cool house. Expect green shoots in about a month — Vermont's figure — and do not excavate to check before then; every inspection chills and disturbs a plant whose whole early life happens underground.
Growing on: water, light, food — and the summer holiday
Once shoots are up and growing, the plant's demands settle into a steady rhythm. Keep the mix lightly moist at all times, watering more freely as the foliage builds, but never let the pot stand in water: ginger in soggy mix rots, and rot in a rhizome crop is the one unforced error that ends the project. Light brightens with growth — bright indirect light or gentle morning sun indoors, with the option, from late spring, of the summer holiday: harden the pot off into a sheltered, part-shaded outdoor spot once nights are reliably warm, remembering Epic Gardening's hard limit that ginger will not withstand temperatures below about 4 °C (40 °F) and must come in well before any such night threatens. Outdoors it grows fastest, and a pot sunk into a bed or stood among the containers in container vegetables will ask only for the same watering round. Feeding is modest: a dilute balanced feed monthly through the growing season supports rhizome building without forcing soft foliage. The foliage itself earns the pot's keep meanwhile — arching, lance-shaped leaves on reed-like stems, a genuinely ornamental tropical accent that asks no apology among the houseplants. In fall, whether the pot summered outside or not, it comes back to the warm bright room before the first cold nights, and growth slows as light falls; that slowing is the signal that the underground harvest is finishing, not failing.
Two harvests, and keeping the pot going
Ginger offers two distinct crops, and choosing between them is a matter of taste. Baby (green) ginger, lifted from about five months, has thin, pale, almost translucent skin that needs no peeling, a mild, juicy heat, and a short fridge life — it is the cook's luxury, and the piecemeal harvest suits it: push the mix aside at the pot's edge, cut or break away a young piece, and refill the gap with fresh mix, exactly as Vermont describes, leaving the plant to grow on. Mature ginger, at eight to ten months, has the familiar tan skin, fibrous flesh and full fire; harvest it when the foliage begins to yellow and die back naturally, tipping out the pot and breaking up the cluster of new rhizomes, which will have multiplied the piece you planted several times over. From a mature harvest, keep the cycle closed: reserve the plumpest pieces with the best eyes as next season's stock, store them cool and dry for a few weeks, and replant in late winter — your own seed ginger, acclimatised to your house, sprouting more reliably than any shop's. The honest limits close the guide. Indoor harvests are modest — a good pot yields a few hands of ginger, not a sack — and the crop is slow in a way no fertiliser fixes; a cold, dark house will grow it at half speed. But as with its windowsill companions in the grow-light guide, a modest supplement of light and reliable warmth converts a marginal project into a dependable one. Few January decisions are still paying out in October. This one is, in the most literal sense, edible.
Troubleshooting the slow months: what silence from the pot means
A ginger pot communicates slowly, and most of its messages are misread as failure. No shoot after six weeks: almost always temperature — the rhizome is alive but waiting for warmth; move the pot to the warmest spot in the house, be patient for another month, and resist digging, because a sound rhizome underground is pale, firm and faintly spicy when scratched, while a rotted one announces itself by smell through the mix. A shoot that yellows at the tip: the surface is drying between waterings, or the pot is catching cold draughts from a window it sits against; steady the moisture and pull it back from the glass. Leaves browning at the edges in mid-season: dry air and salts — flush the pot through with plain water at the next watering and raise humidity with the pebble-tray method from the humidity guide. A soft, sour-smelling patch in the mix: localised rot from overwatering; tip the pot out, cut the affected rhizome away back to clean, firm flesh with a clean knife, let the cuts callus, and replant the sound pieces in fresh mix at a leaner watering rhythm. Great foliage, disappointing rhizomes at harvest: the pot was too small, the season too short, or feeding stopped early — all three are next year's corrections, and even a modest first harvest that supplies your own seed stock has done the project's hardest work, which is establishing a supply of untreated, house-acclimatised rhizomes that will sprout on time every year from now on. Read together, the table makes the guide's closing point: ginger fails by cold and by drowning, and succeeds by warmth, drainage and a calendar that starts in winter. Give it those, and the quiet pot in the corner becomes the most patient — and eventually the most generous — plant in the house.
Keep going
Grow the rest of the winter kitchen garden with How to Grow Herbs Indoors in Winter, time the outdoor season with When to Start Seeds Indoors in Canada 2027, and give the pot its summer company from Best Vegetables to Grow in Containers.
Sources
The cold-climate indoor method — buy a fresh, firm, fleshy rhizome, preferably organic, with noticeable eyes; soak it overnight; use a pot at least 12 inches in diameter with a drainage hole and a well-draining indoor potting mix; lay the rhizome with eyes up under one to two inches of mix with the soil an inch below the rim; keep the pot warm and humid near a window away from direct sun and the soil lightly moist without overwatering; expect shoots in about a month; optionally plant germinated rhizomes outdoors in February-to-March starts once the soil is reliably warm; and harvest piecemeal by cutting a piece from near the edge and refilling with mix — follows the University of Vermont Extension, Growing Ginger Indoors in Winter. The stock and pot refinements — start rhizomes indoors in late winter, cut a two-to-three-inch piece with at least two nodes or eyes, prefer organic untreated stock because conventional ginger may carry sprout inhibitors, let cut pieces callus for a day, use a pot 8 to 12 inches deep and 12 inches in diameter (14 inches for several fingers), and never expose the plant to temperatures below 40 F — follow Epic Gardening, How to Grow Ginger Indoors in 7 Easy Steps.
Questions people ask
Can you grow ginger from a grocery store rhizome?
Yes — choose a fresh, firm, plump piece with visible eyes and soak it overnight before planting. Organic grocery ginger sprouts most reliably, because conventional stock is often treated with a growth inhibitor to stop it sprouting on the shelf. Nursery seed ginger is the surest stock of all. A piece with no eyes cannot grow, whatever its source.
How long does ginger take to grow indoors?
Shoots appear in about a month in warm conditions. Tender baby ginger can be lifted from about five months, and mature rhizomes with full flavour are ready in about eight to ten months. That long calendar is exactly why the indoor start happens in late winter: the plant needs most of a year, and the winter months are part of its growing time.
What size pot does ginger need?
A wide one: at least 30 cm (12 in) in diameter, 20-30 cm (8-12 in) deep, with drainage holes. Rhizomes spread horizontally near the surface rather than growing deep, so width matters more than depth. Plant a few pieces together in a 35 cm (14 in) pot for a larger harvest, and use a rich, well-drained potting mix.
Why is my ginger not sprouting?
Usually cold, or stock that cannot sprout. A rhizome in a cold room or on a chilly windowsill may sit for many weeks; move the pot somewhere genuinely warm and give it time before disturbing it. Check the stock too: shrivelled pieces, pieces with no visible eyes, and heavily inhibitor-treated conventional ginger all sprout poorly or not at all. Soggy mix can also rot a piece before it wakes — keep it lightly moist, not wet.
How do you harvest ginger without killing the plant?
Harvest piecemeal. From about five months, push the mix aside at the edge of the pot, cut or break away a piece of new rhizome, and refill the gap with fresh potting mix; the plant continues growing. For a full mature harvest at eight to ten months, when foliage yellows and dies back, tip the whole pot out and break up the rhizome cluster — reserving the plumpest pieces as next season's planting stock.
Can indoor ginger go outside in summer?
Yes, and it grows fastest there. Harden the pot off into a sheltered, part-shaded spot once nights are reliably warm, and bring it back in well before cold returns: ginger will not withstand temperatures below about 4 C (40 F). Rhizomes started indoors in February or March can even be planted into the ground once the soil is reliably warm, per University of Vermont Extension.
Comments & ratings
No comments yet.
Be the first to share your experience.