
Plant Library · Herbs · By Faizan Ahmad
🌿 How to Grow Ashwagandha
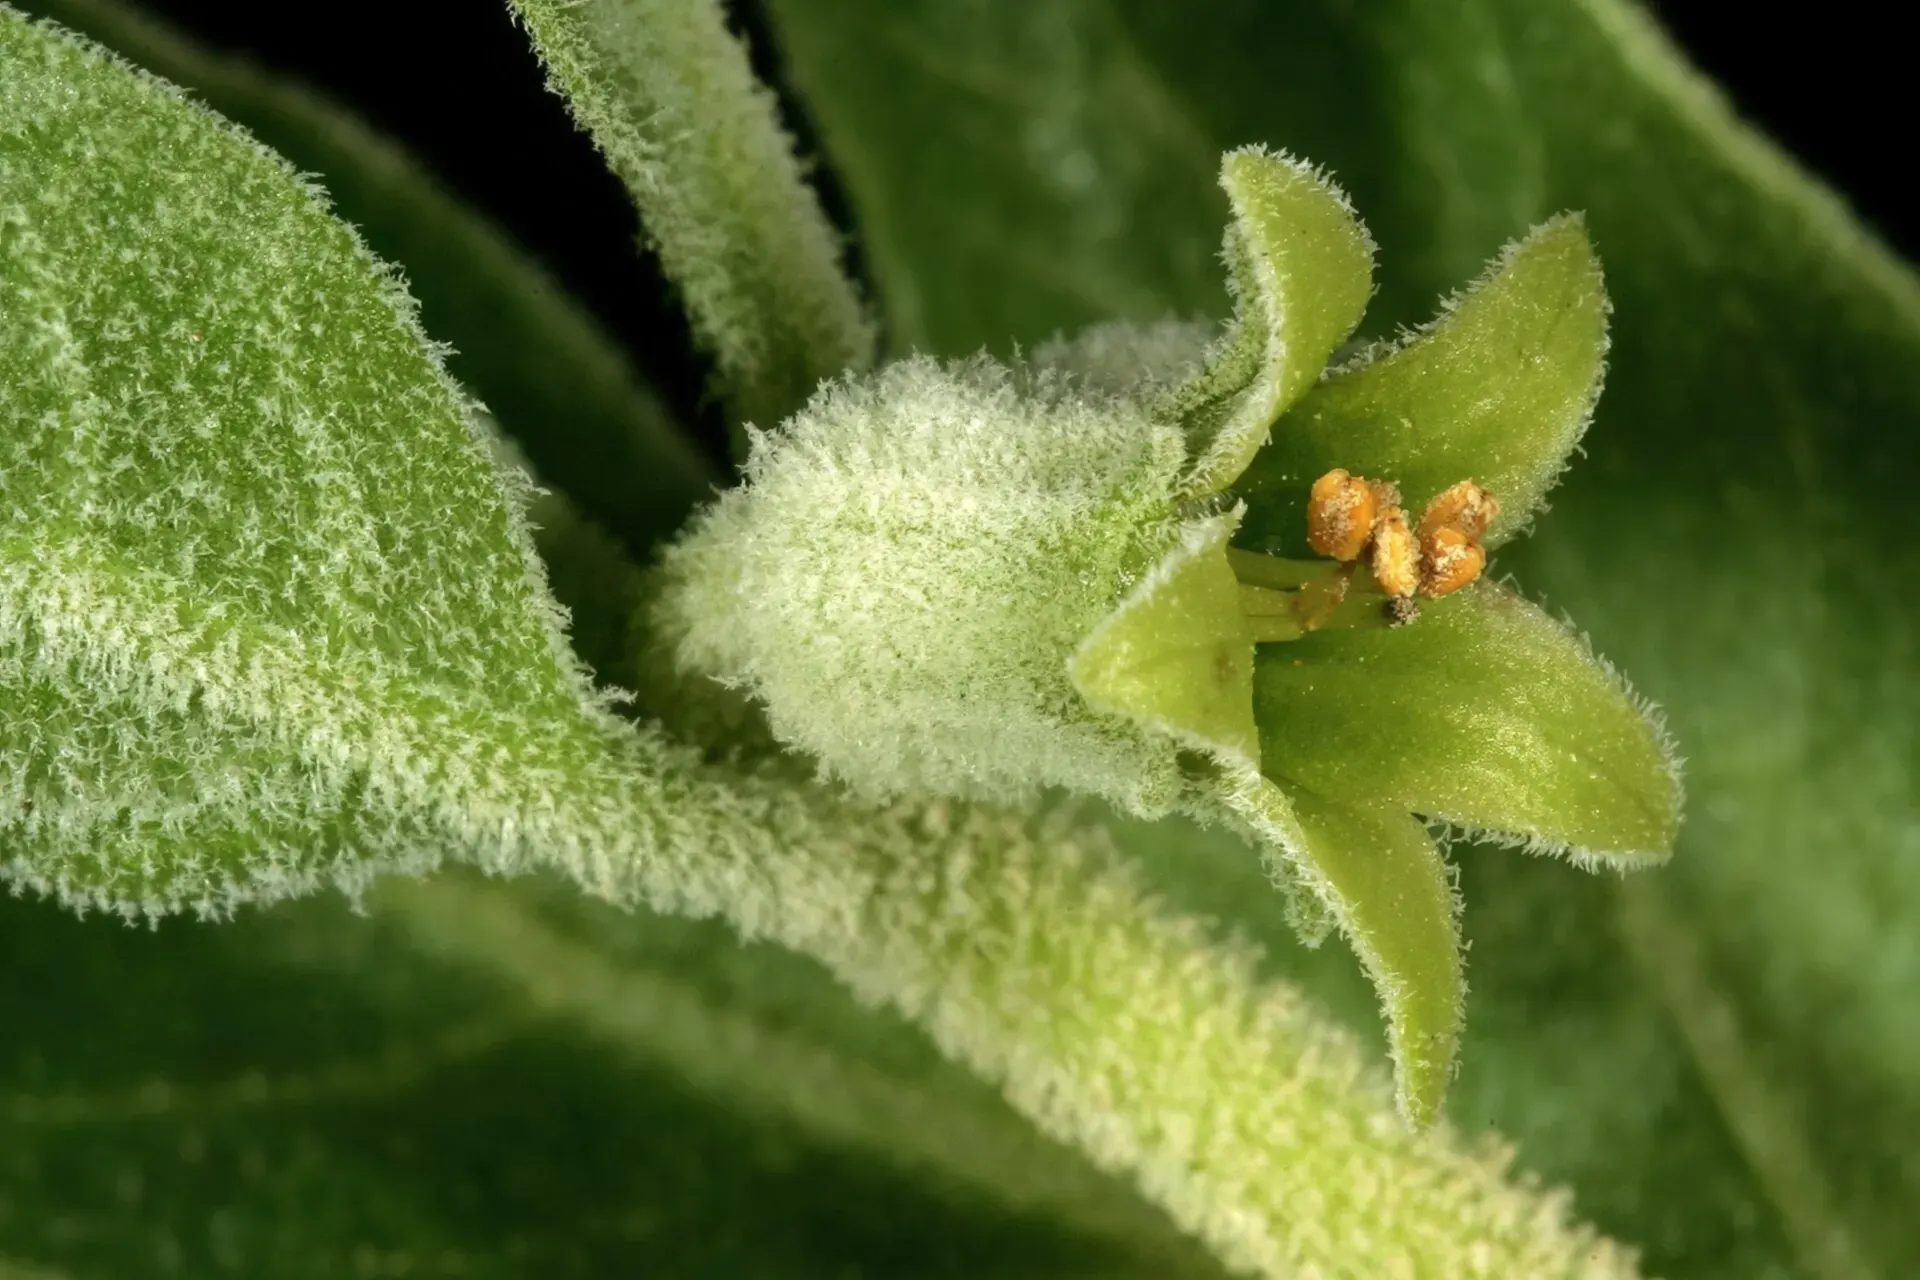
Ayurveda's famous root, grown like a pepper — start it warm and early, harvest the roots when the berries blush red. Ashwagandha (Withania somnifera) is a tender member of the tomato family from India, grown as an annual wherever summers are shorter than its homeland's. Treat it exactly like a pepper plant — same start, same warmth, same patience — and dig the roots after 150–180 days.
Grow Ashwagandha with us — step by step
Everything for this plant is written step by step below — what to do, and exactly when. Read it through first if you like: you can grow it entirely on your own with that guide. Or start with us here — tell us your planting day and we lay out your personal schedule on this page, every next step on its own day, counted from your planting date. No guessing, no forgetting.
Step 1 — today: Sow ashwagandha seed in pots on a heat mat or warm shelf — like pepper seed, it wakes slowly and wants real warmth.
Ashwagandha at a glance
Sow indoors: 6–8 weeks before last frost, in warmth
Move outside: 2 weeks after last frost, into warm soil
Sow outdoors: Only in long, hot climates
Spacing · Seed depth: 18–24 in apart · 1/4 in deep
Sun: Full sun
Water: Moderate — drought-tolerant once established
Harvest: Roots at 150–180 days, when berries redden
Timing counts from your average last spring frost — get your own dates in the Planting Calendar. Guidance follows standard extension-service practice for Canada and the US.
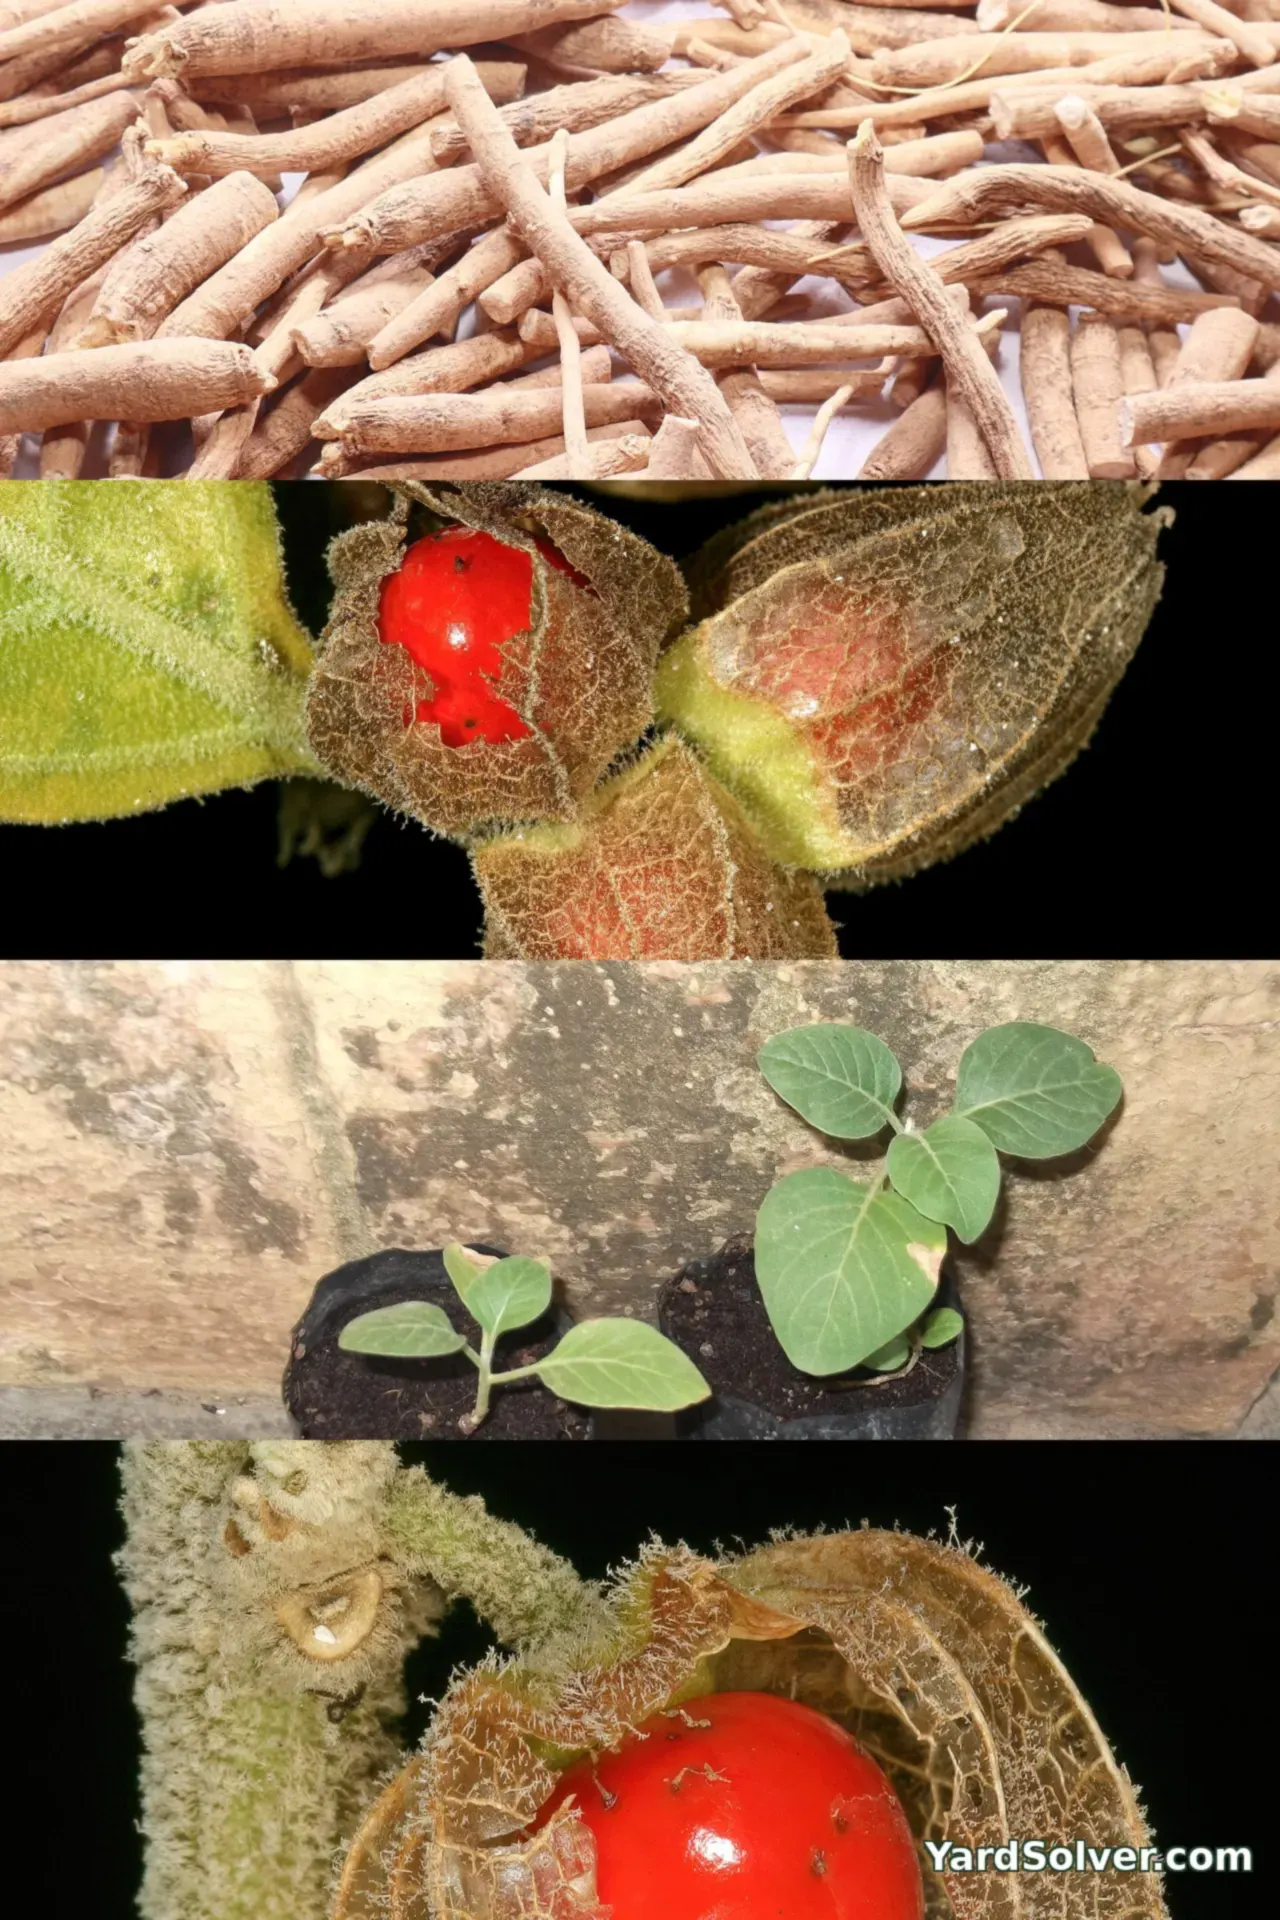
How to plant and grow ashwagandha, step by step
Step 1 — Time it right
Sow indoors: 6–8 weeks before last frost, in warmth; Move outside: 2 weeks after last frost, into warm soil; Sow outdoors: only where summers are long and hot. All dates count from your average last spring frost — the Planting Calendar turns them into real dates for your garden. Ashwagandha needs a long, warm season — 150–180 days from sowing to a worthwhile root — so an early indoor start is essential everywhere except genuinely hot climates. Sow in warmth (21–25 °C / 70–77 °F); germination is slow and can be uneven over 2–3 weeks. Grow seedlings on like peppers, potting up once, and never let them chill.
Step 2 — Prepare the spot
In its homeland ashwagandha grows on dry, sandy, even stony ground in full blazing sun. Copy that: the hottest, best-drained bed you have, sandy or average soil, no manure mountains — rich wet ground gives leaf, not root, and invites rot. A raised bed or a big pot in a sun-trap both work well in cooler climates. For a raised bed, the Raised Bed Soil Calculator counts the bags for you; mixing your own? The Garden Soil Calculator gives the compost-rich split to aim for.
Step 3 — Sow and plant out
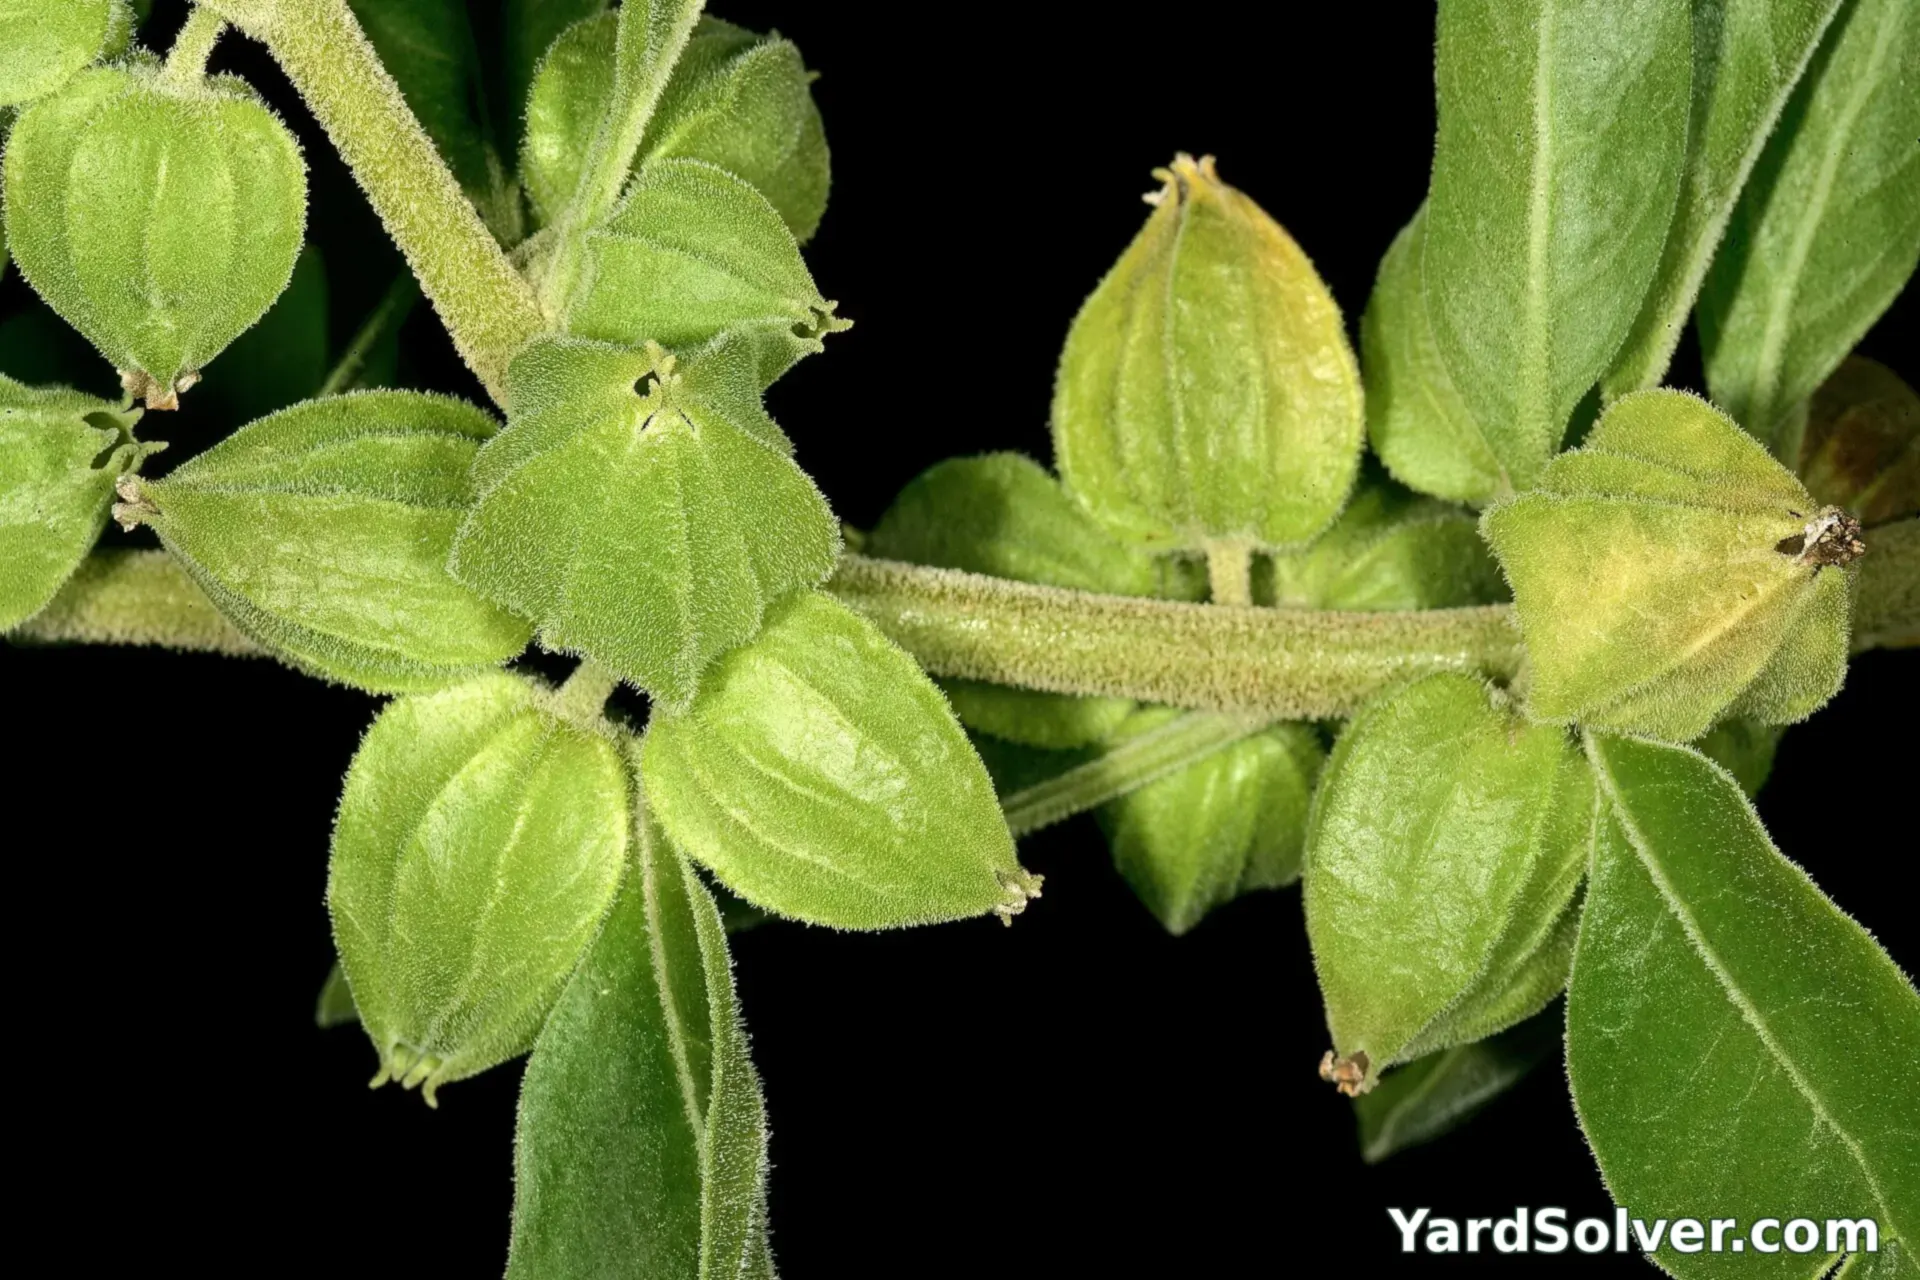
Harden plants off and set them out at 18–24 in spacing once nights stay mild — a cold snap checks them for weeks. The Plant Spacing Calculator turns your bed size into an exact plant count. Water in once and mulch after the soil warms. Good neighbours: ashwagandha keeps the nightshade family's company — it grows alongside peppers and tomatoes happily, sharing their calendar and their enemies (see Step 5).
Step 4 — Water and feed
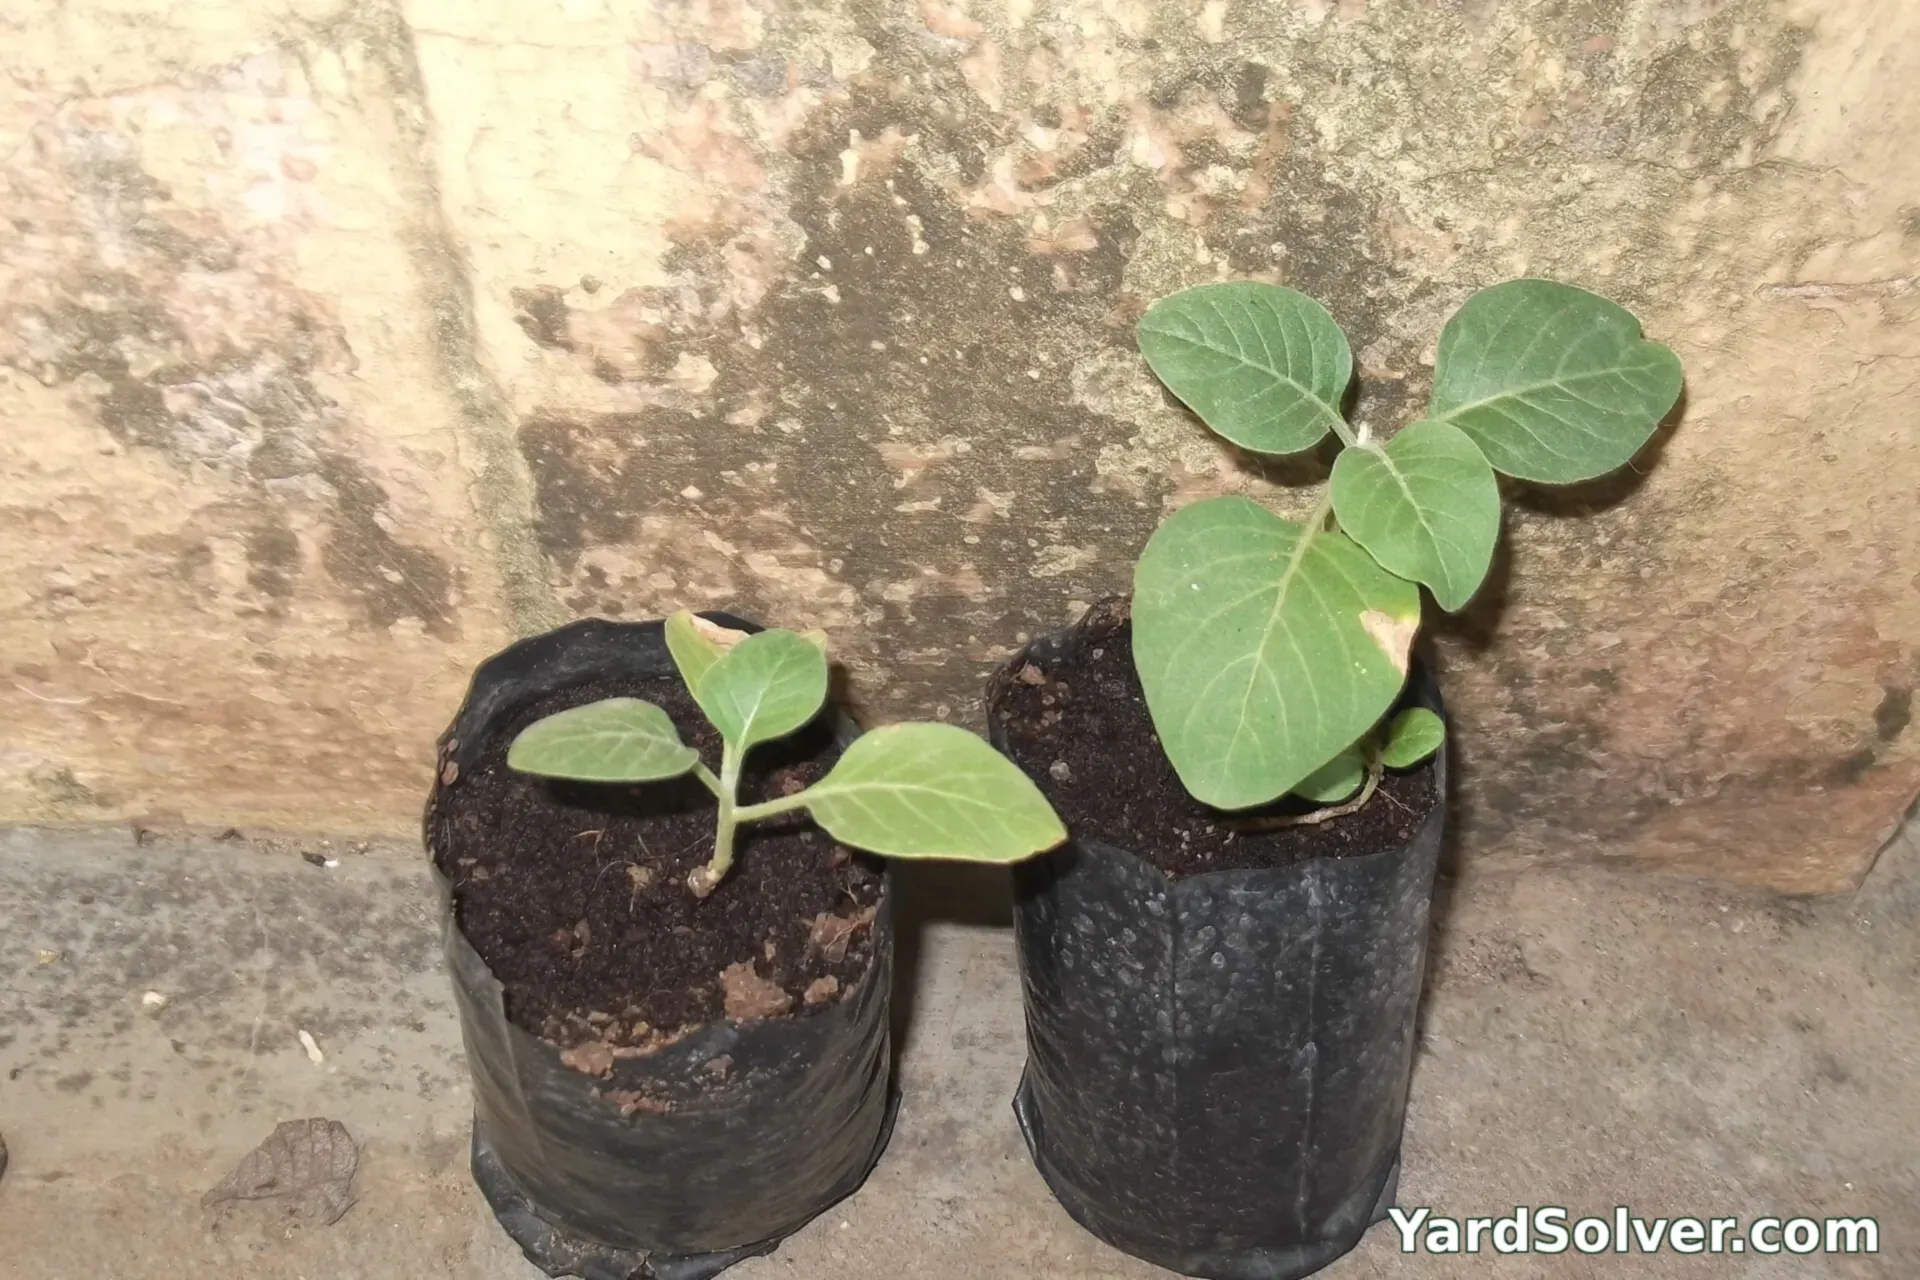
Water until plants settle, then water only in prolonged drought — ashwagandha's roots go looking for moisture and the plant is built for dry seasons. Feeding is minimal: a light balanced feed at planting on poor soil is enough, and excess nitrogen makes soft, leafy plants with thin roots — the Fertilizer Calculator turns your bed size into exact amounts.
Step 5 — Care and the problems to watch for
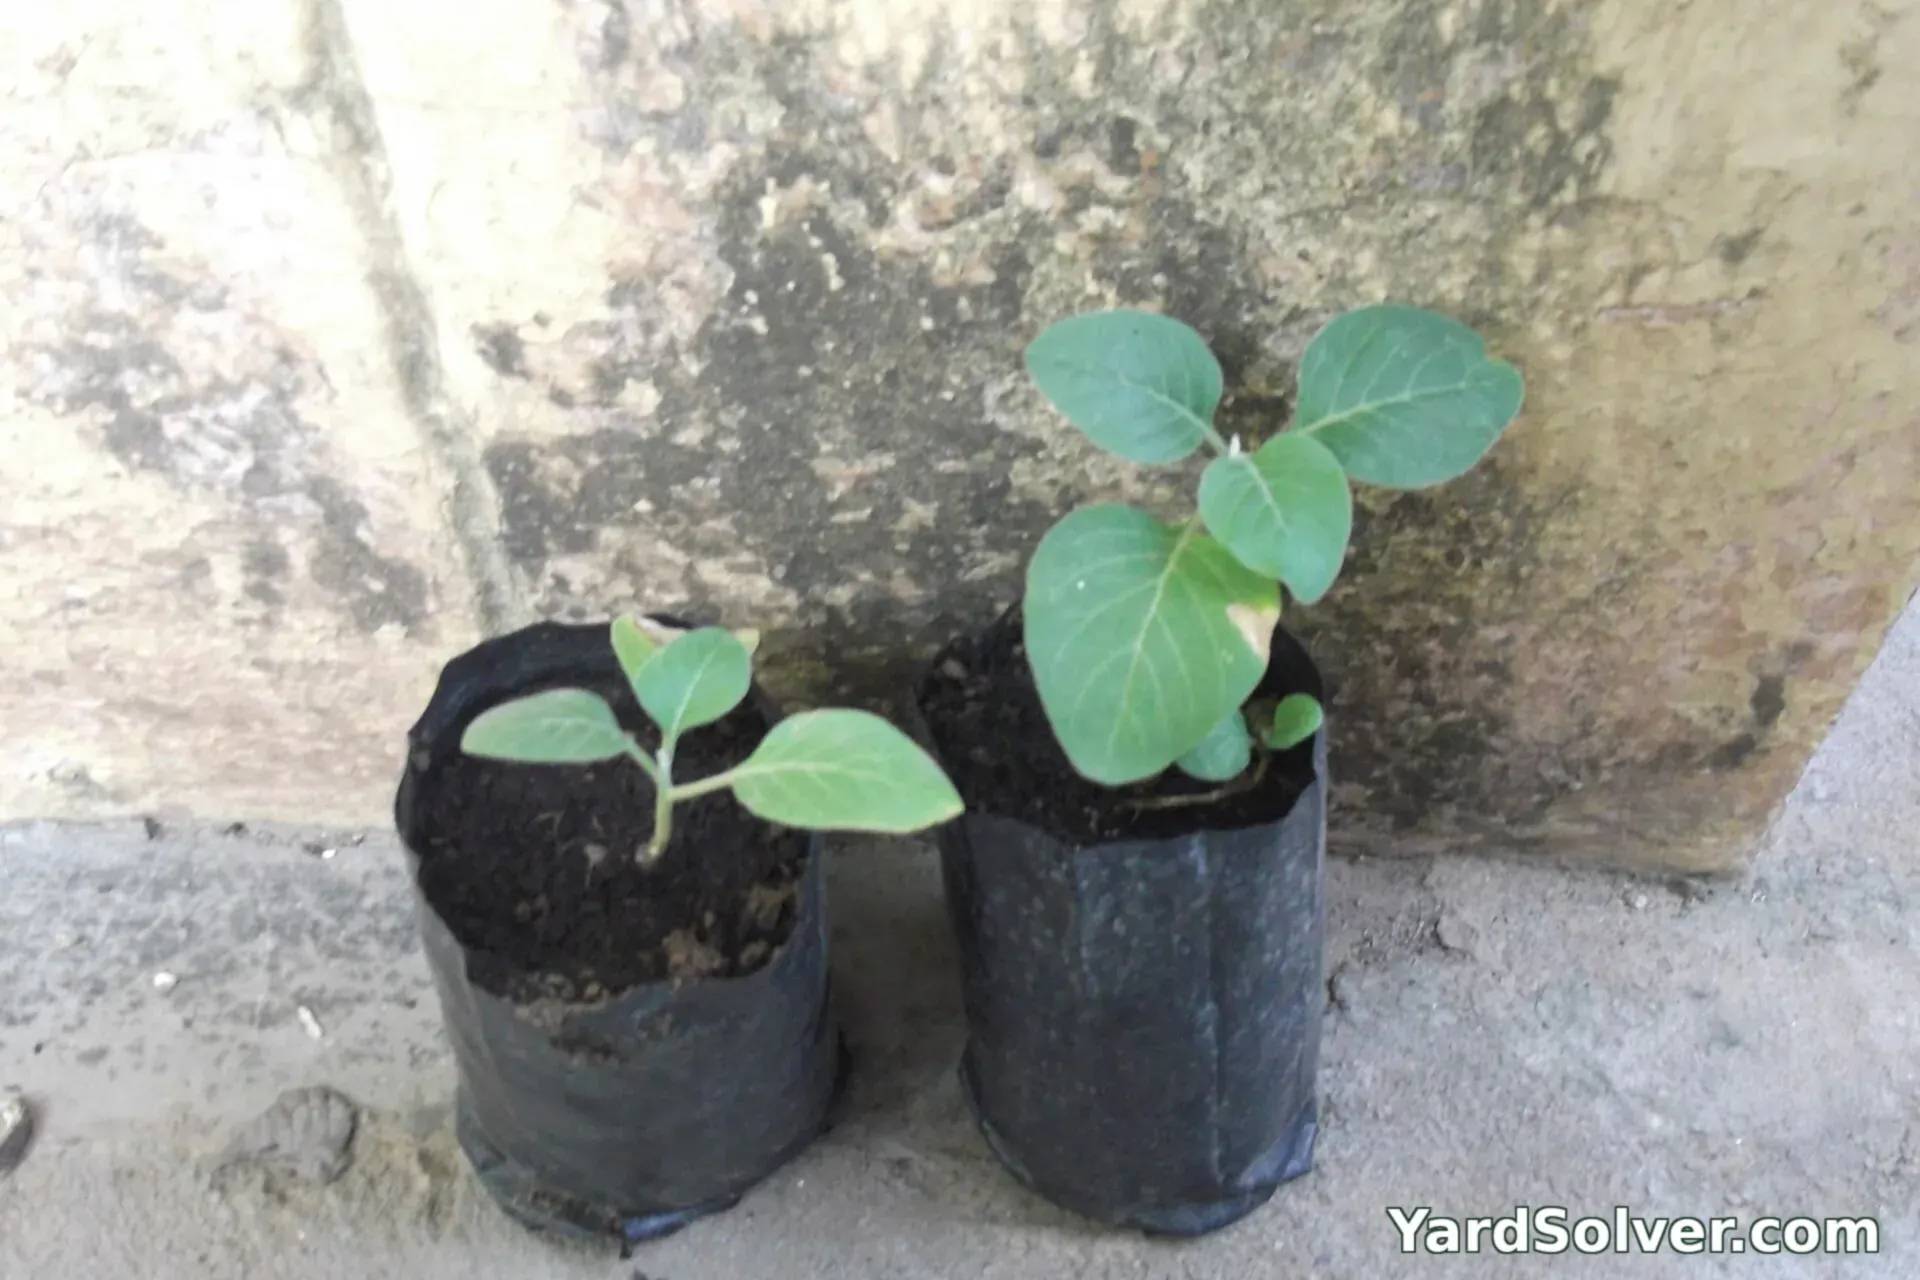
Ashwagandha is largely self-sufficient: no staking, no pruning — just weed room while young. Its pests are its family's:
- Flea beetles on young leaves — the classic nightshade nuisance; a floating cover until plants are strong solves it.
- Root rot in wet soil — the dry-land rule again: drainage first, always.
- Slow growth in a cool summer — it is waiting for heat; a cloche or a pot against a hot wall helps enormously.
Step 6 — Harvest
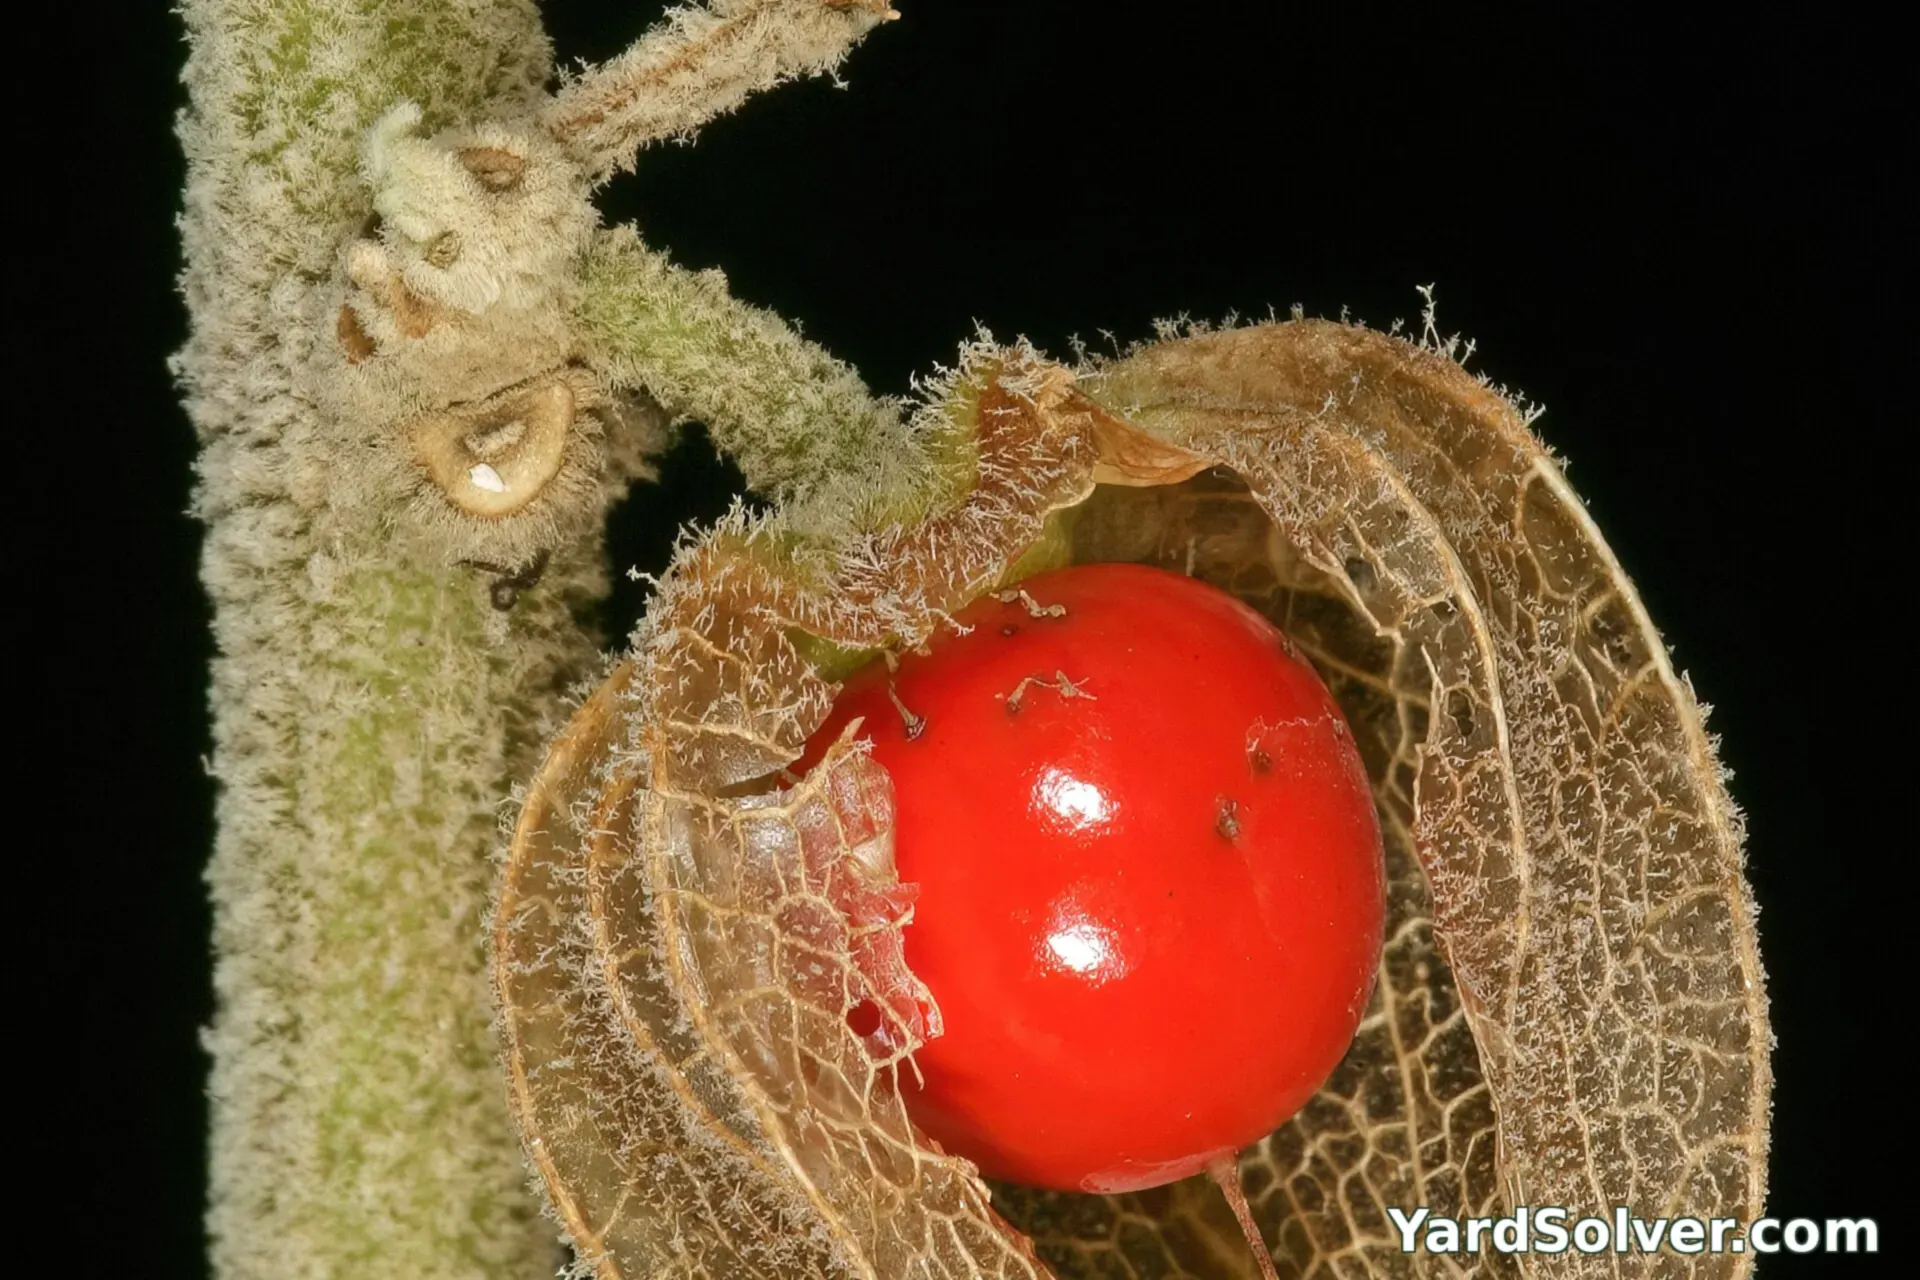
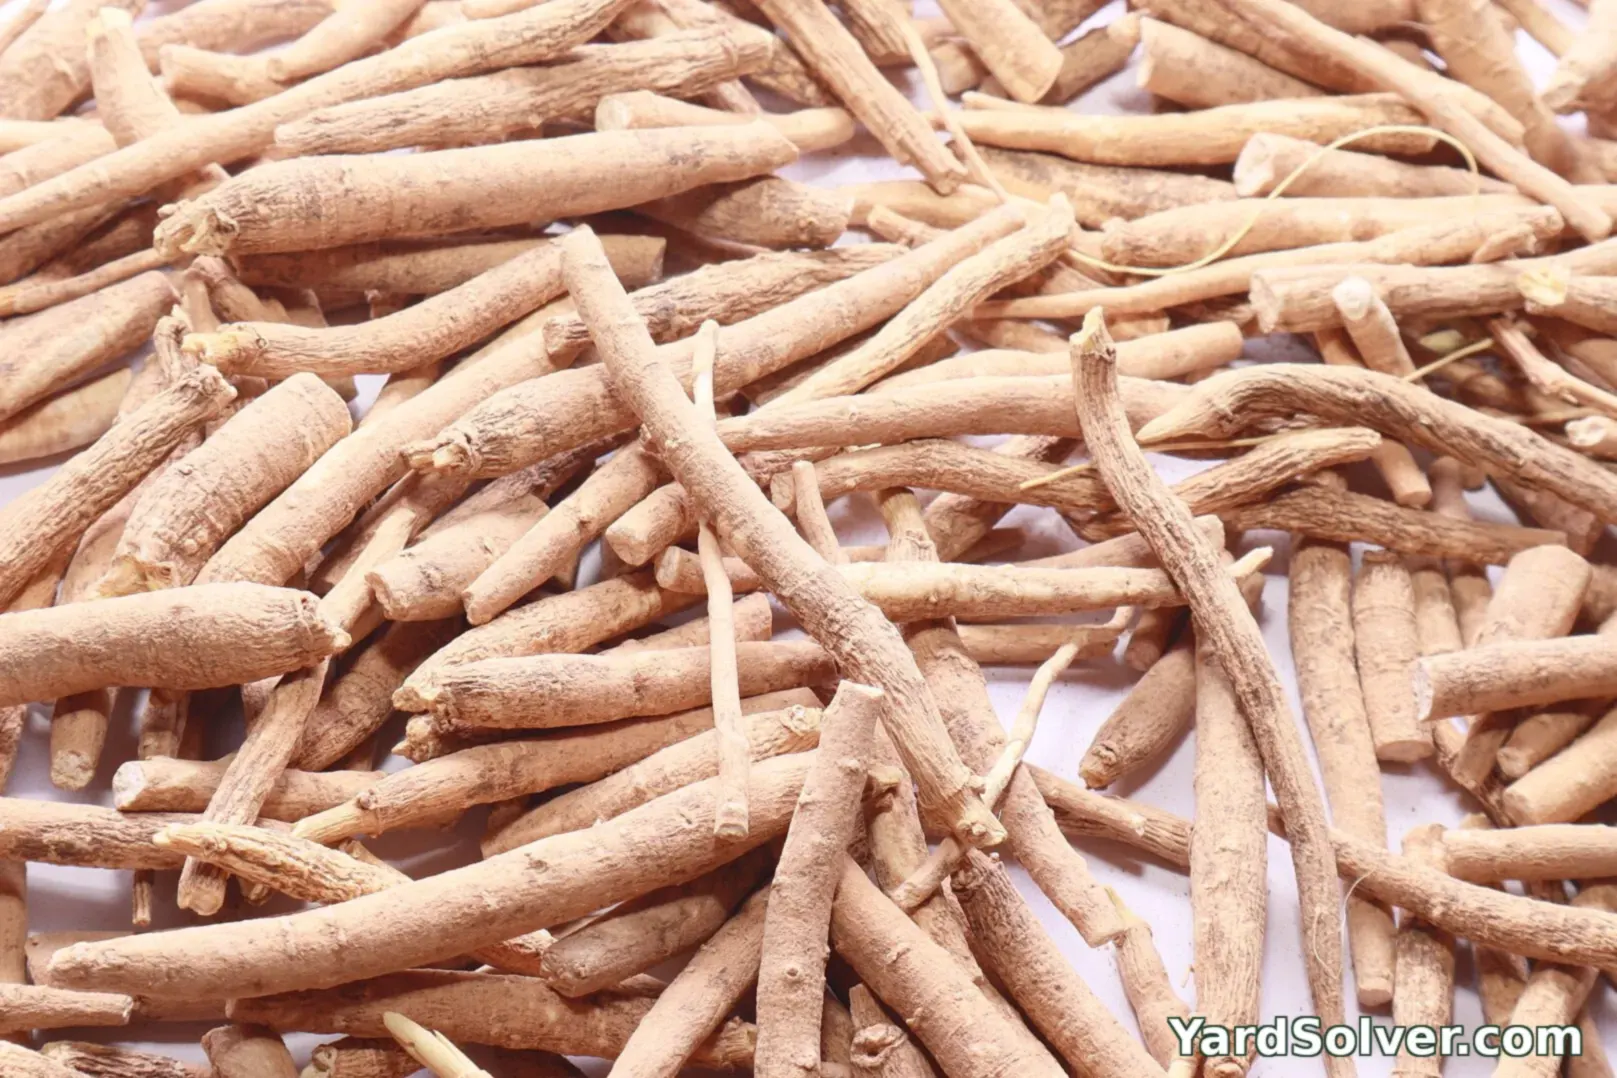
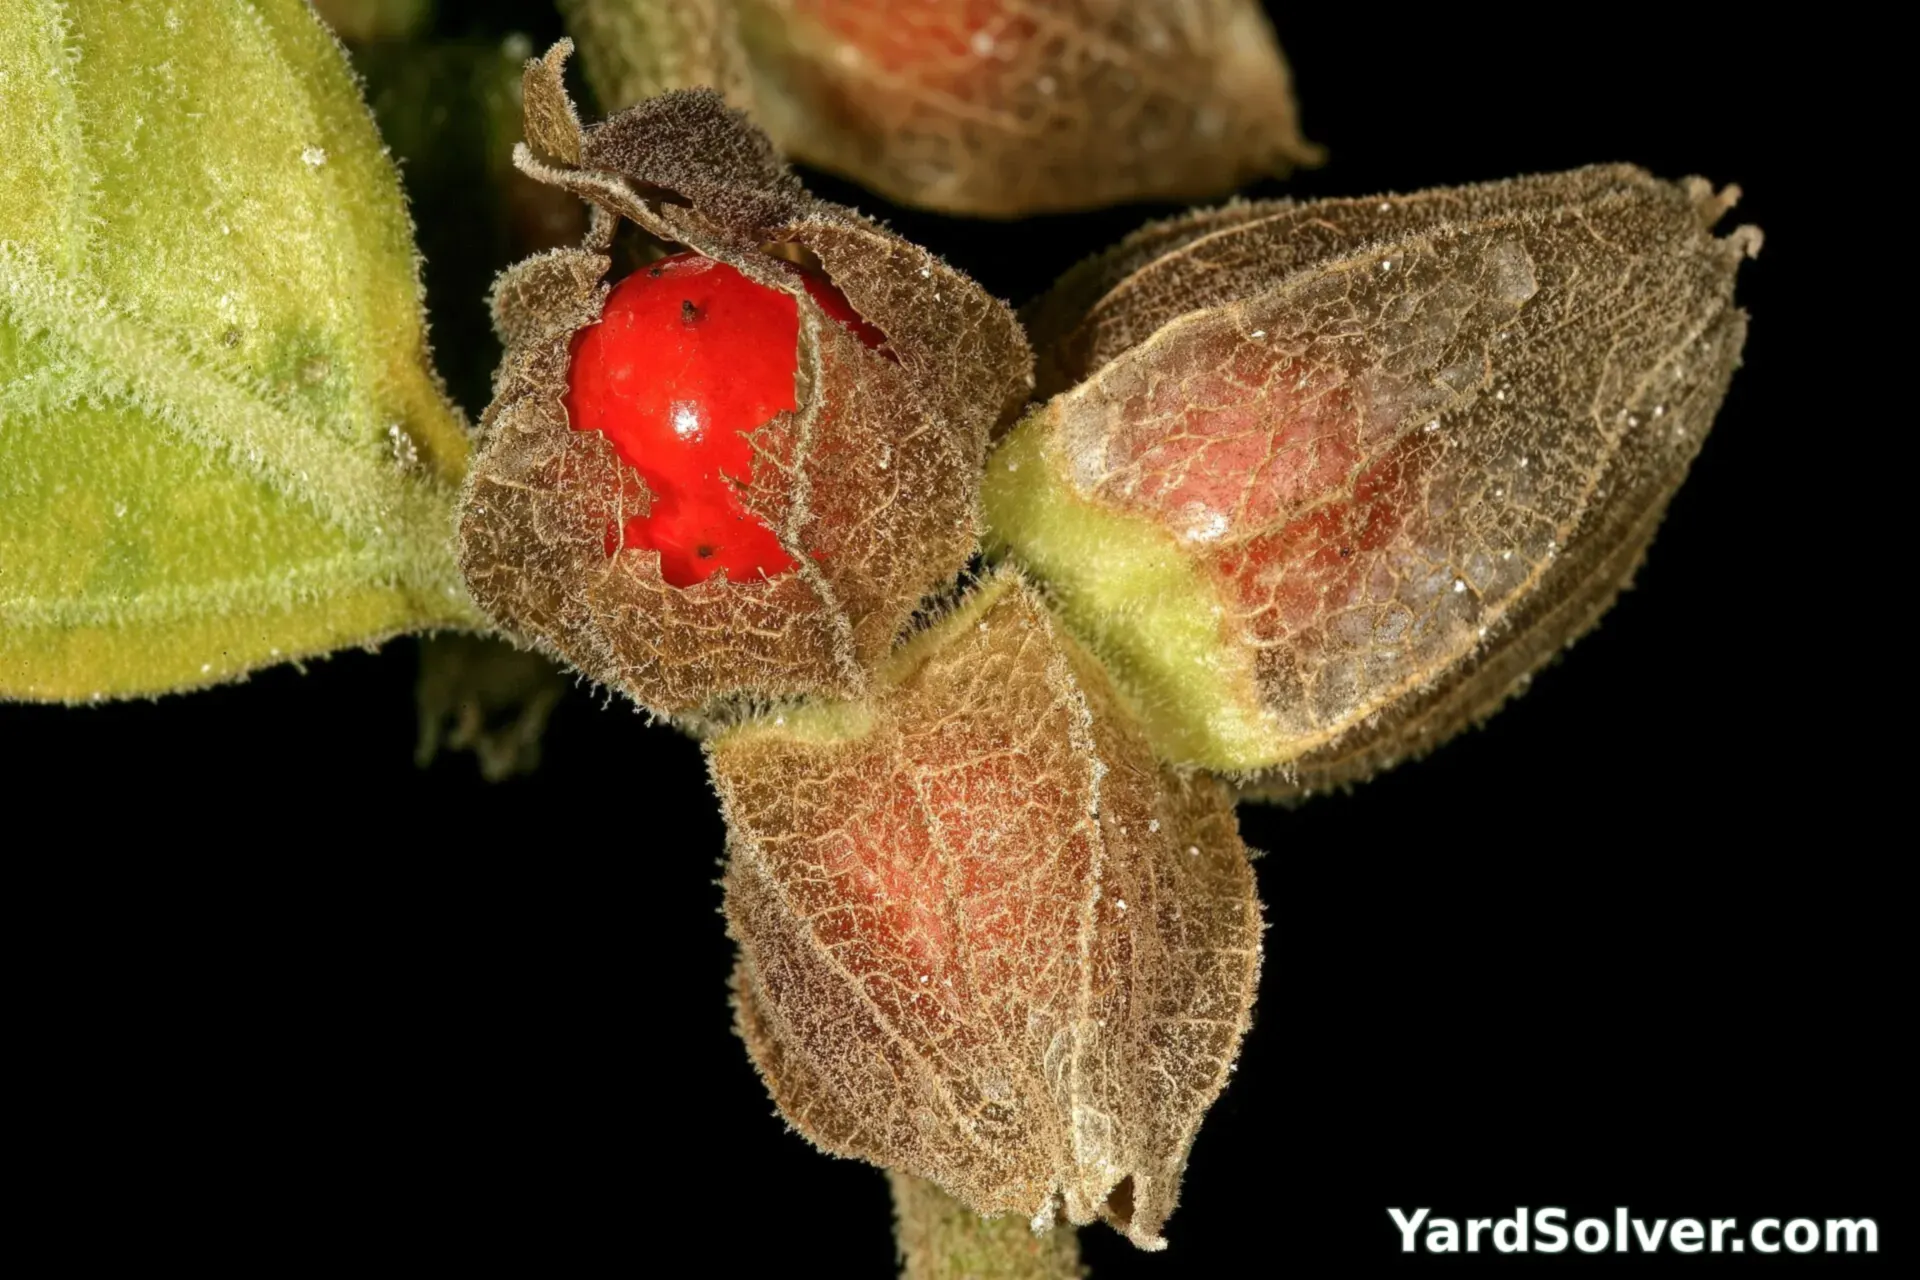
The signals are clear: berries turn red inside their papery lanterns and the plant begins to yellow. Loosen the soil with a fork and lift the whole plant, then cut away the tops. Wash the roots, chop them into pieces, and dry them thoroughly (a dehydrator on low, or a warm airy shelf) before storing airtight. Save a few ripe berries for next year's seed — the seed inside is fresh and viable, unlike much of what's sold.
📅 Your personal Ashwagandha schedule
Counted from your planting day — not a generic calendar. Day 0 is the day the seed went in the ground or the young plant went out.
Varieties worth growing
| Variety | Colour | Why gardeners like it |
|---|---|---|
| Poshita | Upright, uniform roots | An improved Indian selection bred for even plants and good root yield. |
| Jawahar-20 | Compact, early | A widely grown Indian cultivar — a sensible choice for shorter seasons. |
| Nagori type | Slender roots, traditional | The classic landrace form from the Nagaur region, prized in Ayurvedic trade. |
Good for you — and take care
Benefits
- Grow one of Ayurveda's most famous roots in your own garden.
- An ornamental in its own right — red lantern berries on a handsome bush.
- Fresh home-saved seed germinates far better than bought seed.
Take care
- A potent medicinal root — interacts with thyroid and sedative medicines; never in pregnancy.
- Nightshade family — the berries are not a food; keep them from children and pets.
- Needs 150–180 warm days — cool climates must start it early and grow it hot.
A little history — and one good fact
Ashwagandha has been Ayurveda's premier rejuvenating herb for over 3,000 years — its name joins the Sanskrit words for 'horse' and 'smell', promising the strength (and, some say, the smell) of a stallion. It reached Western gardens only recently, as interest in adaptogen herbs boomed.
Fun fact: The root's botanical name, somnifera, means 'sleep-inducing' — unusual in its family, since most of its nightshade cousins are stimulants or far worse.
Keep going
Guides: Companion planting basics · Crop rotation basics · How to dry herbs
Calculators: Plant Spacing Calculator · Garden Mix Calculator · Fertilizer Calculator
More herbs: Marshmallow · Licorice · Valerian · Peppers
← Back to the Plant Library · Get your personal planting dates
Questions people ask
How long does ashwagandha take to grow?
Allow 150–180 days from sowing to root harvest. Start seed indoors 6–8 weeks before last frost in real warmth, plant out into warm soil, and dig when the berries redden and the leaves start to yellow.
Is ashwagandha safe to take?
It is a genuinely potent medicinal root: it can interact with thyroid medication, sedatives and immune-suppressing drugs, and it must not be used during pregnancy. Grow it by all means — but decisions about using it belong with a qualified practitioner.
Can I save seed from my ashwagandha plants?
Yes — and you should. Let berries ripen fully red, extract the small seeds, and sow them fresh the next spring. Home-saved seed germinates far more reliably than old bought seed.
Heat first, patience second: starting ashwagandha early enough for roots worth harvesting
Ashwagandha fails in cool climates for one simple reason: it is a slow, heat-loving crop started too late. The roots — the part the plant is grown for — need a long, warm season to size up, so seed goes into pots indoors a good six to eight weeks before the last frost, on warmth, because germination is slow and erratic in cold compost. Seedlings then grow on in pots until nights are reliably warm; a single cold night after planting out checks them for weeks. Gardeners in short-season districts who sow direct in spring are harvesting pencil-thin roots in autumn and concluding the plant does not work — the plant works, the calendar did not.
Once growing, ashwagandha asks for the opposite of cosseting: full sun, lean, sharp-drained soil and restrained watering. It is a dry-land shrub by origin, and rich, wet ground gives leafy tops and disappointing roots. Space plants about 45–60 cm apart, water deeply but rarely while they establish, then largely leave them alone. The berries turn from green to orange-red as the season ends; the root harvest comes after the first light frosts have knocked the top growth back, when the plant has pulled its reserves below ground. Dig the whole root system, wash it, cut it into short pieces and dry it thoroughly before storing — damp root moulds in the jar.
The worked example: plants started indoors in late winter and planted out into warm soil commonly reach 60–90 cm by autumn and yield roots thick enough to be worth drying — a small basket per plant. Direct-sown spring plants in the same bed typically stand half that height with roots too thin to bother with. The entire difference is the six-to-eight-week head start, bought with one windowsill tray.
Sources
Key facts on this page — timing, spacing and care — cross-checked against NC State Extension Plant Toolbox — Withania somnifera (ashwagandha) — culture and care requirements and University of Minnesota Extension — Starting seeds indoors — indoor seed-starting timing and technique.
Related page
Read next: Germination Temperature Chart: 30 Vegetables.
Comments & ratings
No comments yet.
Be the first to share your experience.