Plant Library · Vegetables · By Faizan Ahmad
Updated November 17, 2026
🌿 How to Grow Burdock
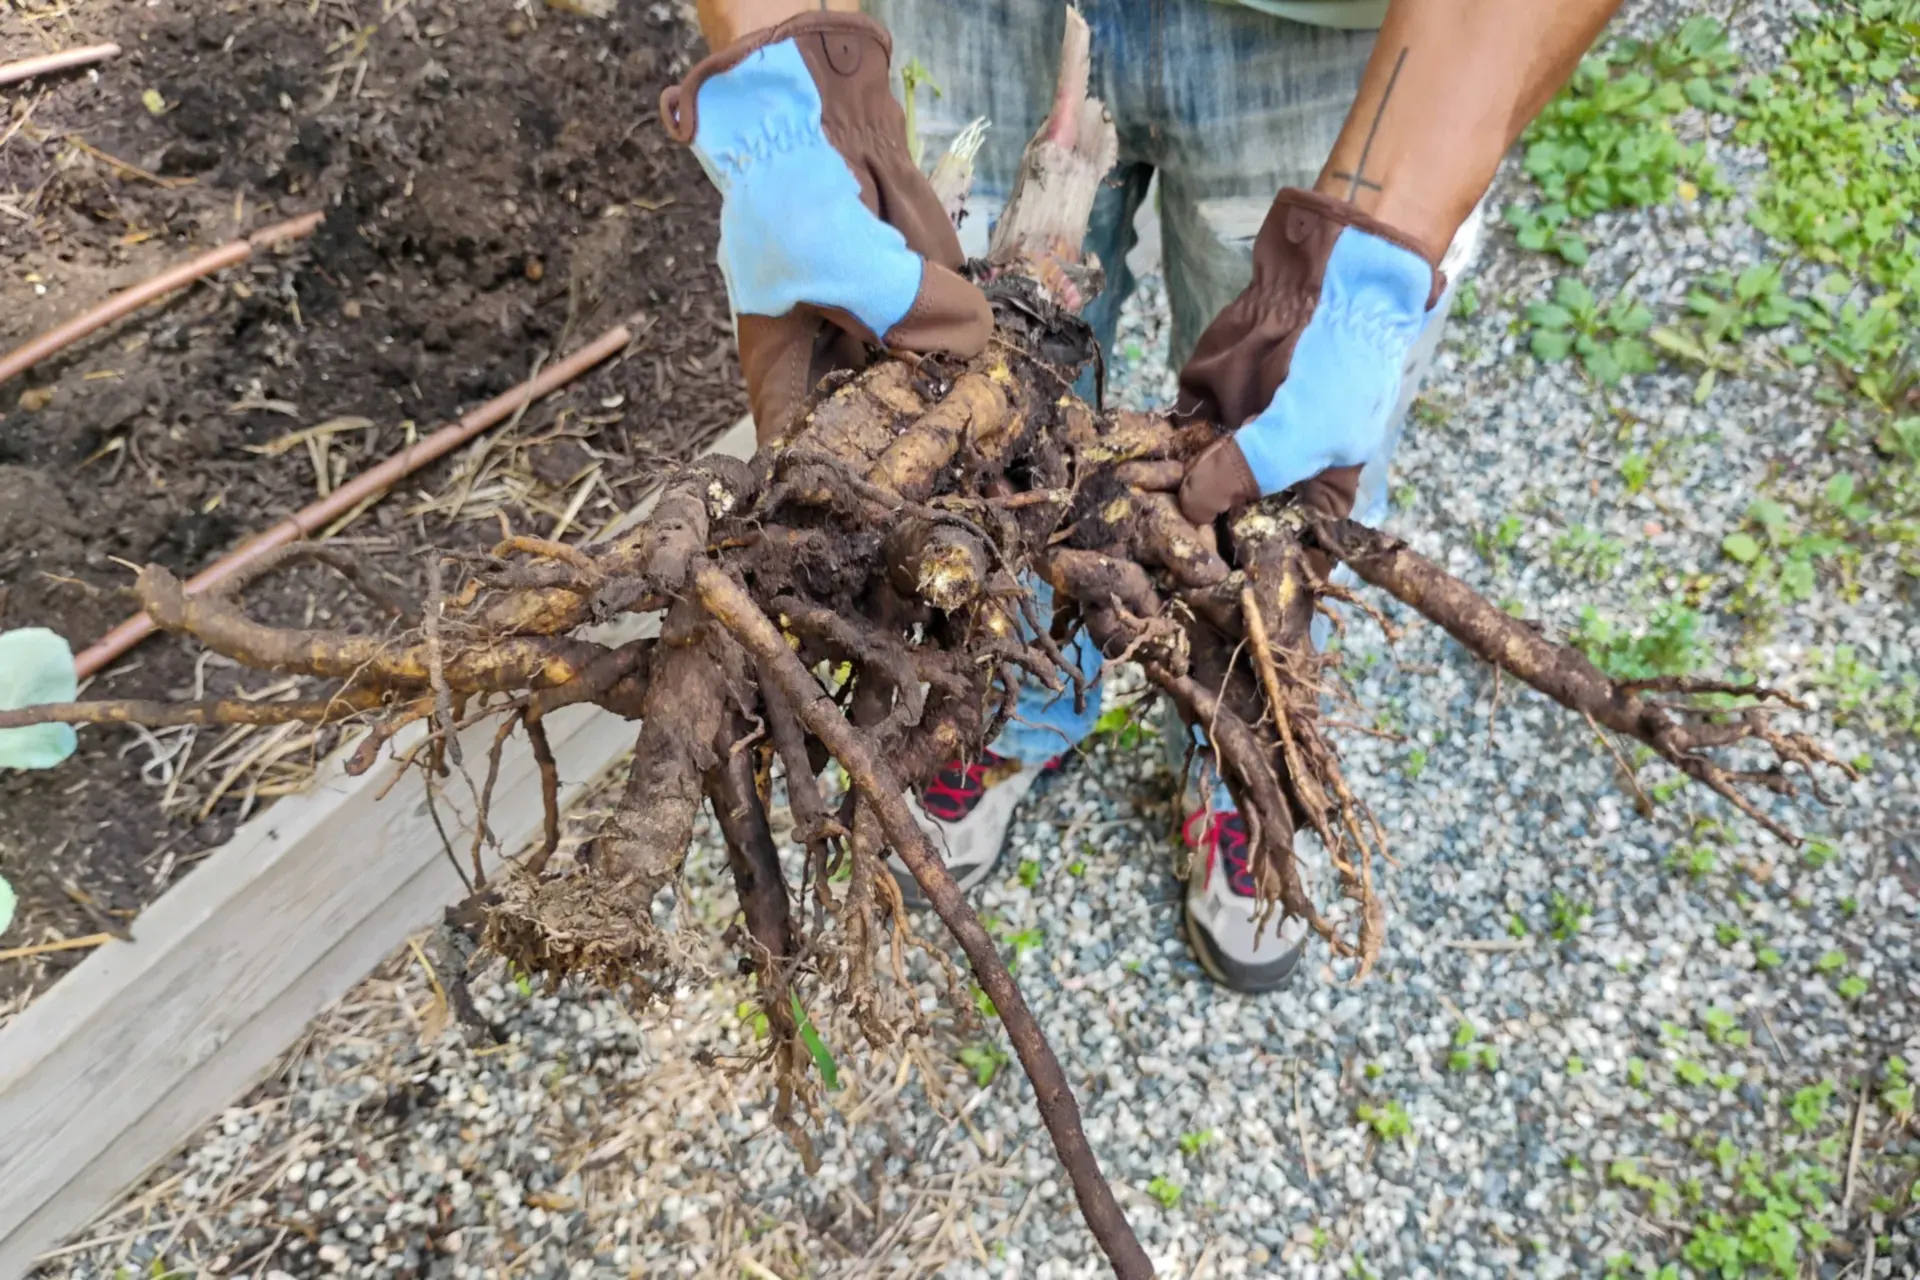
Burdock — gobo in Japanese cooking — is grown for its long, sweet, earthy root, a staple of Japanese and Korean kitchens. It needs 100–120 days and, above all, deep loose soil: 18–24 in of it, because the root grows straight down and forks or snaps in hard ground. Give it that depth and it is an easy, forgiving crop.
Grow Burdock with us — step by step
Burdock is grown for one long root, and everything here bends toward keeping that root straight, deep and easy to dig: loose soil a foot down, steady moisture, and a harvest day with a fork rather than a tug. It is the burdock of Japanese cooking, called gobo. Add your sowing day here and we will build your personal burdock schedule from it.
Step 1 — today: Sow Burdock today, 1/2 in deep, 4–6 in apart in rows 24 in apart, in deep loose soil — 18–24 in of it — and water in well.
Burdock at a glance
Sow indoors: 4 weeks before last frost
Spacing: 4–6 in · Seed depth: 1/2 in
Sun: Full sun to part shade
Water: Regular — deep soil must stay moist
Harvest: 100–120 days
Timing counts from your average last spring frost — get your own dates in the Planting Calendar. Guidance follows standard extension-service practice for Canada and the US.
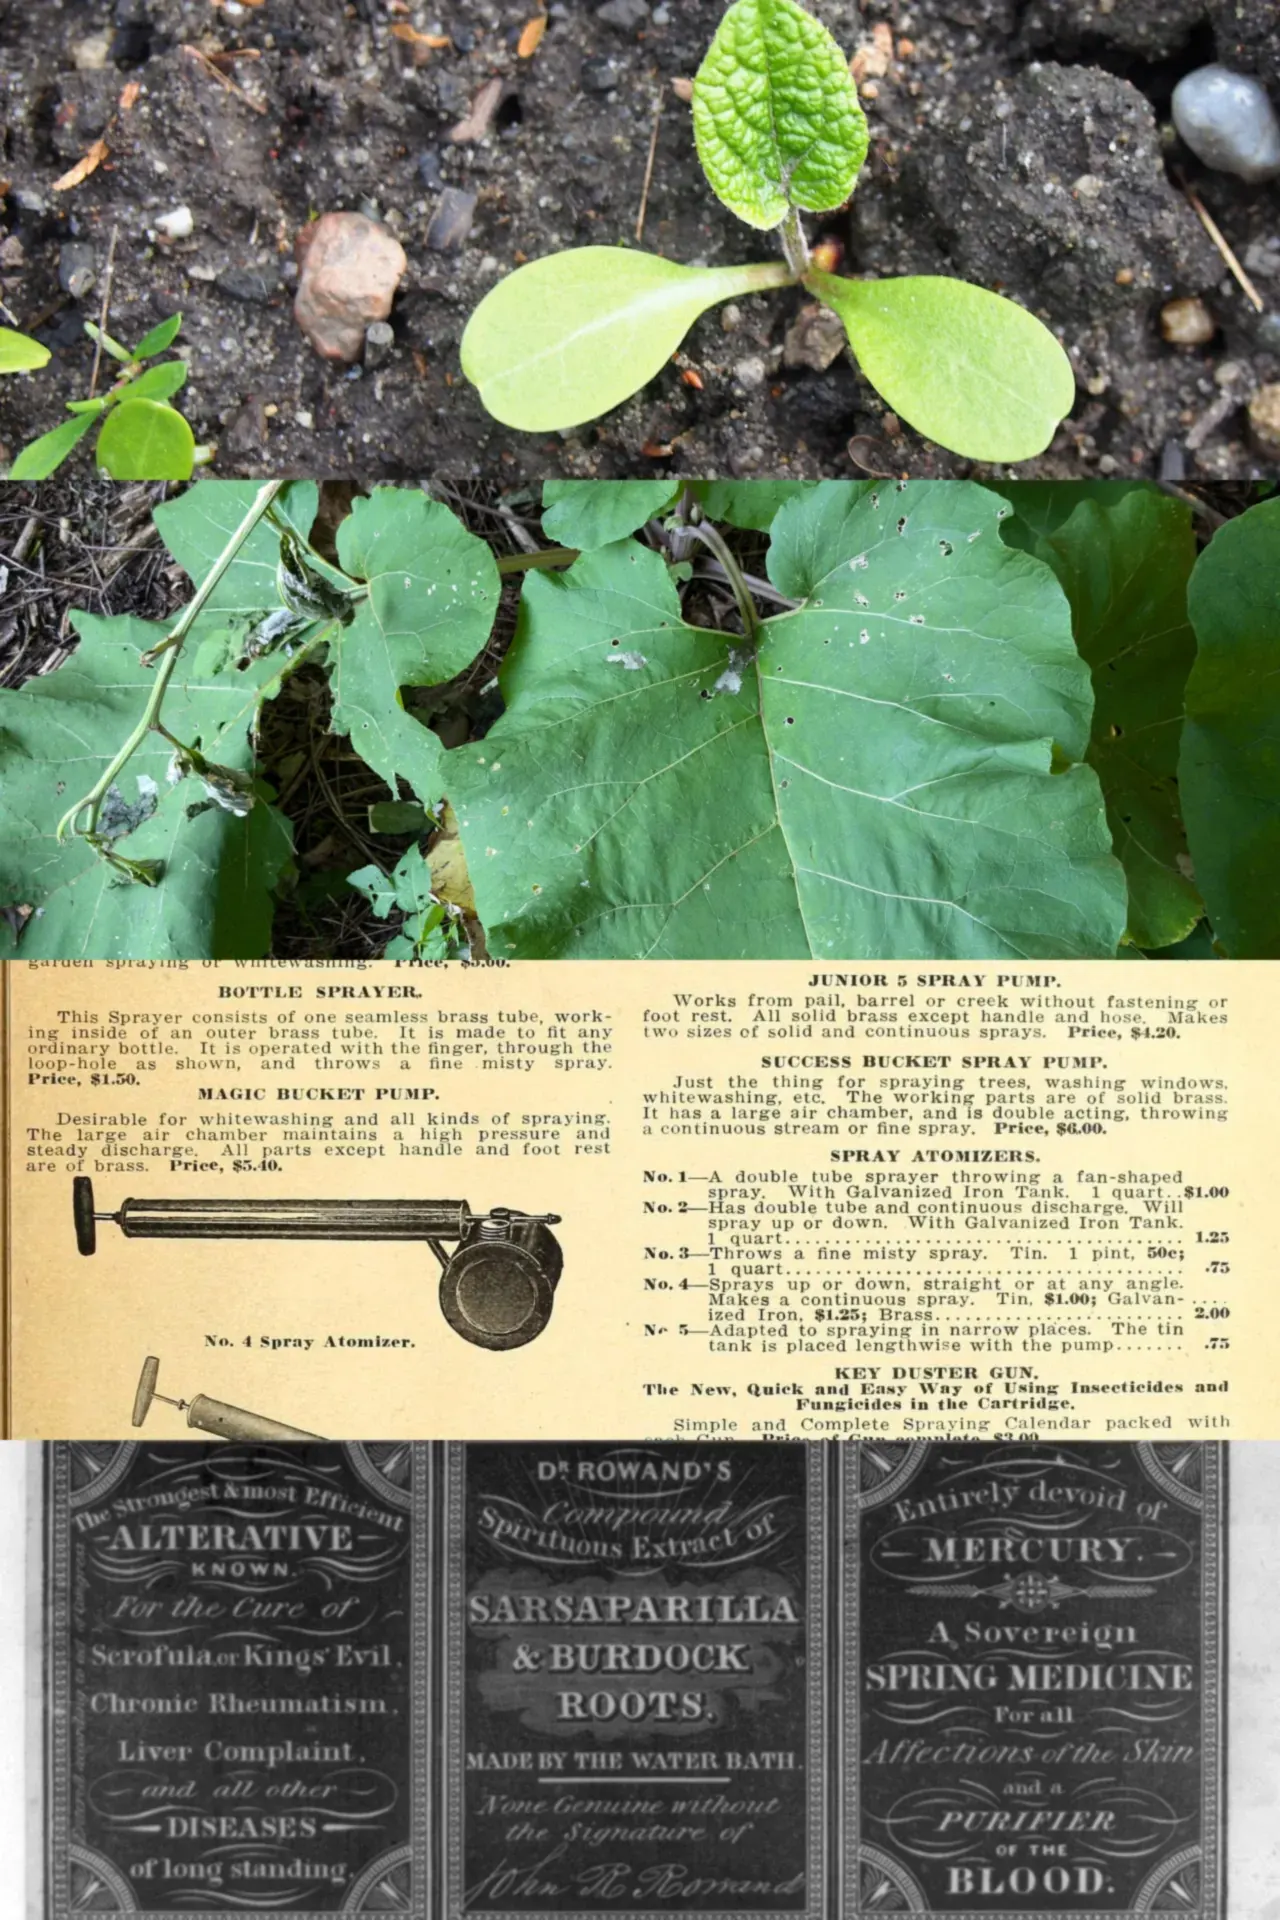
How to plant and grow burdock, step by step
Step 1 — Time it right
Direct sow 2–4 weeks before last frost — the seed tolerates cold — or start indoors 4 weeks before last frost. All dates count from your average last spring frost — the Planting Calendar turns them into real dates for your garden. A week of chilling helps: seed sown in fall, or refrigerated for a week before spring sowing, germinates more evenly. Mark the row well — seedlings are slow to show and look like weeds for their first two weeks.
Step 2 — Prepare the spot
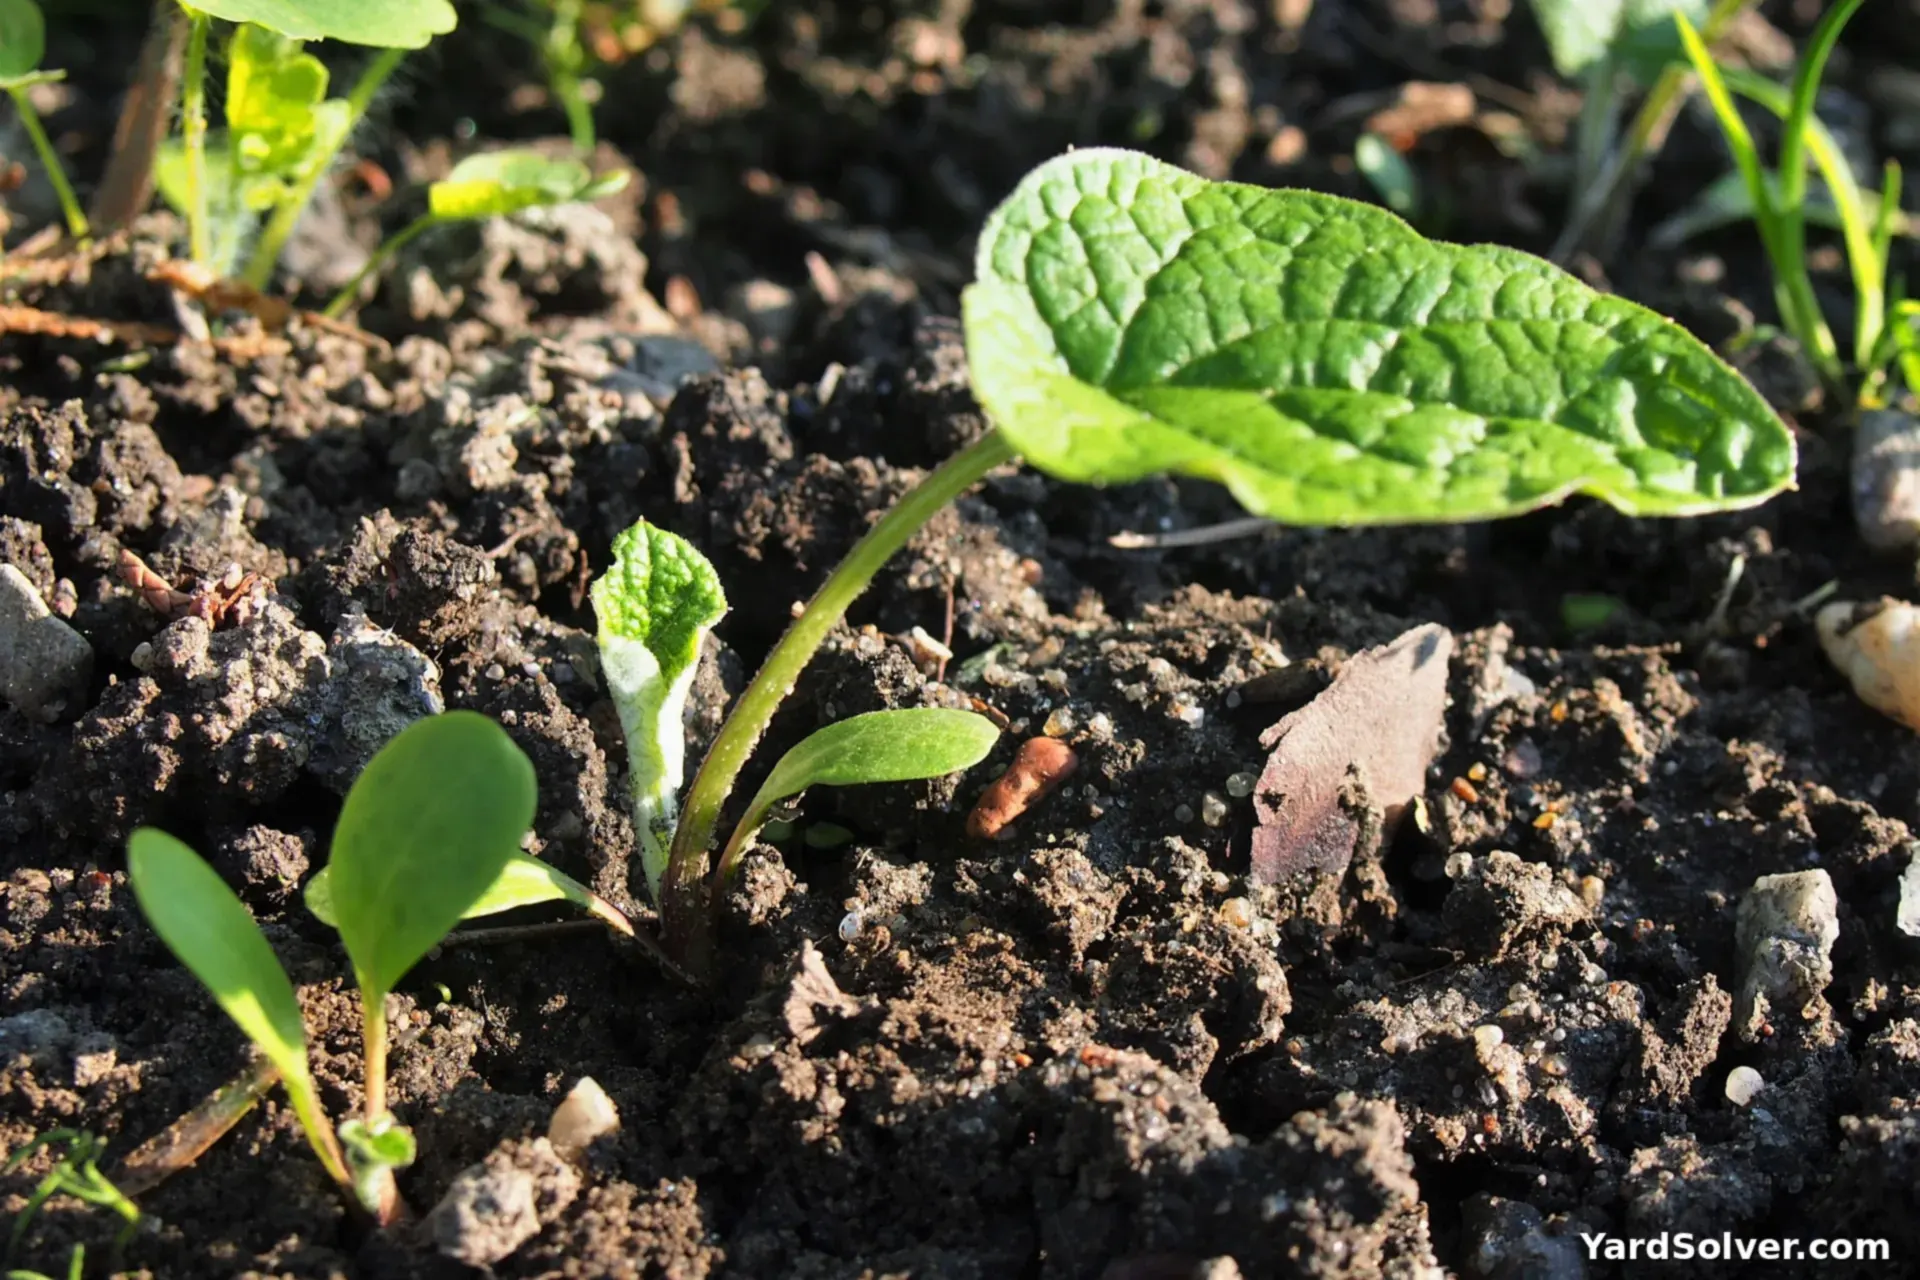
Sun: Full sun to part shade. Deep, loose, stone-free soil is the whole secret. In heavy or shallow soil, grow it in a tall raised bed or a deep container instead. Work out how much you need with the Garden Mix Calculator or the Raised Bed Soil Calculator. On heavy clay, build the bed up instead of fighting it: 12 in of loose mix in a raised bed gives straight roots where open ground gives forked ones. Work the full depth — a hard layer at 8 in stops roots.
Step 3 — Sow and plant out
Sow 1/2 in deep, 4–6 in apart in rows 24 in apart. Thin to the final spacing once seedlings are a few inches tall. The Plant Spacing Calculator turns that spacing into plants-per-bed. Closer spacing, 4 to 6 in, gives thinner, tender roots that dig easily; wider spacing gives the thick roots sold in markets. Keep rows 24 in apart so a fork can pass beside the row without spearing roots.
Step 4 — Water and feed
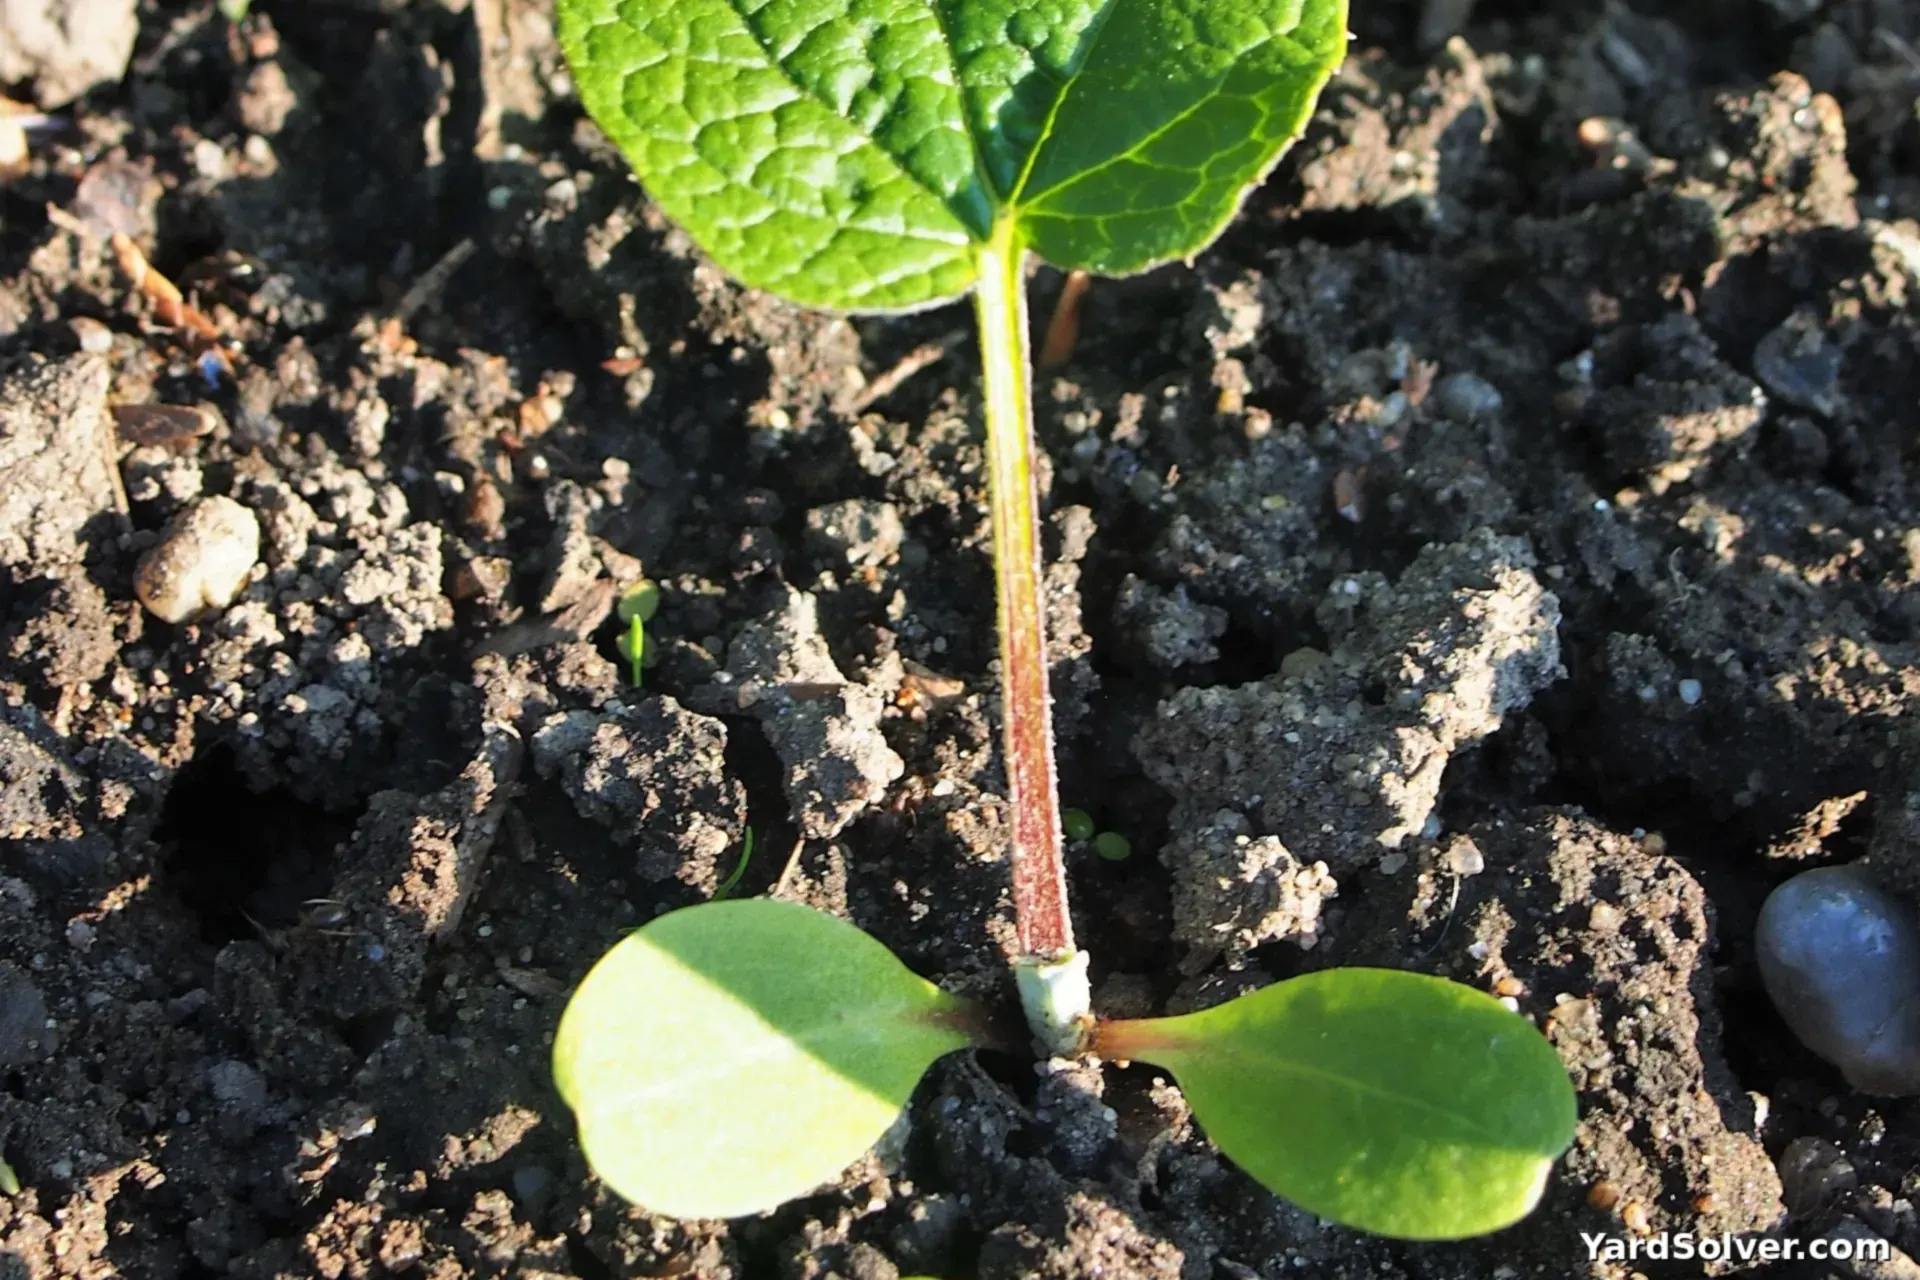
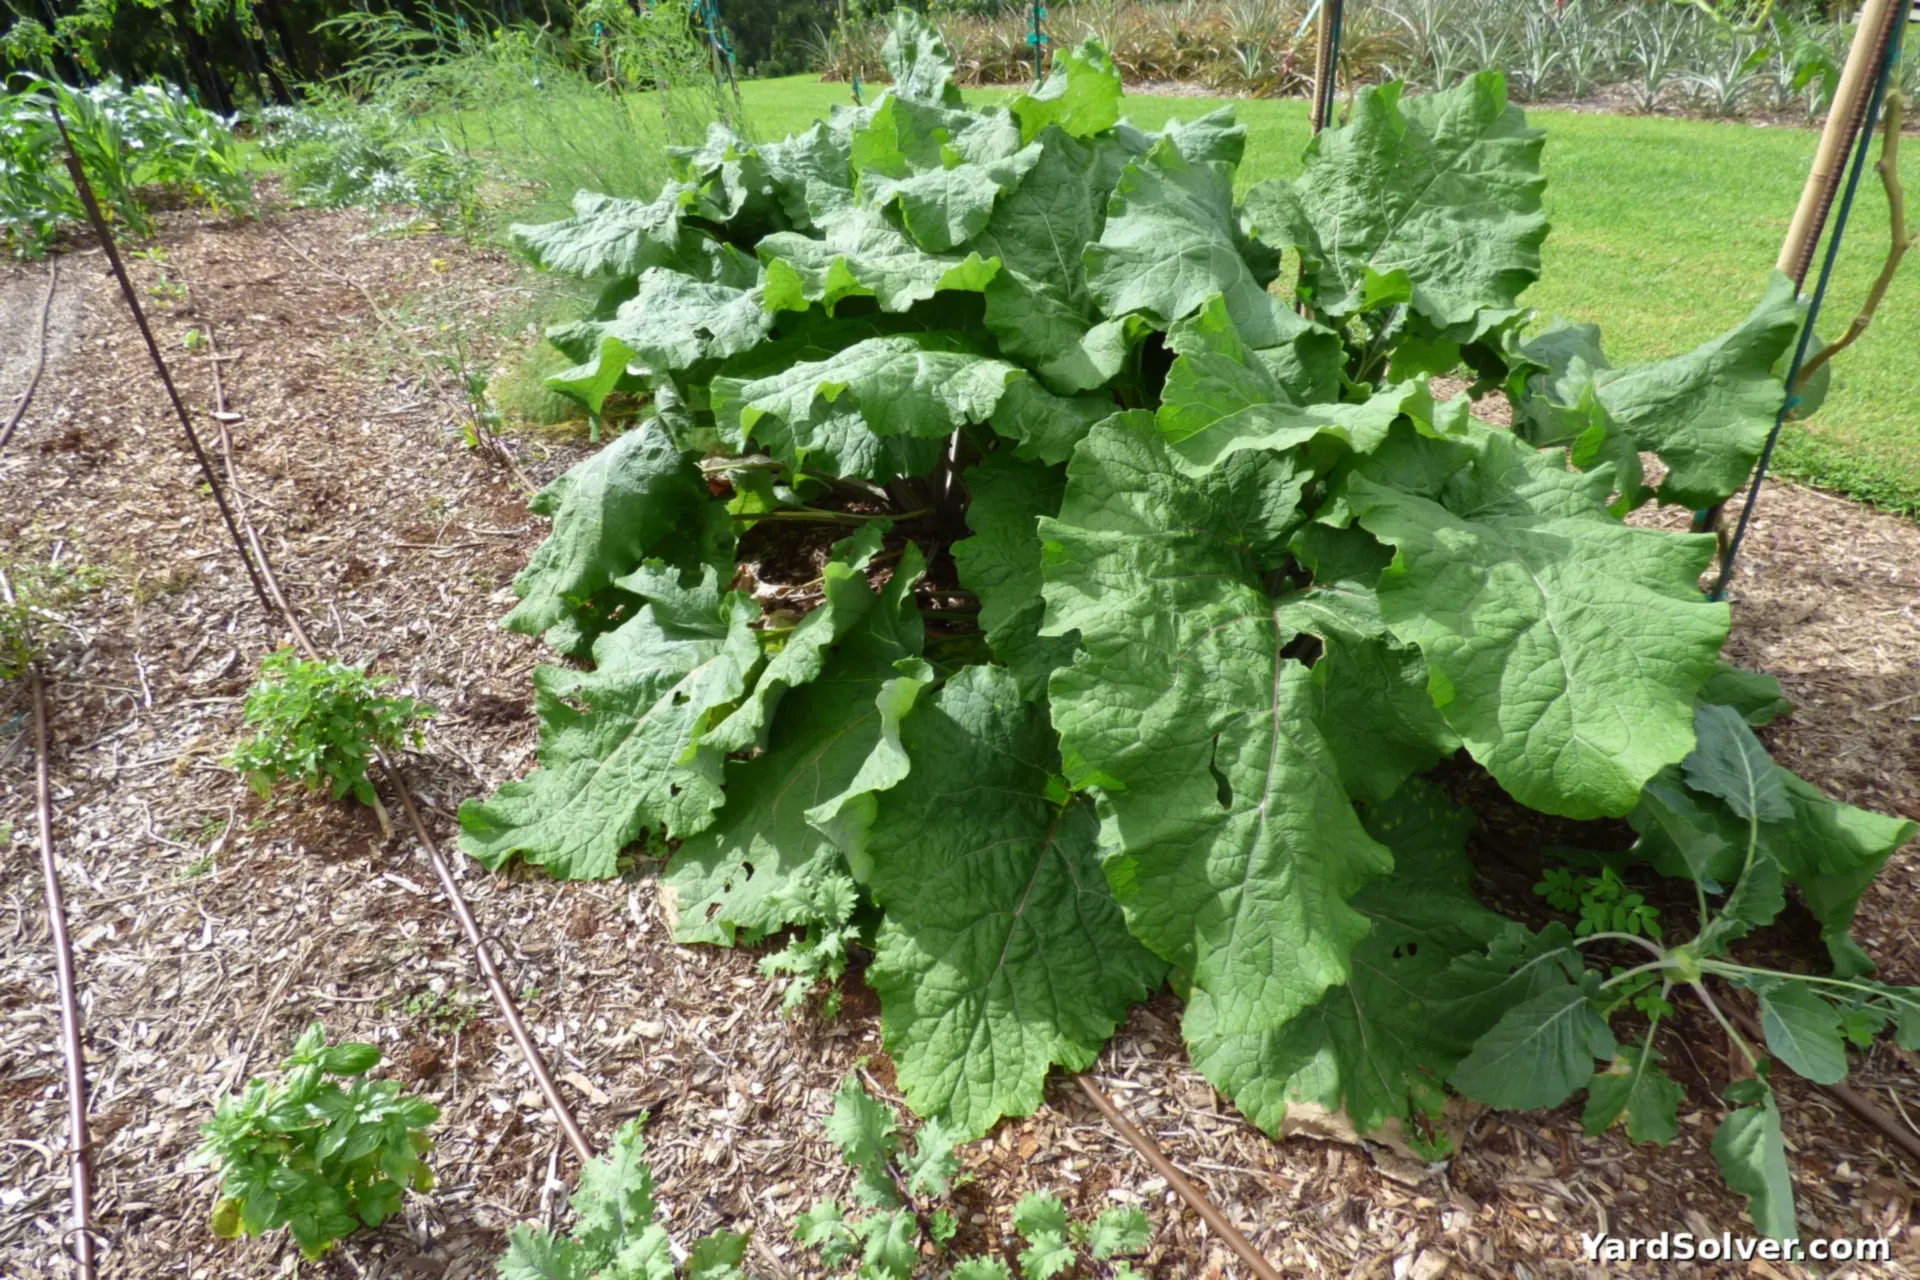
Water: Regular — deep soil must stay moist. Feed lightly — rich soil makes leafy tops and forked roots. Compost at planting is enough. The Fertilizer Calculator turns a bed size into the right amount. The leaves can spread 2 to 3 ft across and shade the bed, so weeding is mostly an early-season job. Mulch after thinning to hold moisture at depth — surface watering alone never reaches the root tip.
Step 5 — Care and the problems to watch for
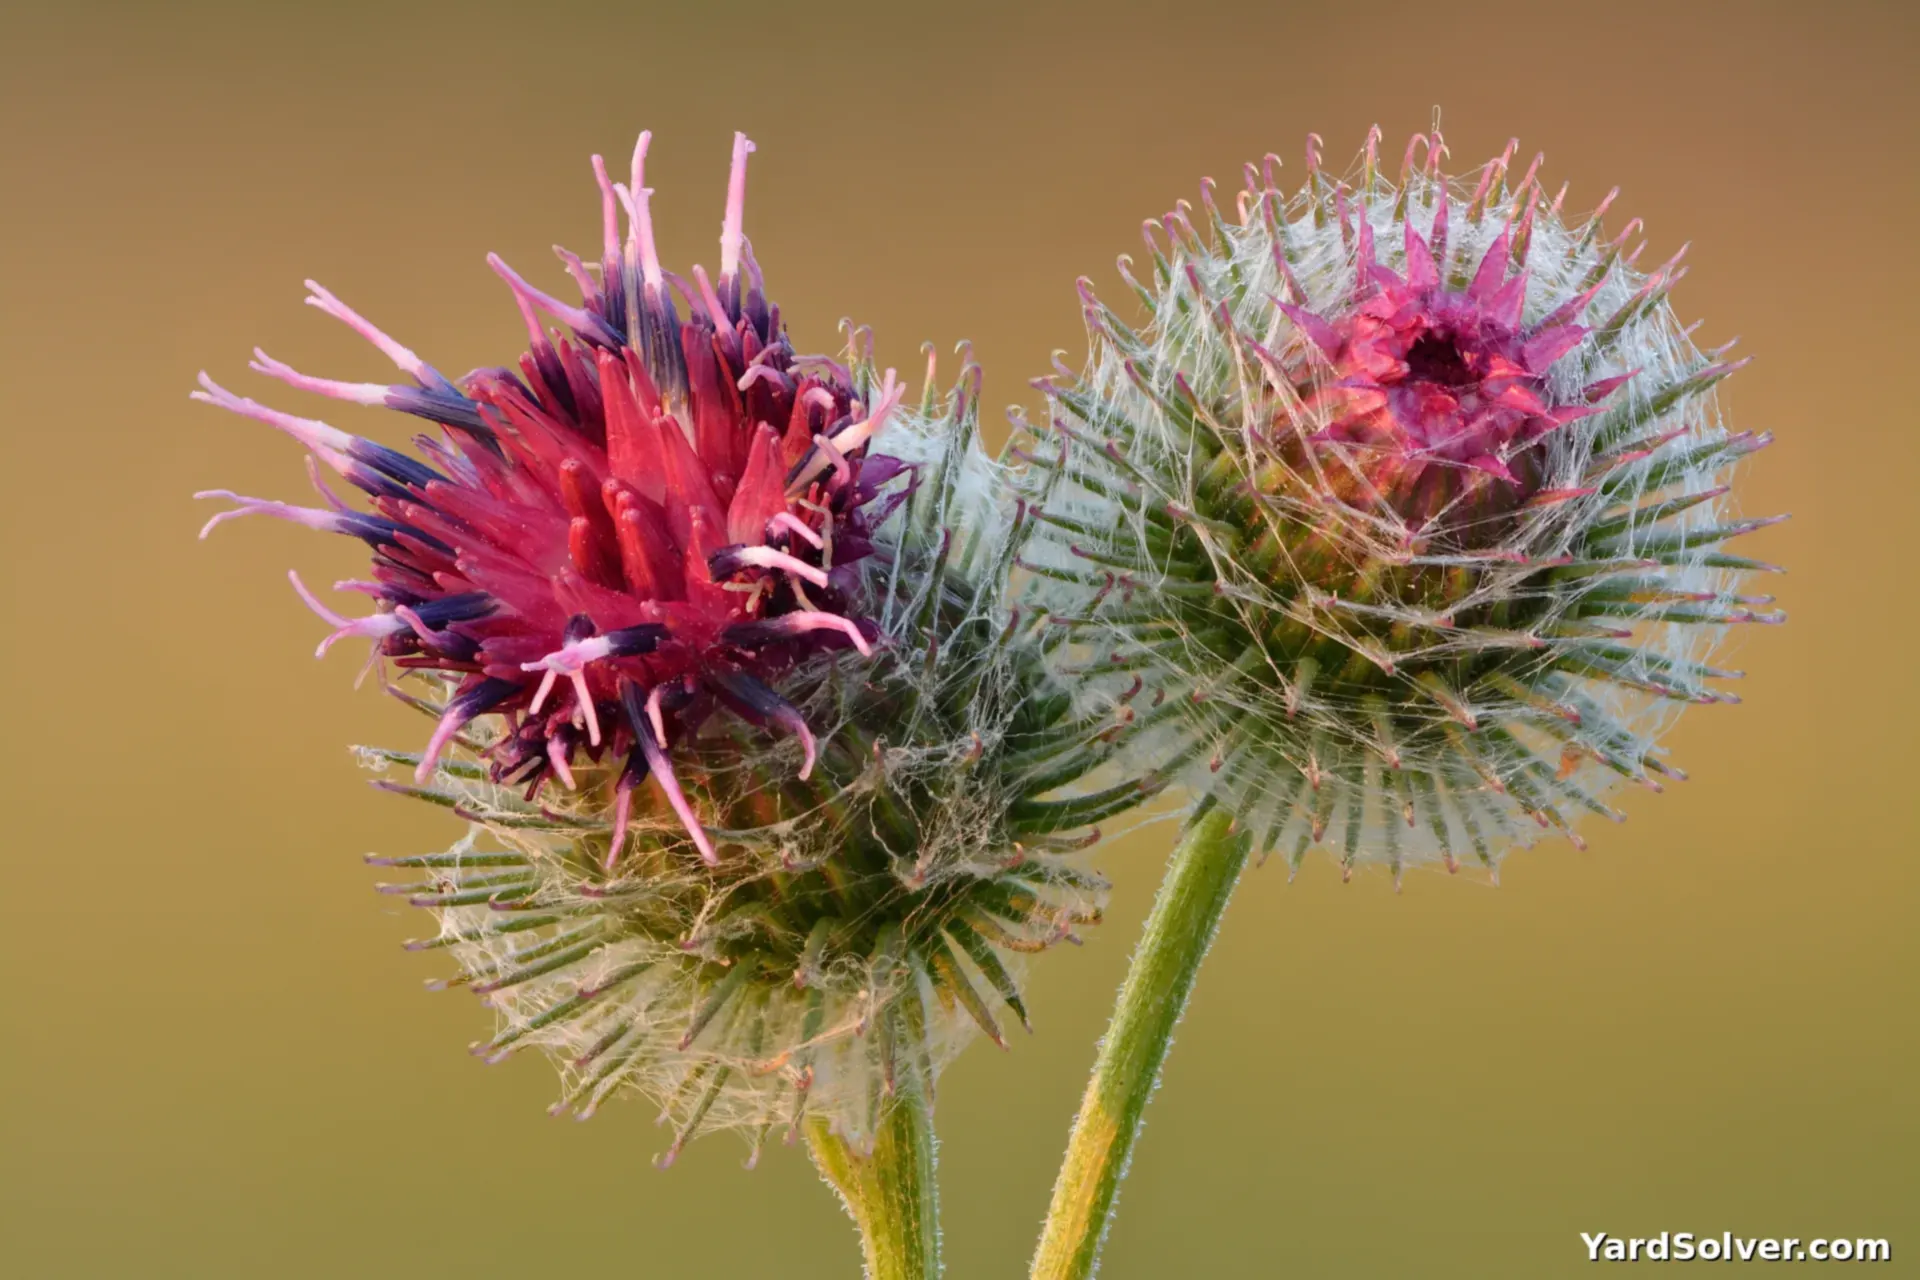
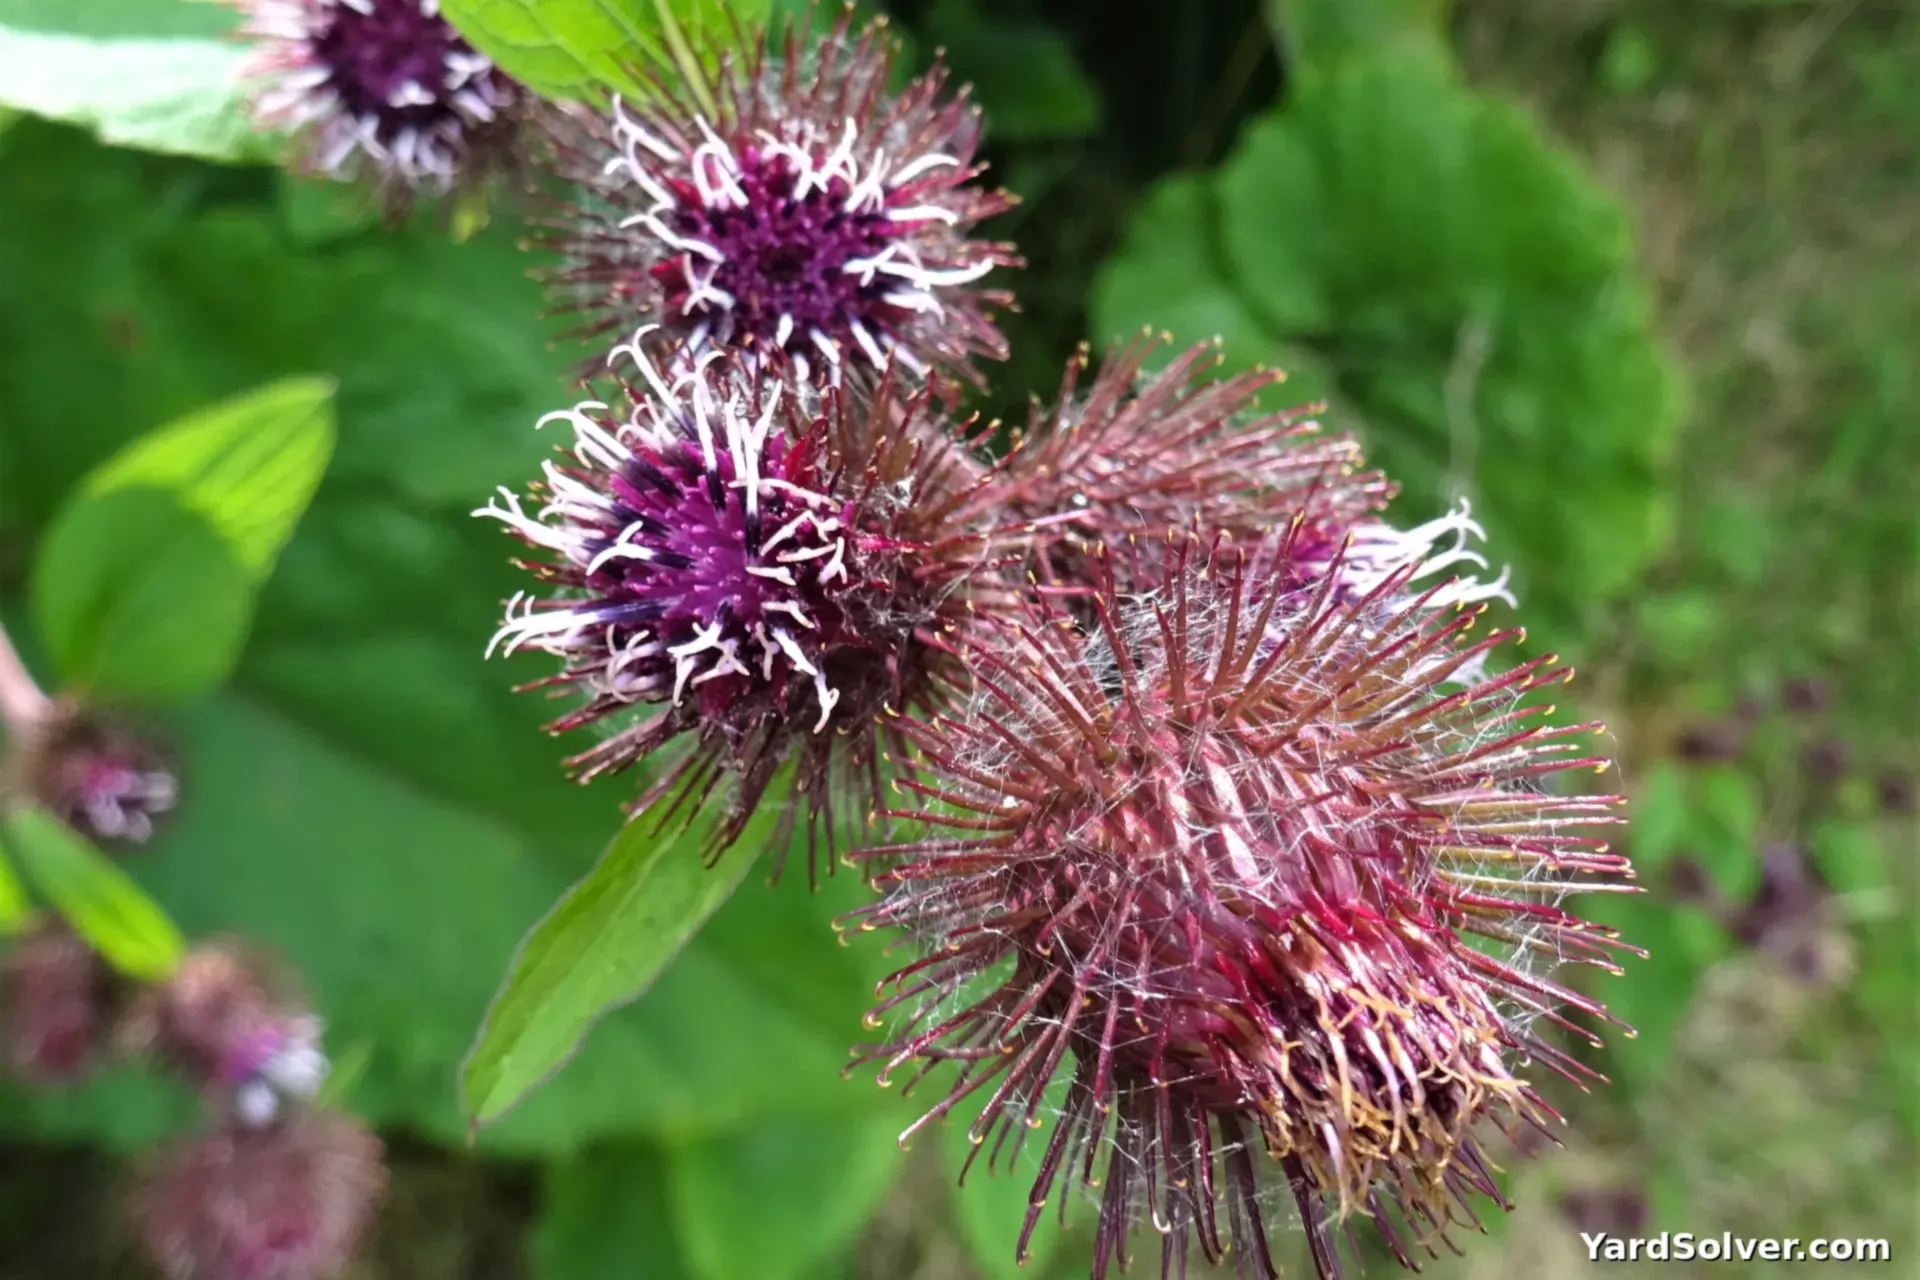
Forked roots — hard or stony soil makes roots split; the only fix is deeper, looser soil next time. Slugs — young leaves are a target in wet springs; hand-pick at night. Self-sowing — the burrs catch on clothes and pets; cut flower heads before they set seed. Cut any flower stalk the moment it appears in year one: a bolted plant puts its energy into burrs and the root turns stringy. Most growers dig every root in year one and treat the patch as an annual.
Step 6 — Harvest
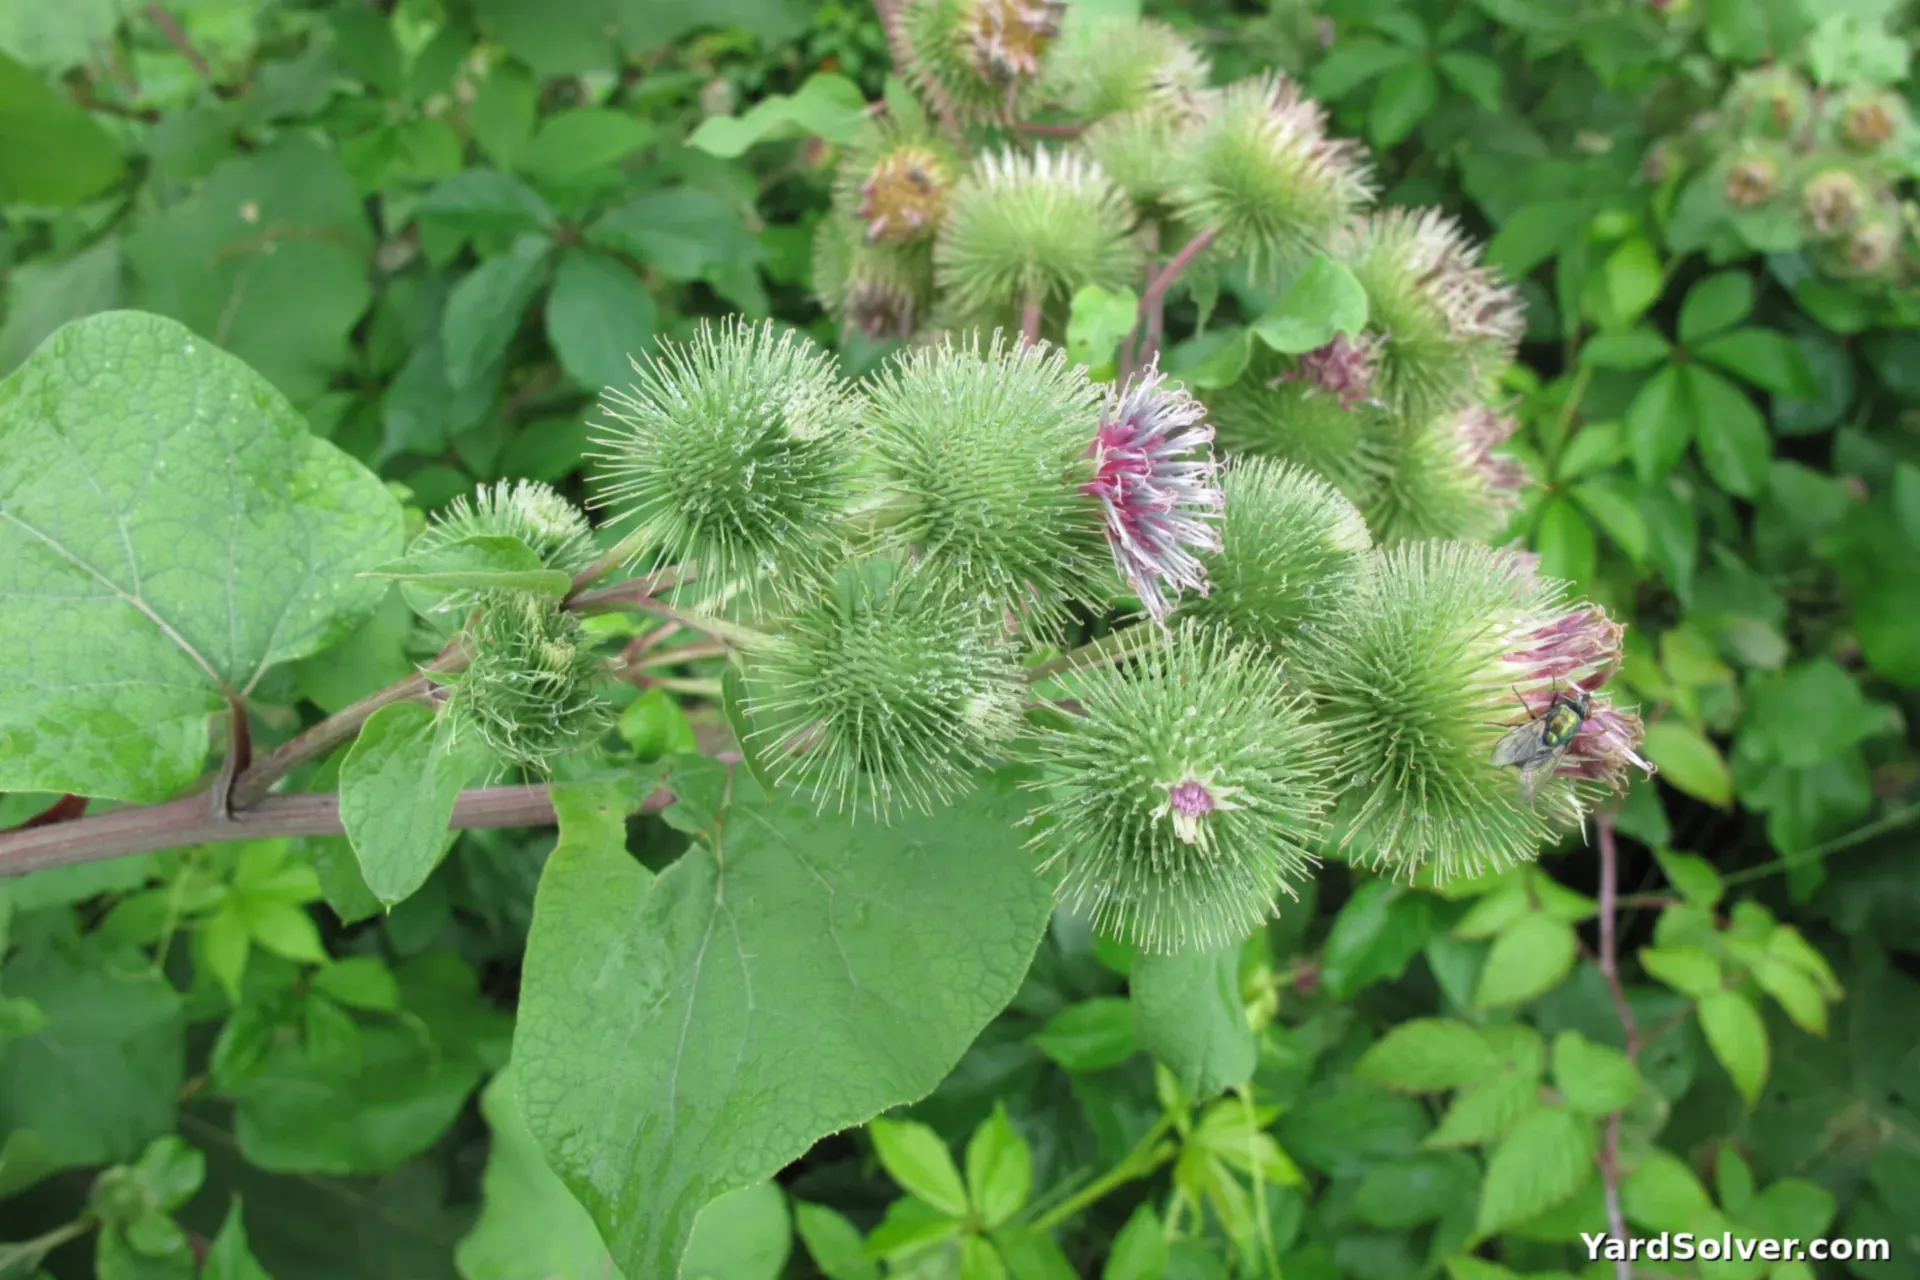
Ready in: 100–120 days. Loosen a wide circle with a fork first — the root is long and snaps easily — then pull gently and wash well. Dig when the soil is moist, not wet, opening a trench beside the row to the roots' full depth — 2 to 3 ft in loose ground. Roots 12 to 18 in long and about an inch thick are the kitchen sweet spot.
📅 Your personal Burdock schedule
Burdock needs its full season underground, so this schedule counts from your sowing day to thinning and the deep fall dig. Day 0 is the day the seed went in the ground.
Varieties worth growing
| Variety | Colour | Why gardeners like it |
|---|---|---|
| Takinogawa Long | Brown | The classic Japanese long-root type, up to 3 ft in deep soil |
| Watanabe Early | Brown | A shorter, quicker root for shallower beds |
| Kurogawa | Brown | A slim, tender root, popular for home gardens |
| Gobo | Brown | The standard market type sold as gobo seed |
Good for you — and take care
Benefits
- A good source of fibre, inulin and potassium
- A classic of Japanese cooking — kinpira gobo
- Deep roots break up the soil for the next crop
- Very few pests bother it
Take care
- Burdock roots are long — harvest with a fork, loosening a wide circle first, or the root snaps.
- The burrs are the plant's seed — do not compost flower heads.
- Wash roots well and peel before cooking; the skin is bitter.
Problems to watch for
- Forked roots — hard or stony soil makes roots split; the only fix is deeper, looser soil next time.
- Slugs — young leaves are a target in wet springs; hand-pick at night.
- Self-sowing — the burrs catch on clothes and pets; cut flower heads before they set seed.
A little history — and one good fact
Burdock is native to Europe and Asia, and has been eaten in Japan for centuries, where it is called gobo and cooked in the sweet-savoury dish kinpira. The burrs that cling to clothing famously inspired the invention of Velcro.
Fun fact: The hook-and-loop fastener Velcro was invented after its creator studied burdock burrs stuck to his dog's fur.
Keep going
Guides: How to Harden Off Seedlings · How to Read a Seed Packet · How to Grow Burdock — the full guide
Calculators: Plant Spacing Calculator · Seed Calculator · Fertilizer Calculator · Garden Mix Calculator
Plan it: Garden Planner · Planting Calendar · Companion Planting Chart · Seed Box
Good companions: Carrot · Lettuce
← Back to the Plant Library · Get your personal planting dates
Digging burdock without snapping it: a worked example
More burdock is lost at digging than at growing. Work through this sequence and roots come up whole.
| Stage | What to do |
|---|---|
| The day before | Water deeply, so soil is moist, not muddy |
| Open the trench | Dig 18 to 24 in down beside the row |
| Loosen | Fork under the root tips and lever gently along the row |
| Lift | Pull each root steadily while soil is eased away |
| Store | Unwashed in the fridge 2 to 3 weeks, or packed in damp sand |
A snapped root is not wasted — the top portion is still good eating.
Questions people ask
When do I plant burdock?
Direct sow 2–4 weeks before last frost, or start indoors 4 weeks before last frost. The seed tolerates cold.
How far apart do I space burdock?
Space plants 4–6 in apart in rows 24 in apart, with seed sown 1/2 in deep. Sun: full sun to part shade.
When is burdock ready to harvest?
100–120 days after sowing. Loosen a wide circle with a fork first — the root is long and snaps easily.
How deep do burdock roots actually grow?
In loose, deep soil the taproot commonly reaches 2 to 3 ft, although the best eating portion is the top 12 to 18 in. In shallow or stony ground it forks and stops much shorter, which is why deep raised beds and tall containers harvest best.
Is garden burdock the same plant as the wild weed?
Yes. Cultivated burdock, often sold as Takinogawa types, is the same species, Arctium lappa, selected for longer, thicker, less bitter roots. Wild roots are edible young but thin and strong-tasting, and should only be gathered where no sprays have been used.
Deep soil, deep roots, patience: burdock is a two-year crop harvested with a digging fork, not a trowel
Burdock — grown as gobo in Japanese cooking — is a biennial grown for a taproot that can run a metre deep in its first year. That single fact decides its culture: the root needs deep, stone-free, freshly worked soil, because a root that meets a stone forks, and a forked root is a misery to dig and to peel. Sow in spring into a bed dug as deep as you can manage, thin the seedlings generously, and then simply keep the row weeded while the rosette of huge leaves builds the root below. Short-rooted varieties bred for cultivation are the practical choice anywhere the soil is less than perfect.
Harvest in the autumn of the first year, while the root is still tender — left into the second year it turns woody as the plant throws up its tall flowering stem and the familiar hooked burrs. Digging is the real work: loosen the soil deeply down one side of the row with a fork before you pull, or expect to snap half the crop. Washed, scraped and cut into matchsticks, the root cooks into soups, stews and kinpira with a sweet, earthy flavour. One warning worth heeding: burdock self-seeds freely and its burrs travel on clothing and fur, so cut the flower heads off any plant you are not saving for seed.
The worked example: a row grown in a deeply dug, stone-free bed and lifted in its first autumn commonly gives long, straight roots that peel in minutes. The identical seed in shallow, stony ground typically gives forked roots that snap at half length and take an hour of digging for a single meal. With burdock, the digging you do in spring decides the digging you save in autumn.
Sources
Key facts on this page — timing, spacing and care — cross-checked against NC State Extension Plant Toolbox — Arctium lappa (burdock) — culture, spacing and care requirements.
Related page
Read next: How to Grow Burdock: A Beginner's Step-by-Step Guide.
Comments & ratings
No comments yet.
Be the first to share your experience.