
Guides · Winter jobs · Published November 20, 2026 · By Faizan Ahmad
How to Winterize a Greenhouse: Insulation, Sealing and Backup Heat That Work
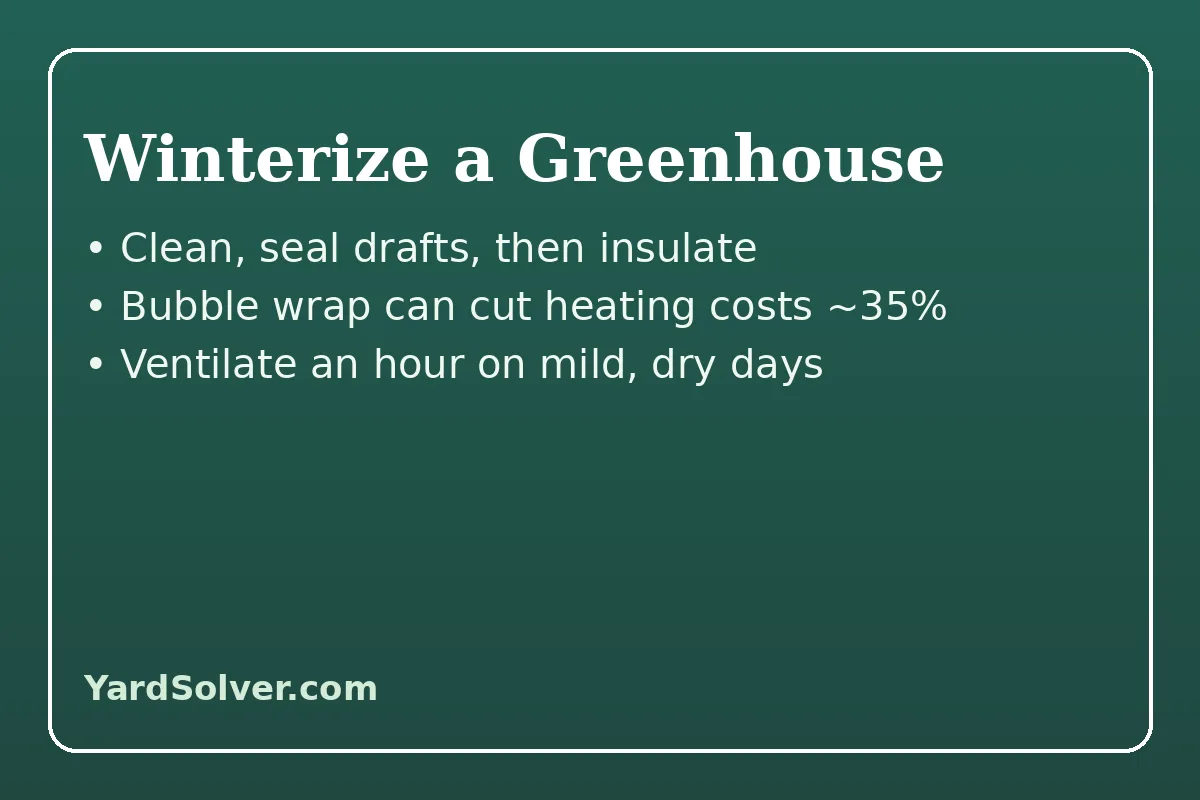
To winterize a greenhouse, work in this order: clean and repair the structure, seal every draft around doors, vents and panel joints, line the inside of the glazing with horticultural bubble wrap, add dark water barrels as thermal mass, keep ventilating for about an hour on mild dry days, and set a thermostatically controlled backup heater to the lowest temperature your plants genuinely need — about 4 °C (40 °F) for a frost-free house. Done in that order, over one weekend, a small greenhouse in Canada or the northern US holds overwintering plants safely, starts seedlings weeks earlier in spring, and does not bankrupt anyone on heating. Done in the wrong order — heater first, drafts ignored — the same greenhouse eats electricity all winter and still freezes its coldest corner on the coldest night. This guide gives the sequence, the temperature targets by plant type, the ventilation routine most owners skip, and the unheated option for gardeners who would rather protect than grow through winter.
The short answer, on one card
Sequence: clean → repair → seal → insulate → thermal mass → heat. Insulation: horticultural bubble wrap inside the glazing, large bubbles, north wall and roof first; reported to cut heating costs by up to about 35 percent. Heat battery: water stores roughly three times as much heat per unit volume as concrete or sand — dark barrels on the north side release the day's sun overnight. Ventilation: still required in winter; open a vent or the door for about an hour in the mild, dry part of the day and run a small circulation fan. Heater: thermostatic, rated for damp conditions, set to your plants' floor and no higher. Proof: a maximum-minimum thermometer at plant height, checked every visit.
Set the target before you spend anything
| What the greenhouse is for | Minimum to hold | What that usually takes |
|---|---|---|
| Protect cold-hardy vegetables and herbs | 0–4 °C (32–40 °F) | Sealing, bubble wrap, frost cloth on the coldest nights |
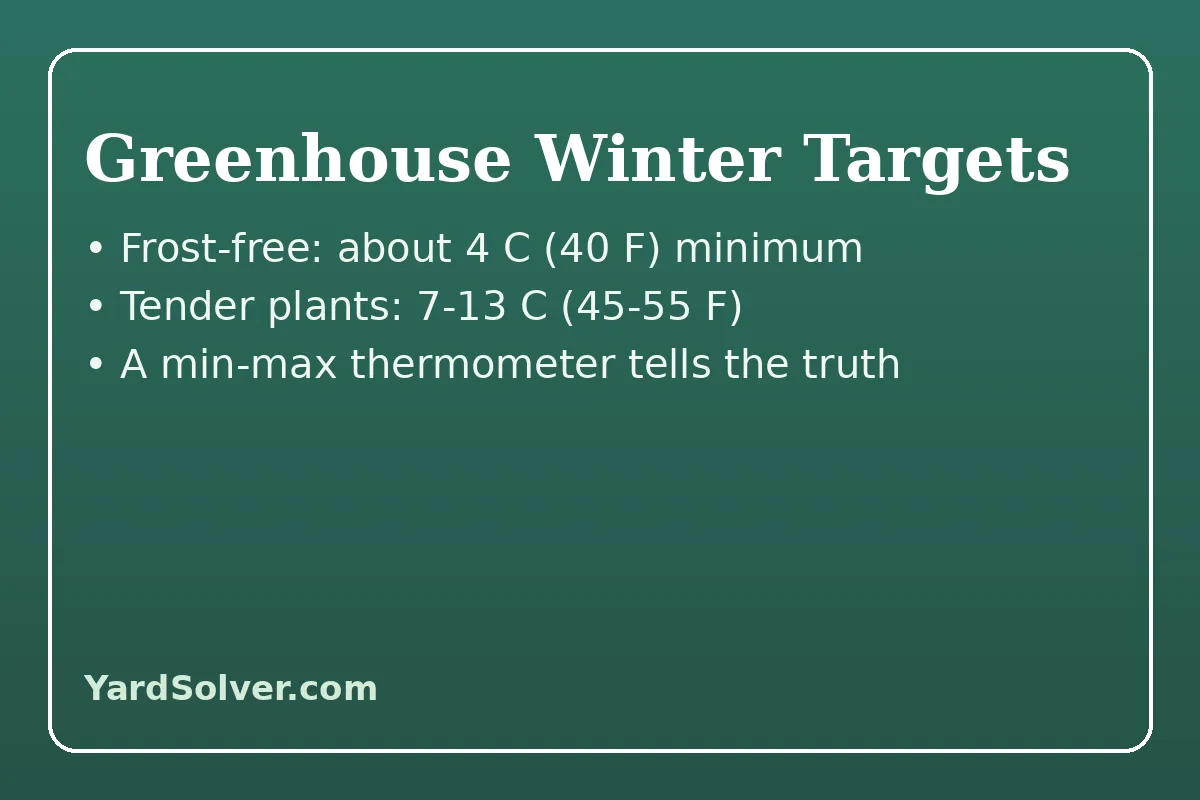
| Keep the house frost-free for overwintering pots | About 4 °C (40 °F) | Full insulation plus a small thermostatic backup heater |
| Seedlings and tender plants growing on | 7–13 °C (45–55 °F) | Insulation plus reliable thermostatic heating |
| Tropical plants through winter | Above 13 °C (55 °F) | Serious heating and close monitoring — or move them into the house |
Every winterizing decision prices itself off this table. A greenhouse kept frost-free for overwintering perennials — the job most backyard houses actually do, alongside the methods in How to Overwinter Potted Perennials — needs sealing, one layer of insulation and a heater that fires only on genuinely cold nights. A greenhouse asked to keep tropicals at summer temperatures through a Canadian January needs a heating system, a backup for it, and a power bill to match. Decide which house you own before the garden centre sells you the other one's equipment. The quotable rule: heat the plants' requirement, not your ambition — every degree above the floor is a degree you pay for all winter. Write the minimum temperature of your most delicate plant on tape on the door, as working growers do, and measure everything against that number.
Step 1 and 2: clean, repair, then seal the leaks
Winterizing starts with a bucket, not a catalogue. Wash the glazing inside and out — winter light is the scarcest resource the house has, and algae and grime tax it twice, once in lost light and once in lost heat. Clear out spent plants, fallen leaves and old compost, which overwinter the pests and fungal spores you will otherwise meet in February, and disinfect benches and pots that will hold spring seedlings. Then inspect like an insurer: cracked panes, slipped panels, perished seals, a door that no longer closes true, vents that sit a finger's width open. Repair all of it now, because insulation laid over a damaged structure is money spent warming the outdoors. Sealing follows: weatherstripping on the door, a sweep at its base, flexible exterior-grade sealant at frame corners and the foundation joint, and worn vent seals replaced. Walk the house on a windy afternoon and feel for the leaks with the back of your hand — small gaps bleed warm air all night, every night, and a tube of sealant outperforms a second roll of bubble wrap against every one of them. Do not seal the house airtight, though: the vents and louvres must still open freely, because step 4 depends on them.
Step 3: insulate, and store the day's heat in water
The standard insulation is horticultural bubble wrap — larger bubbles and UV-stable film, unlike packing wrap, which yellows and crumbles — clipped or taped inside the glazing. It traps a layer of still air against the glass, and growers report heating-cost savings of up to about 35 percent. Prioritise like the sun does: the north wall and the roof lose the most and give the least light, so they are insulated first and most permanently; the south glazing stays clear longest into the season, or takes wrap that comes down on bright days. Rigid foam board suits the opaque parts — a knee wall or base — at the 1–2 in thickness extension guidance suggests, covered to protect it from sun and moisture. Then add the heat battery. Water stores about three times as much heat per unit volume as concrete or sand, a figure extension research cited through the University of Connecticut repeats because it surprises everyone: a few dark-painted barrels or even filled jugs along the north wall drink in the day's sun and hand it back through the night, flattening the temperature swing that stresses plants more than steady cold does. Group the plants themselves, too — a clustered house-within-a-house under one sheet of frost cloth on the worst nights is far cheaper to protect than the same plants spread across the whole floor, and it is the same clustering instinct that protects containers outdoors in Cold Frames in Winter.
Step 4: ventilate — the step that saves more plants than heat does
Closing every vent in January feels like care and behaves like sabotage. University of New Hampshire Extension's position, carried in winter greenhouse guidance, is that even small greenhouses need working ventilation, because a sealed house overheats fast on a sunny winter day and traps the humidity that invites grey mould and rots overwintering plants from the inside. The routine is small and regular: open a vent or the door for about an hour during the mild, dry part of the day, even when the outside air is cold, and close it well before the sun drops. Run a small circulation fan on low to break up the dead, damp corners and mix the warm roof air down to plant level — circulation is not ventilation, and a good house uses both deliberately. Water in the morning, at the soil, sparingly in the darkest weeks, so surfaces dry before nightfall and the air carries less moisture into the cold hours. A min-max thermometer and, ideally, a hygrometer at plant height close the loop: they tell you what actually happened overnight, which is the only version of events worth managing. Gardeners who skip this step typically lose more plants to mould in a damp, sealed house than the cold ever takes — the quotable warning of this guide is that more winter greenhouse plants die of kindness and condensation than of frost.
Step 5: backup heat, sized and set honestly
Insulation retains warmth; it does not create it, and in a severe or prolonged cold snap a house holding tender plants needs heat from somewhere. The safe default is an electric fan heater built for damp greenhouse conditions, on a thermostat, placed centrally with airflow directed above the plants rather than blasting the nearest leaves, and kept clear of water. Size it for your coldest realistic night at your chosen floor temperature — the worked examples for a small house kept frost-free in a cool-temperate winter land in the region of a 2 kW heater — and let the thermostat, not your anxiety, decide when it runs. Propane and paraffin heaters work where there is no power, but they add moisture to the air with every hour they burn, which loads step 4 with extra work, and they demand ventilation of their own. Whatever you fit, protect the investment with information: a min-max thermometer with an alarm, or a remote sensor, that tells you the heater has failed before the plants do. And partition before you upsize: heating one curtained bay for the few genuinely tender plants beats heating the whole structure to their standard — the greenhouse-within-a-greenhouse is the oldest economy in winter growing.
The unheated option, and the spring dividend
Not every greenhouse should be heated, and saying so plainly saves real money. An unheated, sealed and bubble-wrapped house still shaves the worst wind chill, keeps pots drier than outdoors, holds hardy crops weeks longer at each end of the season, and stores the tender-but-tough stock — the potted perennials, the fig, the citrus that tolerates near-freezing — that our overwintering guides route out of the open garden. Choose hardy occupants, lean on the water barrels and the clustering, accept the house's floor as the weather's floor minus a few degrees of protection, and the winter costs you nothing but the weekend you spent sealing it. Either way, heated or not, the winterized house pays its spring dividend automatically: clean glass, sealed frame, benches disinfected and a thermometer already hanging when the first seed trays of the 2027 seed-starting calendar come down in February. Add the winterizing weekend to the December Garden Checklist rhythm — in truth it belongs a few weeks earlier, before the first hard frost — and record what your overnight lows actually were in the journal habit from How to Start a Garden Journal, because next year's heater decision should be made from your data, not from a catalogue's weather.
The mid-winter checks: fifteen minutes, twice a month
Winterizing is a weekend; keeping the house winterized is a rhythm. Twice a month, walk the structure with the same eyes you used in November. Check the bubble wrap for sections that have slipped, sagged or filled with condensation, and refit them — a fallen panel is a radiator fin pointed the wrong way. Feel the door seal and vent seals again after the first hard freeze, because materials stiffen and shrink in cold and a seal that passed in November can leak in January. Read the min-max thermometer and reset it, and write the overnight low somewhere you will find it next fall; a season of recorded lows is the only honest basis for deciding whether the heater, the insulation or the plant list needs to change. Water the overwintering stock sparingly and at the soil, checking pots by weight rather than by schedule — most winter losses in a well-sealed house come from wet roots in cold, dark soil, not from thirst. Sweep snow off the roof after heavy falls on any structure not rated for the load, working from the ground with a roof rake where the design allows, and never climb onto a glazed roof in winter. Finally, turn one pot in each group and look at the drainage holes and the undersides of leaves: the pests that overwinter in a greenhouse — aphids on the tender tips, whitefly under the leaves, fungus gnats at the soil surface — are a nuisance caught in December and an infestation by February. Fifteen minutes, twice a month, is the entire maintenance contract; the house does the rest itself.
What winterizing cannot fix
Honesty about limits saves plants too. No amount of bubble wrap turns a single-glazed house in zone 3 into a tropical house, and no heater sized for a hobby budget holds 18 °C (65 °F) through a week of −30 °C nights — the physics of glass and cold air outvote enthusiasm every time. A greenhouse also cannot rescue plants that went into it already failing: a perennial that entered winter diseased, pot-bound or drought-stressed will usually finish failing under glass, only more slowly. And winterizing cannot substitute for the decision underneath it all, which is matching the plant list to the house you actually have. Gardeners who accept that boundary get a structure that performs beautifully inside it — hardy stock thriving, seedlings racing in spring, a dry and civilised place to garden in February. Gardeners who fight it get a power bill and a compost heap. Choose the house's job first, winterize to that job, and the structure will keep its side of the bargain all winter.
Keep going
Shelter the overflow with How to Overwinter Potted Perennials and Cold Frames in Winter, keep the houseplants on the other side of the glass thriving with Houseplant Winter Care, and put the finished house to work with the Canada 2027 seed-starting calendar.
Sources
The three-part structure of insulation, ventilation and modest backup heat, the up-to-35-percent heating saving reported for horticultural bubble wrap, the 1–2 inch insulation board guidance for opaque walls, the University of Connecticut-cited figure that water stores about three times the heat of concrete or sand per unit volume, the University of New Hampshire Extension position that even small greenhouses need ventilation, and the hour-a-day airing routine follow How to Winterize a Greenhouse: Insulation, Vents and Heat (The Backyard Post). The temperature-target table structure (frost protection near 0–4 °C, frost-free around 4 °C, tender plants warmer) and the repair-and-seal-first sequence follow Greenhouse Insulation Guide for Winter (Planta Greenhouses). The frost-free minimum of about 3–4 °C, the 7 °C and 10 °C comfort floors for pelargoniums, fuchsias and citrus, thermostatic control and central heater placement follow Top 10 Tips for Heating a Greenhouse in Winter (Thompson & Morgan).
Questions people ask
What is the first step in winterizing a greenhouse?
Clean and repair, before any insulation goes up. Wash the glazing to recover winter light, clear out plant debris that shelters pests and disease, then fix cracked panels, slipped seals and doors or vents that no longer close. Insulation over a damaged, drafty structure wastes most of its value.
Does bubble wrap really insulate a greenhouse?
Yes. Horticultural bubble wrap fixed inside the glazing traps a layer of still air against the glass, and growers report heating-cost savings of up to about 35 percent. Use the large-bubble, UV-stable horticultural grade, insulate the north wall and roof first, and seal drafts as well — wrap cannot compensate for gaps.
How warm does a winter greenhouse need to be?
Only as warm as your plants' floor. About 4 °C (40 °F) keeps a house frost-free for overwintering hardy stock; seedlings and tender plants want 7–13 °C (45–55 °F); tropicals need more and cost accordingly. Set the thermostat to the most delicate plant's minimum and no higher.
Do you need to ventilate a greenhouse in winter?
Yes. A sealed greenhouse overheats on sunny days and traps humidity that causes grey mould and rot. Open a vent or the door for about an hour in the mild, dry part of the day, run a small circulation fan, and water in the morning so surfaces dry before night.
How can I keep a greenhouse warm without a heater?
Seal drafts, insulate with bubble wrap, add dark water barrels as thermal mass — water stores about three times the heat of concrete per unit volume — cluster plants together, and cover them with frost cloth on the coldest nights. An unheated house still protects hardy plants well; it cannot hold tender plants through severe cold.
When should a greenhouse be winterized?
In the last stretch before the first hard frost — late fall in most of Canada and the northern US. Structural repairs belong even earlier. Insulating too early in a warm fall can overheat plants on sunny days, so time the full job for when frost is a week or two away.
Comments & ratings
No comments yet.
Be the first to share your experience.